



Live That Adventure Logo
Adventure is not a hobby, it’s a lifestyle!
Cassidy Arch trail in Capitol Reef National Park

How to Hike Cassidy Arch, Most Iconic Trail in Capitol Reef NP

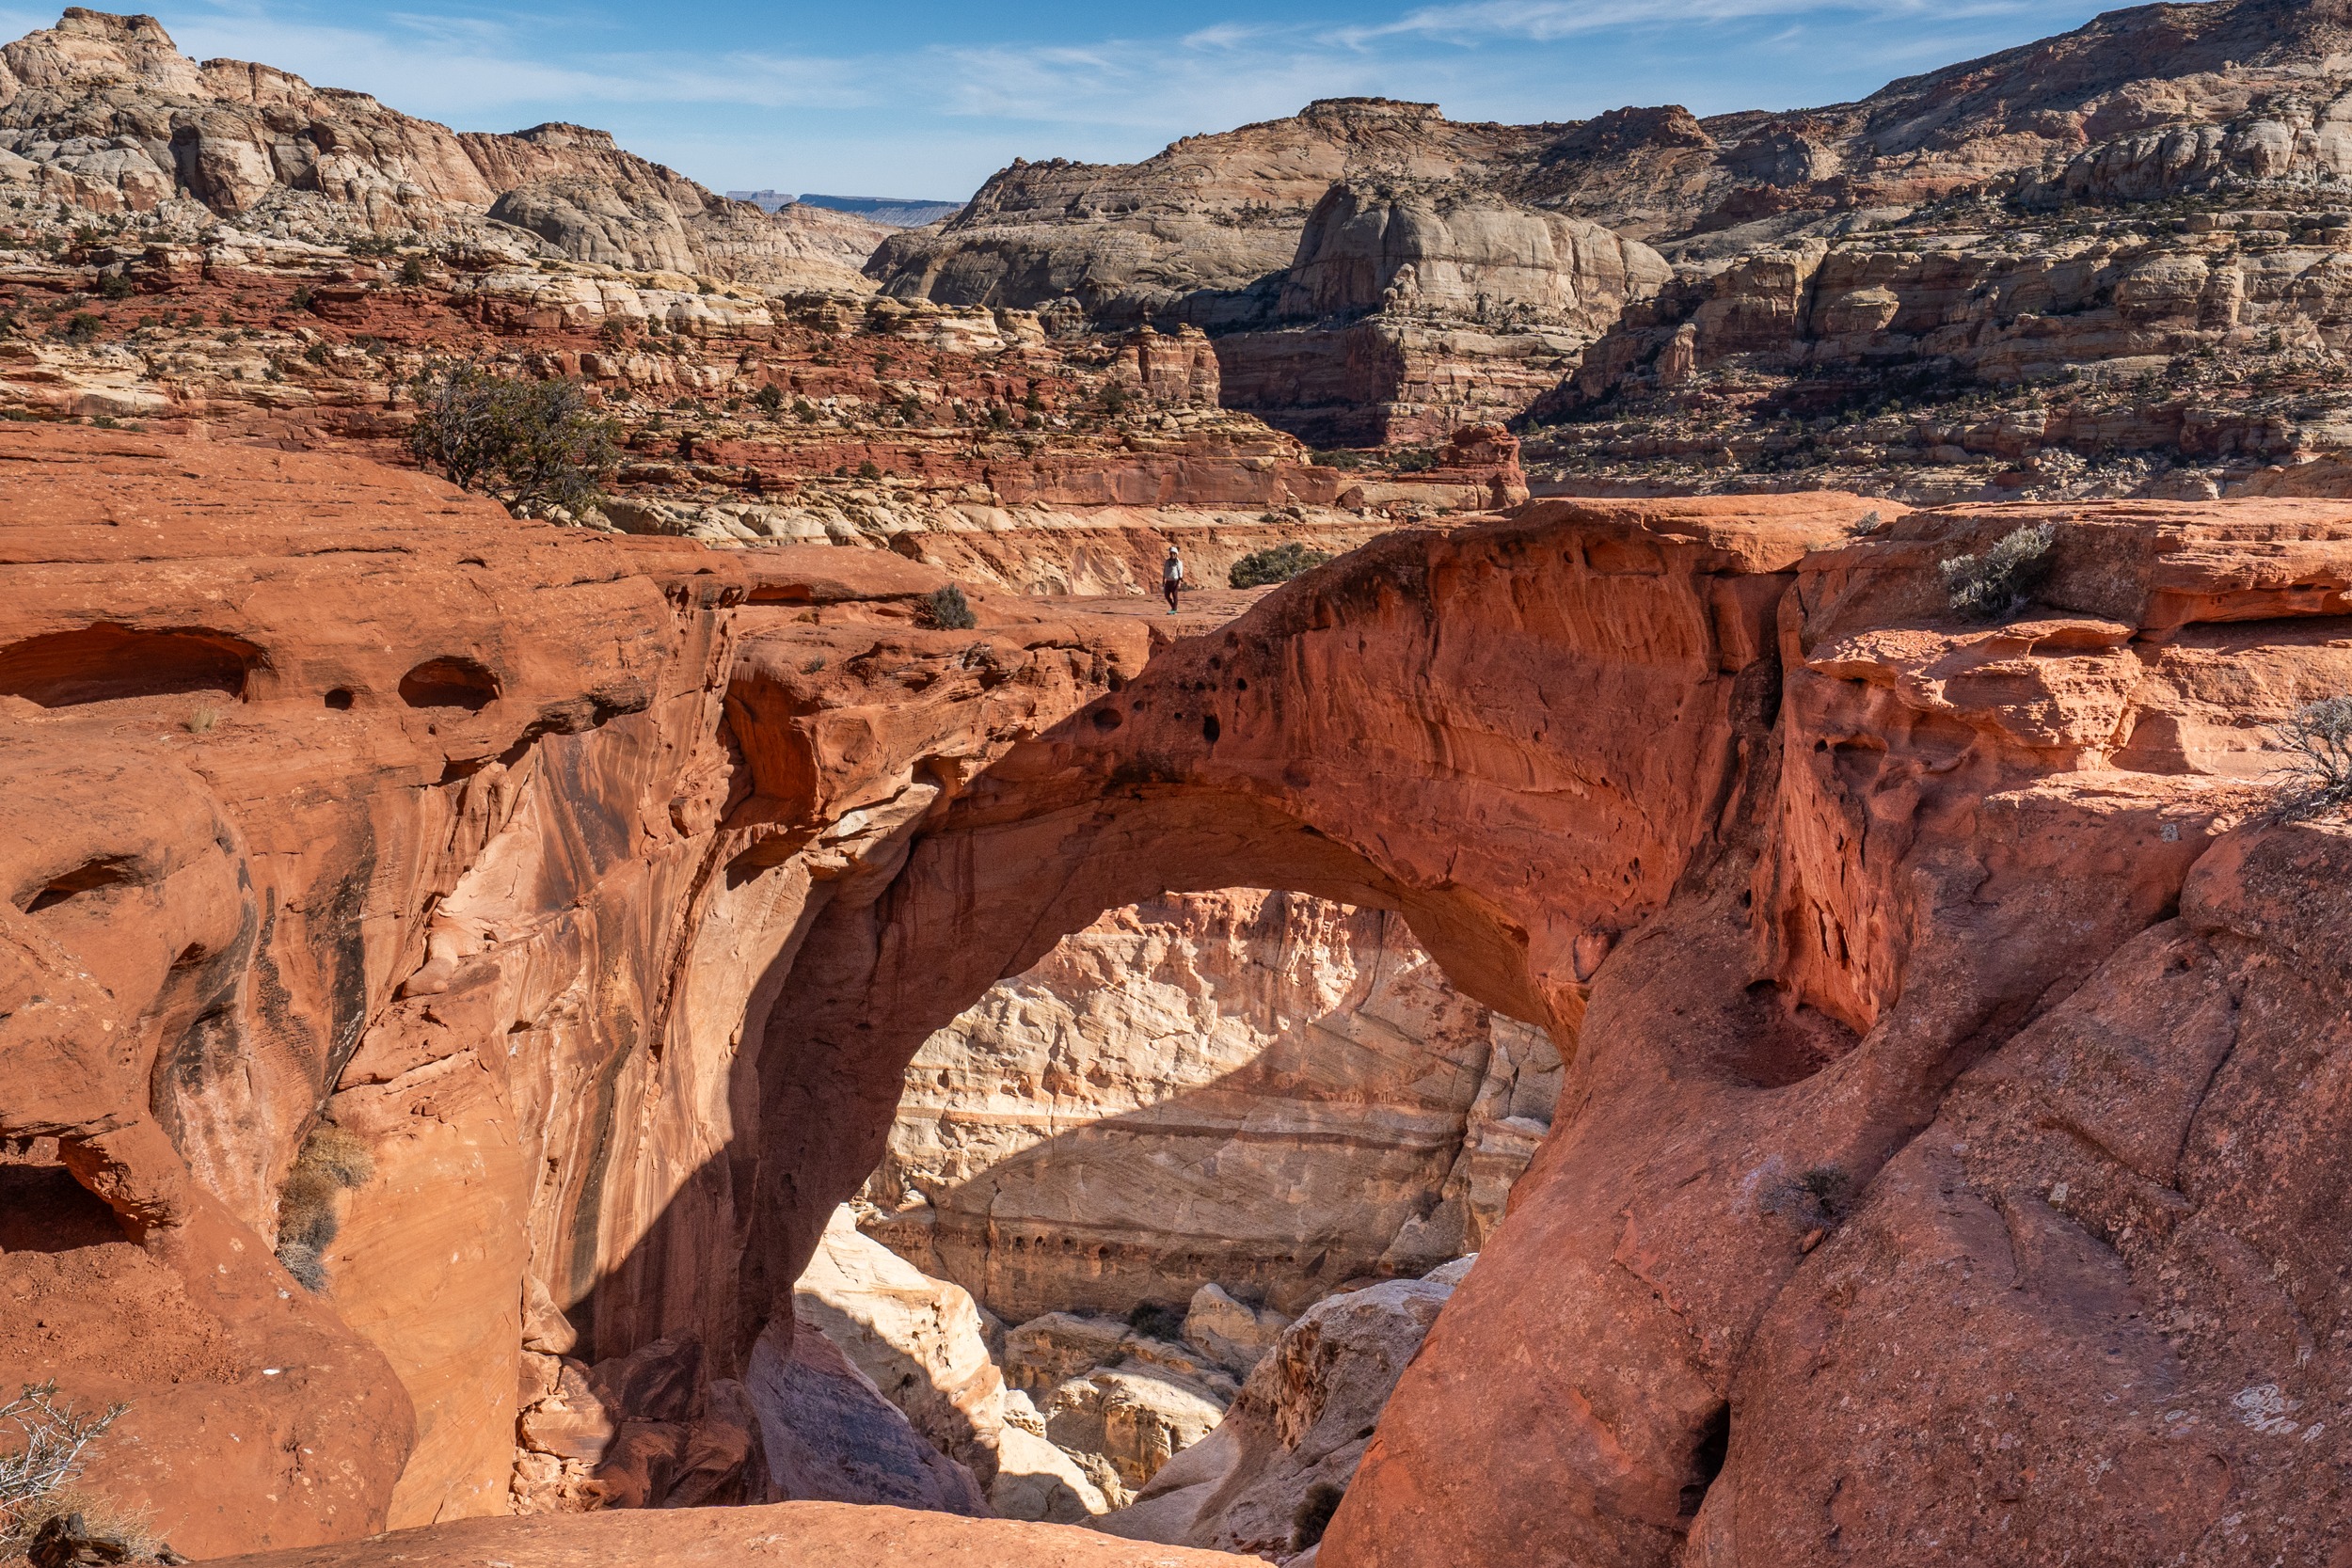
Cassidy Arch is one of the most popular trails in Capitol Reef National Park. It is also one of our favorite hikes in the park. This hike is breathtaking, from start to finish. At the end, you’ll get to the super cool Cassidy Arch, perched upon the cliffs overlooking Grand Wash. Cassidy Arch Trail is considered moderate. You’ll be gaining over 600ft in about 1.5 miles. It is steep, but nothing compared to Moapa Peaks. If you want to add on more miles, you can also add on the Grand Wash trail.

Compass
Table of Contents

Stats

Where

Grand Wash/Cassidy Arch Trailhead
Grand Wash Road, UT
38.263734, -111.215840

Parking

There is a decent-sized dirt lot in front of the trailhead.

Fee

There is a fee to hike in Capitol Reef National Park. For more information, check out the park’s website. You can also use your America the Beautiful pass!

Restroom

Vault toilet at the trailhead.

Pet-friendly?

Leave your pet at home. They are not allowed on the trail!

Warning

This area is susceptible to flash floods. There are many signs warning of flash floods. The park will close down the road and trails if there are big storms. Make sure to check the forecast before going.

Distance

3.3 miles R.T.

Elevation Gain

662 ft

Level

Moderate to Strenuous. The trail is steep with many narrow sections with sheer drop-offs. This can be difficult for some people.

Time

Takes an average of 2.5 – 3.5 hours

Ideal Time

This trail is fully exposed with no shade. So, it can get very warm in the summer. The best time to do this trail is in Spring or Fall, when the temperature is mild.

Weather

Getting There

The Cassidy Arch Trailhead is located on Grand Wash Road. To get here, from the Capitol Reef Visitor Center, turn onto Scenic Drive, going toward Fruita Campground. About 3.4 miles, turn left onto Grand Wash Road. Grand Wash Road is paved for a short distance before turning into a dirt road. About 0.75 miles, there is a viewpoint for Cassidy Arch. From here, you can see the arch sitting high and mighty above the cliffs. This stop gives you an idea of where your destination is. The Cassidy Arch Trail trailhead and parking lot are located at the end of Grand Wash Road. The parking lot is a big, dirt area.

The Adventure

We started our hike to Cassidy Arch early in the morning because we wanted to avoid the heat. Even in February, the temperature got warm when it was full sun. If you want to take great photos of the arch, afternoons actually have better lighting. In the morning, the arch will be in shadow.

Grand Wash Section

From the parking lot, we followed the Grand Wash trail for a short distance. After about 0.3 miles, we came upon a big stone sign for the Cassidy Arch trail, branching off to the left. If you want to do the Grand Wash trail, you can go straight here. For us, we turned left. As soon as we turned, the Cassidy Arch trail started its steep ascent. In 1.5 miles, you’ll gain over 600ft. The trail is well-marked and easy to follow.

The Ascend on Cassidy Arch Trail

The Cassidy Arch trail is very steep for the first 0.5 miles. It zigzags its way above the Grand Wash. There were a lot of stairs on the way up. Along the way, there were many narrow sections with steep drop-offs. So, make sure to watch your steps. If you bring kids, make sure to keep an eye on them in these exposed sections. 

As we climbed higher, the Cassidy Arch trail became more beautiful. We kept stopping to take in the views and the interesting rock formations and colors. Since the trail traces along the Grand Wash, we could see our car and the parking lot below in certain spots. Along the way, you’ll also have glimpses of Fern’s Nipple in the distance. About ⅔ of the hike in, we could see Cassidy Arch from across the slick rock.

Slick Rock Section

At this point, the trail evened out a bit. It is not as steep as before. On the whole trail, there aren’t any shades. So, make sure to bring lots of sunscreen and a hat. Also, make sure to bring at least 1 liter of water per person. Soon, the trail veers right for a short distance, then a short descent before crossing over a slickrock area. Keep your eyes peeled; cairns and small rocks are marking the route. On the slickrock section, there were a few times when we had to cross over big gaps by climbing up and down. Luckily, it wasn’t anything technical.

Cassidy Arch

Finally, we arrived at the Cassidy Arch. Please be careful when you get close to the arch. There is a big opening right in front of the arch where you can easily slip and fall if you’re not paying attention. From the overlook, you can either go right or left to get on top of the arch. Neither way is too difficult. The top of the arch is pretty wide and quite safe. This reminds us of Devil’s Bridge in Sedona, but not as busy. If you’re into canyoneering, Cassidy Arch is a really fun canyoneering route. You can rappel off of this arch. Once you’re done, return the same way you came in.

If you love arches and nature bridges, check out Hickman Bridge, another super cool hike in the Capitol Reef. We also love Fay Canyon Arch, Devil’s Bridge, and Soldier Pass in Sedona. Phipps Arch in Escalante is pretty cool, too. For an easier hike, Natural Bridge in Death Valley is super easy. Since you’re visiting Capitol Reef, don’t forget to check out Goblin Valley State Park. It’s worth spending at least a full day!

Happy Adventuring. Don’t forget to check out the related posts below for more inspiration on your upcoming adventures. While at it, follow us on Instagram and subscribe to our YouTube channel! We’ll love you forever!

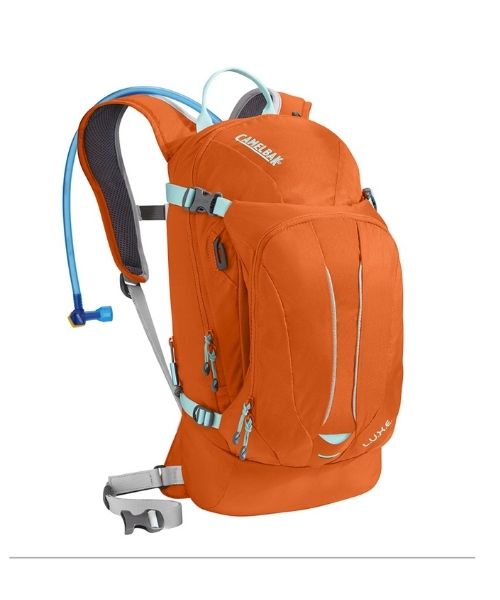
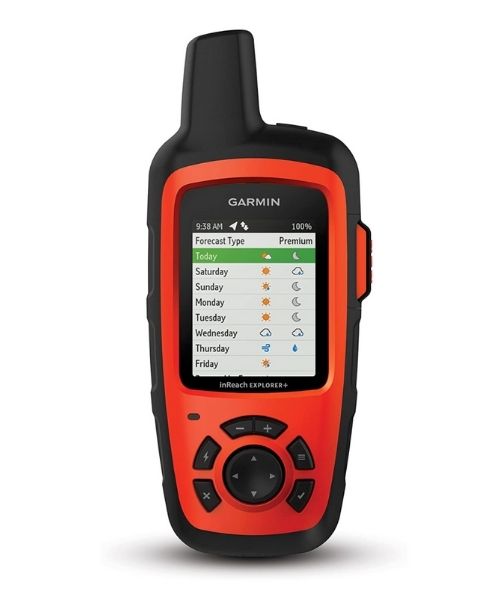
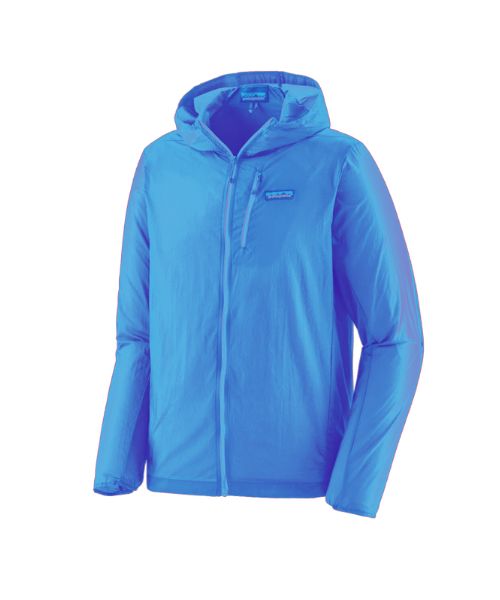
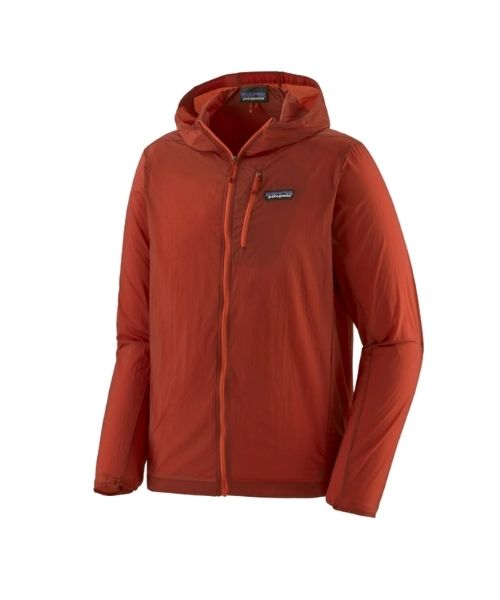
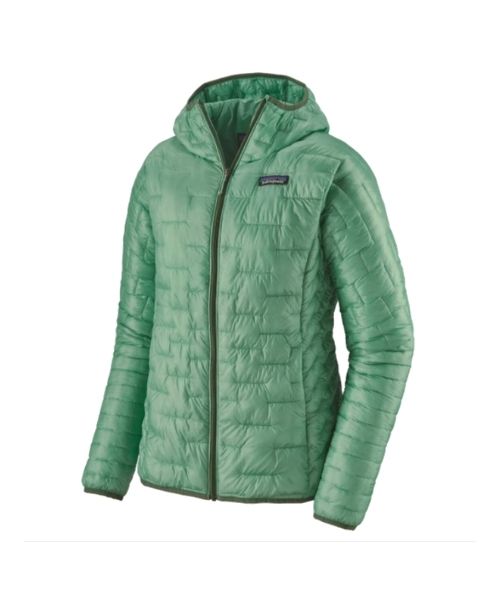
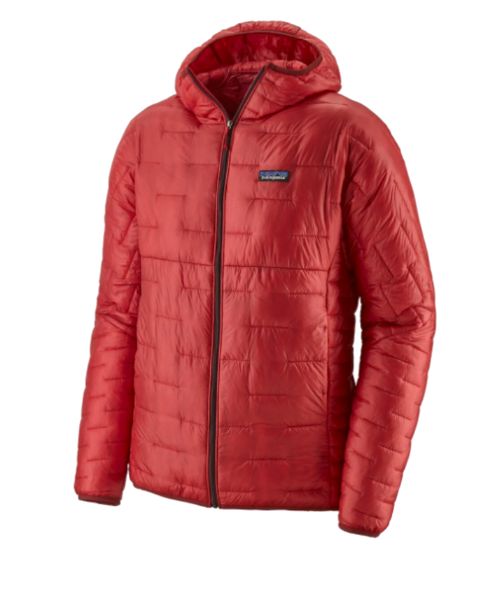
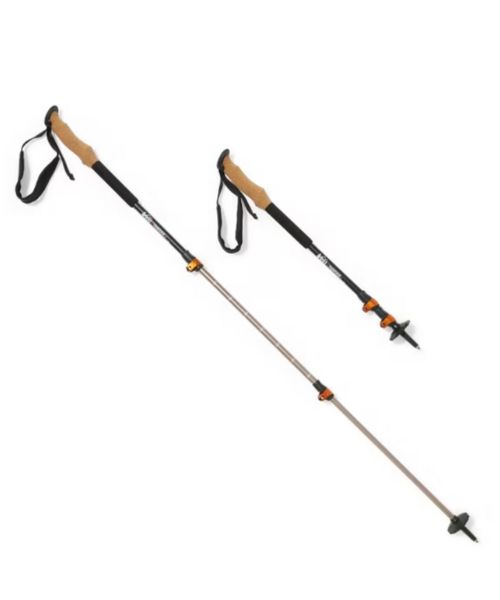
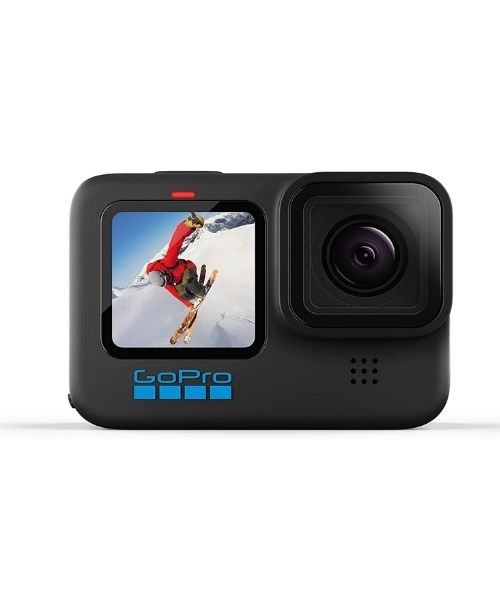
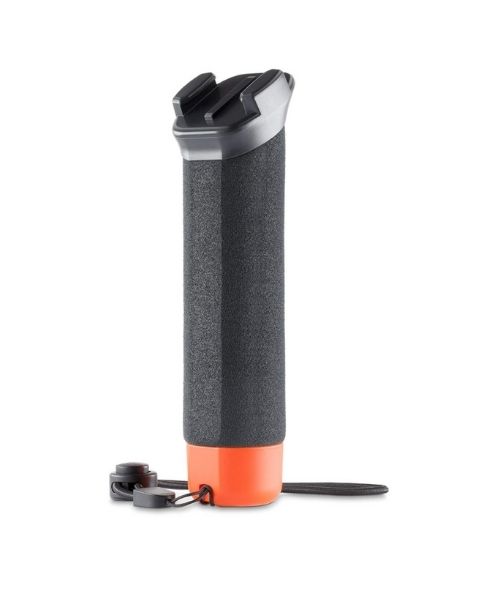
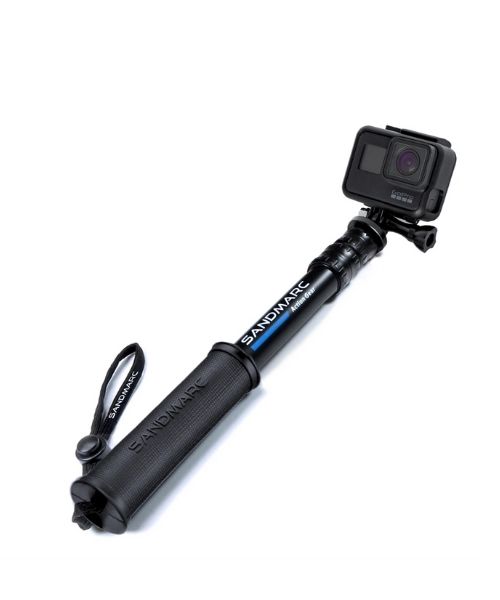
Recommended Gear

These are the gear that we personally use and find helpful for this particular adventure. Don’t forget to check out our Recommended Gear section as well.

Adventure Gear
  • All
  • Biking Gear
  • Camping Gear
  • Canyoneering Gear
  • Favorite Biking Gear
  • Favorite Canyoneering Gear
  • Favorite Hiking Gear
  • Favorite Kayak Gear
  • Favorite Road trips Gear
  • Favorite Water Gear
  • Hiking Gear
  • Main Favorite
  • Photography
  • Road Trips Gear
  • Travel Essentials
  • Water Gear
Camera Gear
  • All
  • Biking Gear
  • Camping Gear
  • Canyoneering Gear
  • Favorite Biking Gear
  • Favorite Canyoneering Gear
  • Favorite Hiking Gear
  • Favorite Kayak Gear
  • Favorite Road trips Gear
  • Favorite Water Gear
  • Hiking Gear
  • Main Favorite
  • Photography
  • Road Trips Gear
  • Travel Essentials
  • Water Gear

Nice to meet you!

Side bar: Our photo

Hi! We are Dustin & Vy, the proud creators of Live That Adventure. We created this website because we wanted to inspire others to live their lives to the fullest. On here, you’ll find everything from hiking, canyoneering, kayaking, and snorkeling to adventure and travel tips, gear reviews, and bucket list items such as bungee jumping or wing walking. We’ll show you the ropes so you can do them too!

Subscribe

Get our best adventure tips, guides and more send to you!

Related
Adventures
Share the Love

LEAVE A COMMENT

Your email address will not be published. Required fields are marked *