
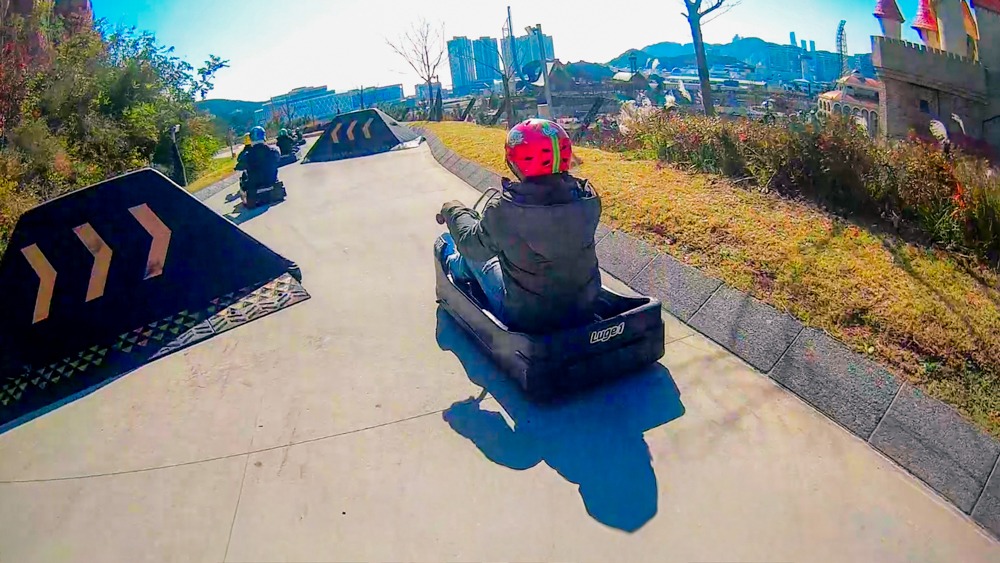

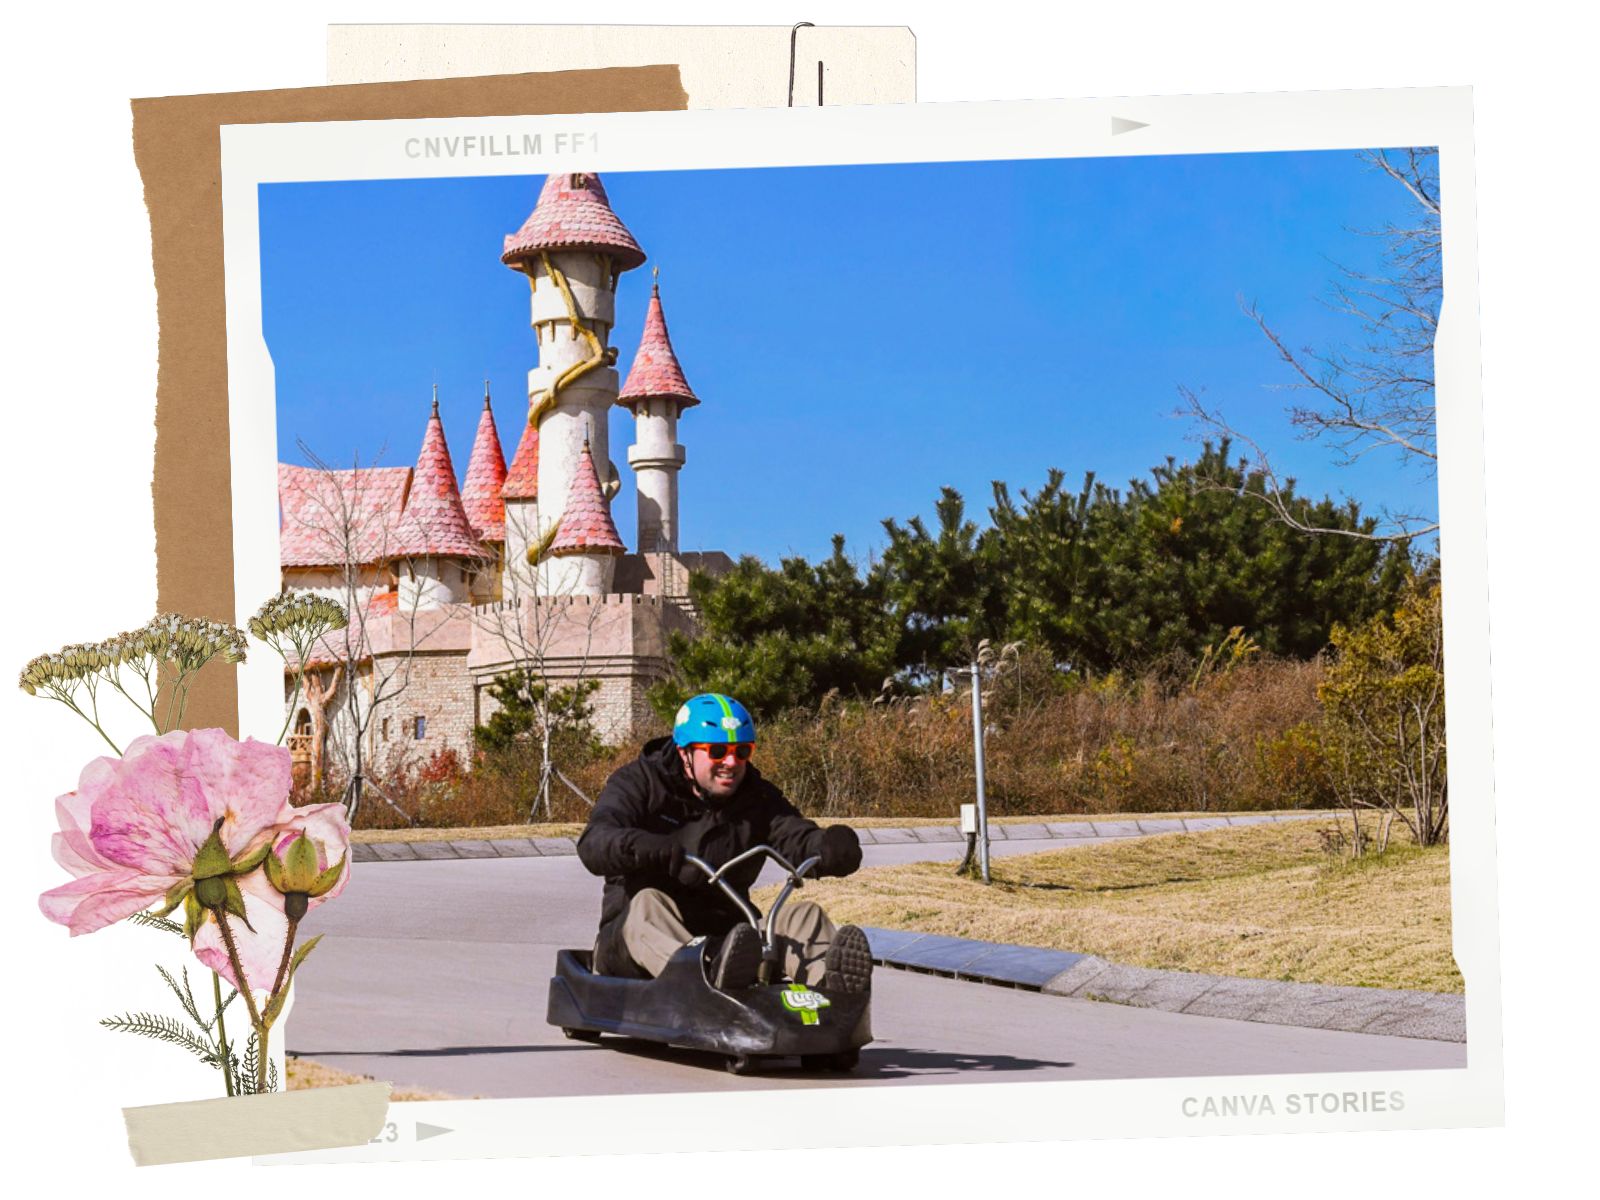

When we were planning our trip to Korea, Dustin had his heart set on doing the Skyline Luge in Busan after seeing videos on social media. It reminds us of the Alpine Slide in Big Bear, California, but better. So, we set off to Busan to check out the Skyline Luge. The Busan Skyline Luge is similar to go-karts or mountain coasters, except the carts here are powered by downhill gravity. This allows you to get speed just by using the downhill momentum. The carts can get pretty fast; however, it is not as extreme as racing carts. The Busan Skyline Luge has 4 courses, all of which are interesting. In addition to the luge, the Busan Skyline Luge offers a zipline. It is a really fun place to bring your whole family or your inner child!
The Skyline Luge Busan is located on the eastern coast of Busan. It is about a 10-minute walk from the famous Haedong Yonggungsa Temple.
The main address is:
📍 205 Gijanghaean-ro, Gijang-eup, Gijang-gun, Busan, South Korea
As of the time of this article, the costs (in USD) are:
Busan Skyline Luge is family-friendly. You definitely can bring your kids. That being said, there are a few rules:
The carts are gravity-controlled with really good brakes. So, if your kids are afraid to go too fast, don’t worry. They can control their speed the whole time.
Busan Skyline Luge can go pretty fast. The cart’s typical speed is around 20–40 km/h (12–25 mph). It can feel faster because you’re in a small cart, closer to the ground. The speed of the cart also depends on how much you brake, which track you’re on, and your weight and weather.
The Busan Skyline Luge is more fun when it’s less crowded. That way, you don’t have to worry about running into slower people in front of you. The best time to go is on weekday mornings (open to 11 am) and late afternoon (4 pm – 6 pm). Weekends and holidays are the worst time to go because it gets very busy.
If you have time, doing the Busan Skyline Luge at night is really fun too. At night, the tracks light up in different colors. You’ll also get shorter lines and wonderful views of the night lights from Osiria and Lotte World. Just make sure you have enough time before closing time to do everything you want.
For Busan Skyline Luge, you’ll need a minimum of 1.5 – 2 hours. However, it could take up to 5 hours depending on what you want to do and how busy it gets here. The ticketing process, finding lockers, etc., can also be a bit confusing. We were there on a weekday morning, and it took us about 3 hours to do 2 laps of the luge and the zipline.
According to Busan Skyline Luge, you can use an action camera (GoPro, etc.), but it has to be securely mounted to your body or helmet at all times during the ride. Selfie sticks or handheld recording devices are strictly prohibited.
However, on our visit, Dustin had a headstrap with a GoPro attached to his helmet and was told that he couldn’t use it. They didn’t give us any reason why it wasn’t allowed. We had to rent an action camera from them. However, the rental camera wasn’t that good. The video quality is mediocre. If you need to rent a camera, it is inside the big building where the ticket counters are located.
If you want photos or videos of your ride, they do offer photo/video packages. Now, if you’re not so picky about the quality of these videos and photos, by all means, get them. However, in our opinion, the quality of these videos and photos is really bad. If we knew it was this bad, we would rather save our money.
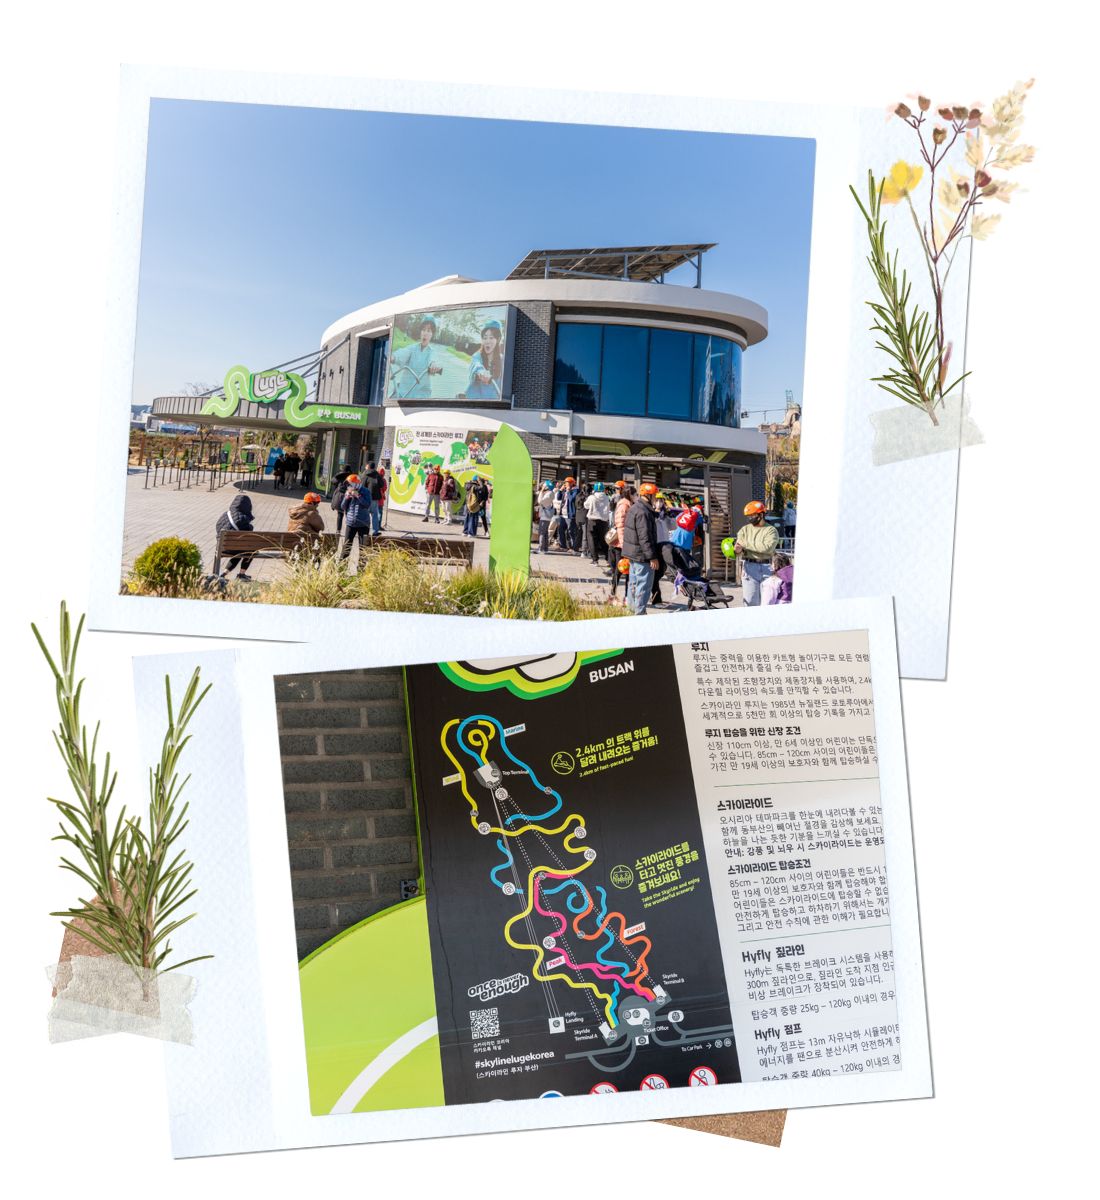
If this is your first time at the Busan Skyline Luge, it can be a bit confusing, especially if you don’t speak Korean. We had Danny, our Korean friend, with us, and it was still confusing. So, here’s how it works.
When you get to the Busan Skyline Luge, go straight to the ticket booths. It is right outside the big building. You aren’t allowed to share your tickets. This means if you purchase 5 rides, you need to do those rides by yourself. You cannot share those rides with other people. We highly recommend doing at least 2 rides.
You cannot take any loose items with you on the rides. So, you either have to leave your personal items with someone who isn’t going or rent a locker. To get to the lockers, you have to go into the gift shop, out the back doors, and around the corner to the right. The gift shop is inside that big building where the ticket booths are located. It took us a while to find these lockers. If you want to rent your camera or purchase photos or videos of your runs, you can also do so inside this gift shop.
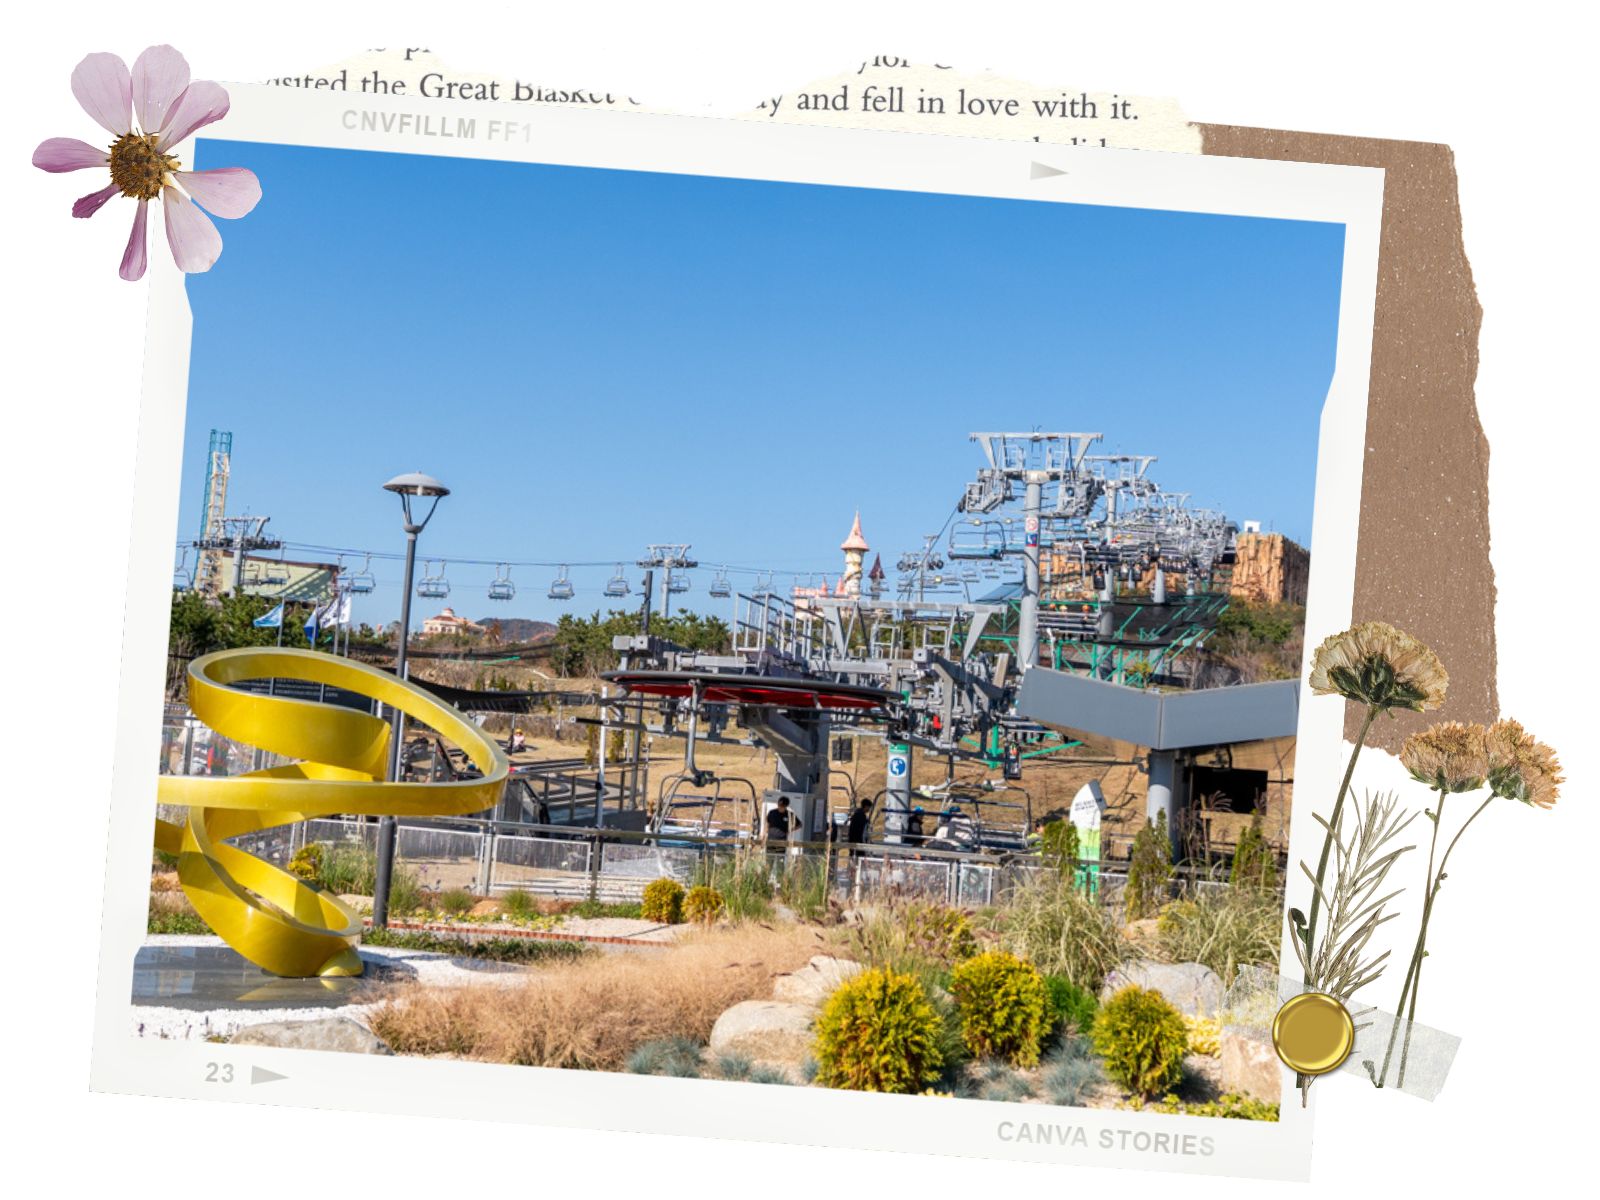
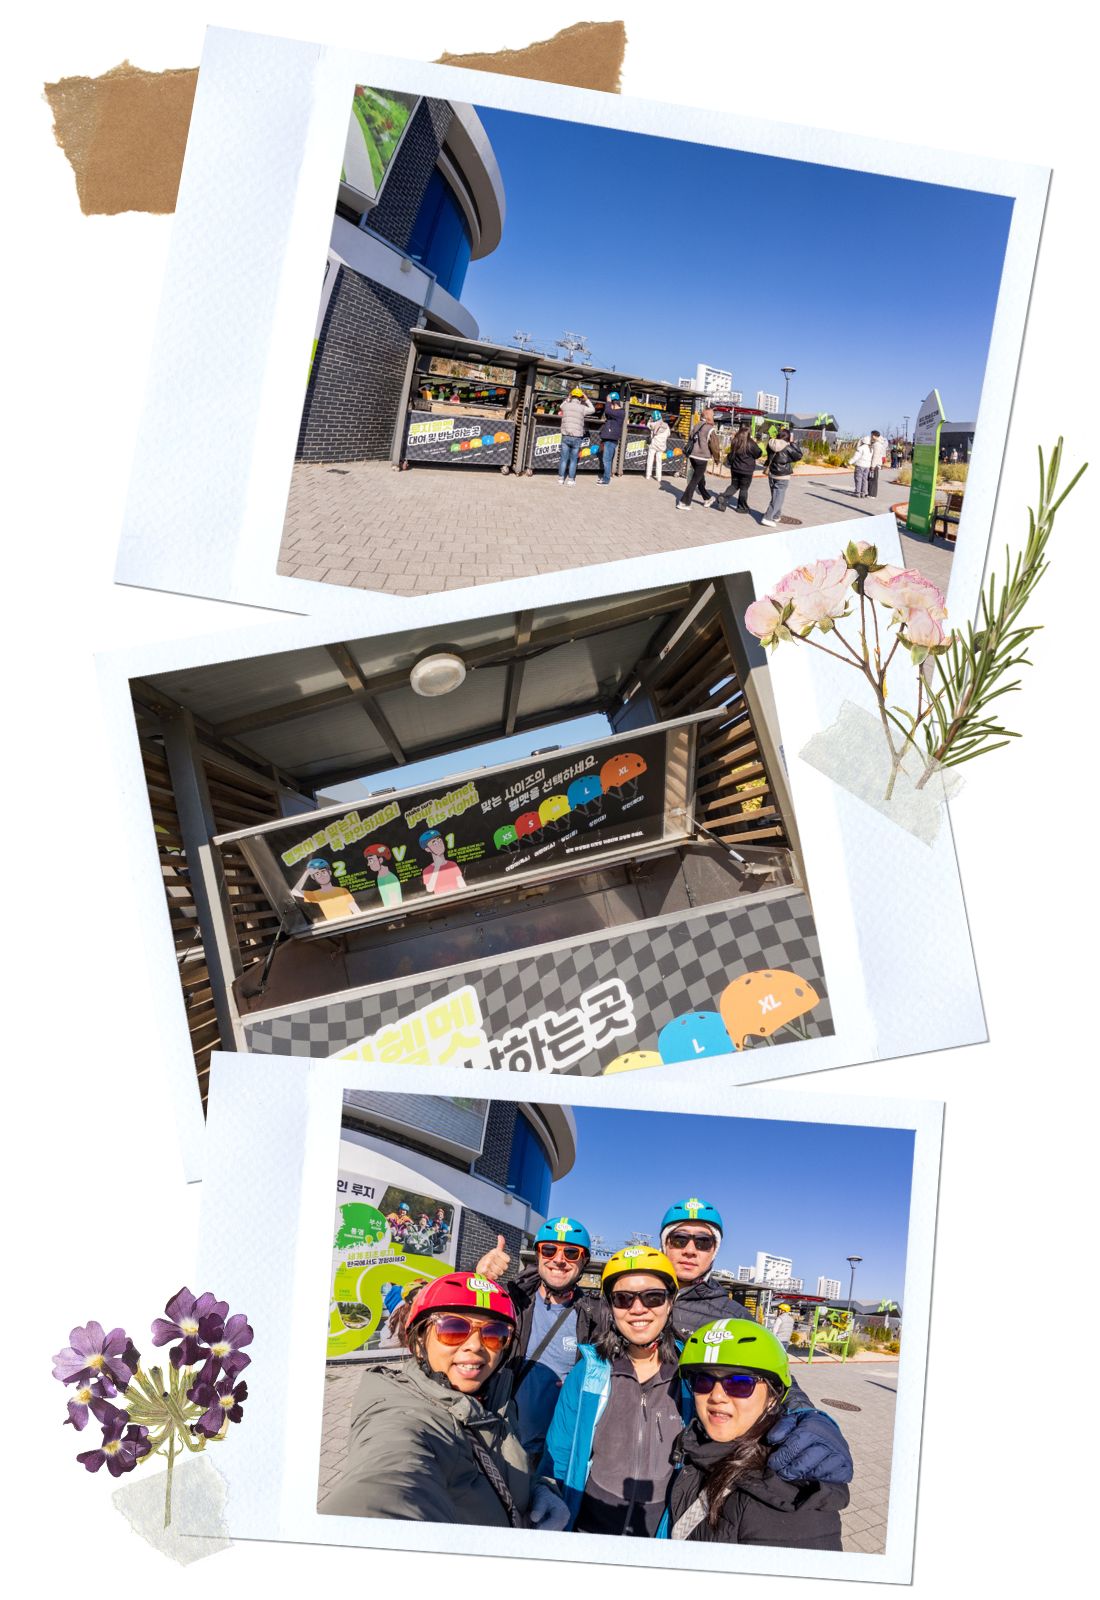
Once we locked all our personal items away, we were ready for a fun adventure. First things first: helmet. The helmet bins are located between the ticket booths and the chairlifts. The helmets are all color-coded by size. Once we had our helmets, we made our way toward the chairlift. It takes about 15-20 minutes per run. If someone in your group is not going, they can either watch you from a viewing area near the lockers or spend some time at the small convenience store across from the ticket booths.
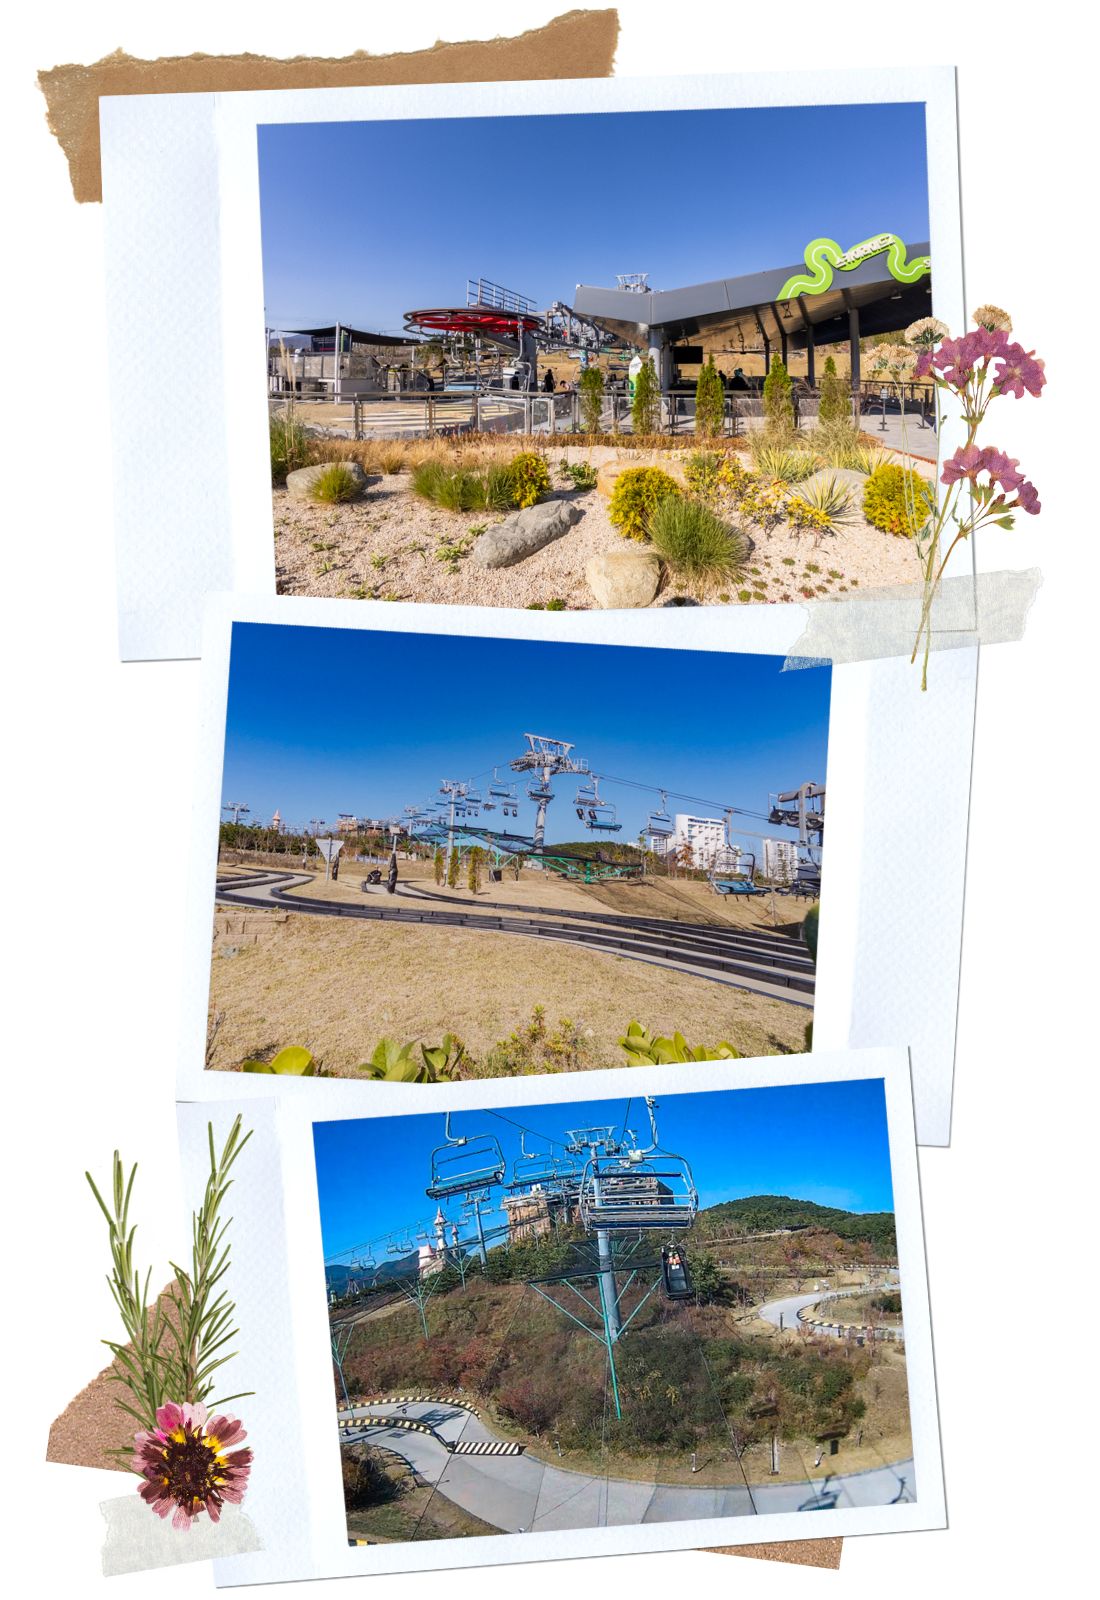
Since we visited Busan Skyline Luge on a weekday morning, there wasn’t any line at the chairlift. We were able to get on as soon as we got there. The chairlift part was pretty fun. You’ll be climbing about 330ft up the hillside. Along the way, you’ll get a bird’s-eye view of the various tracks below. We also got to watch other riders flying down the course. From the chairlift, we also saw beautiful views of the coastline.
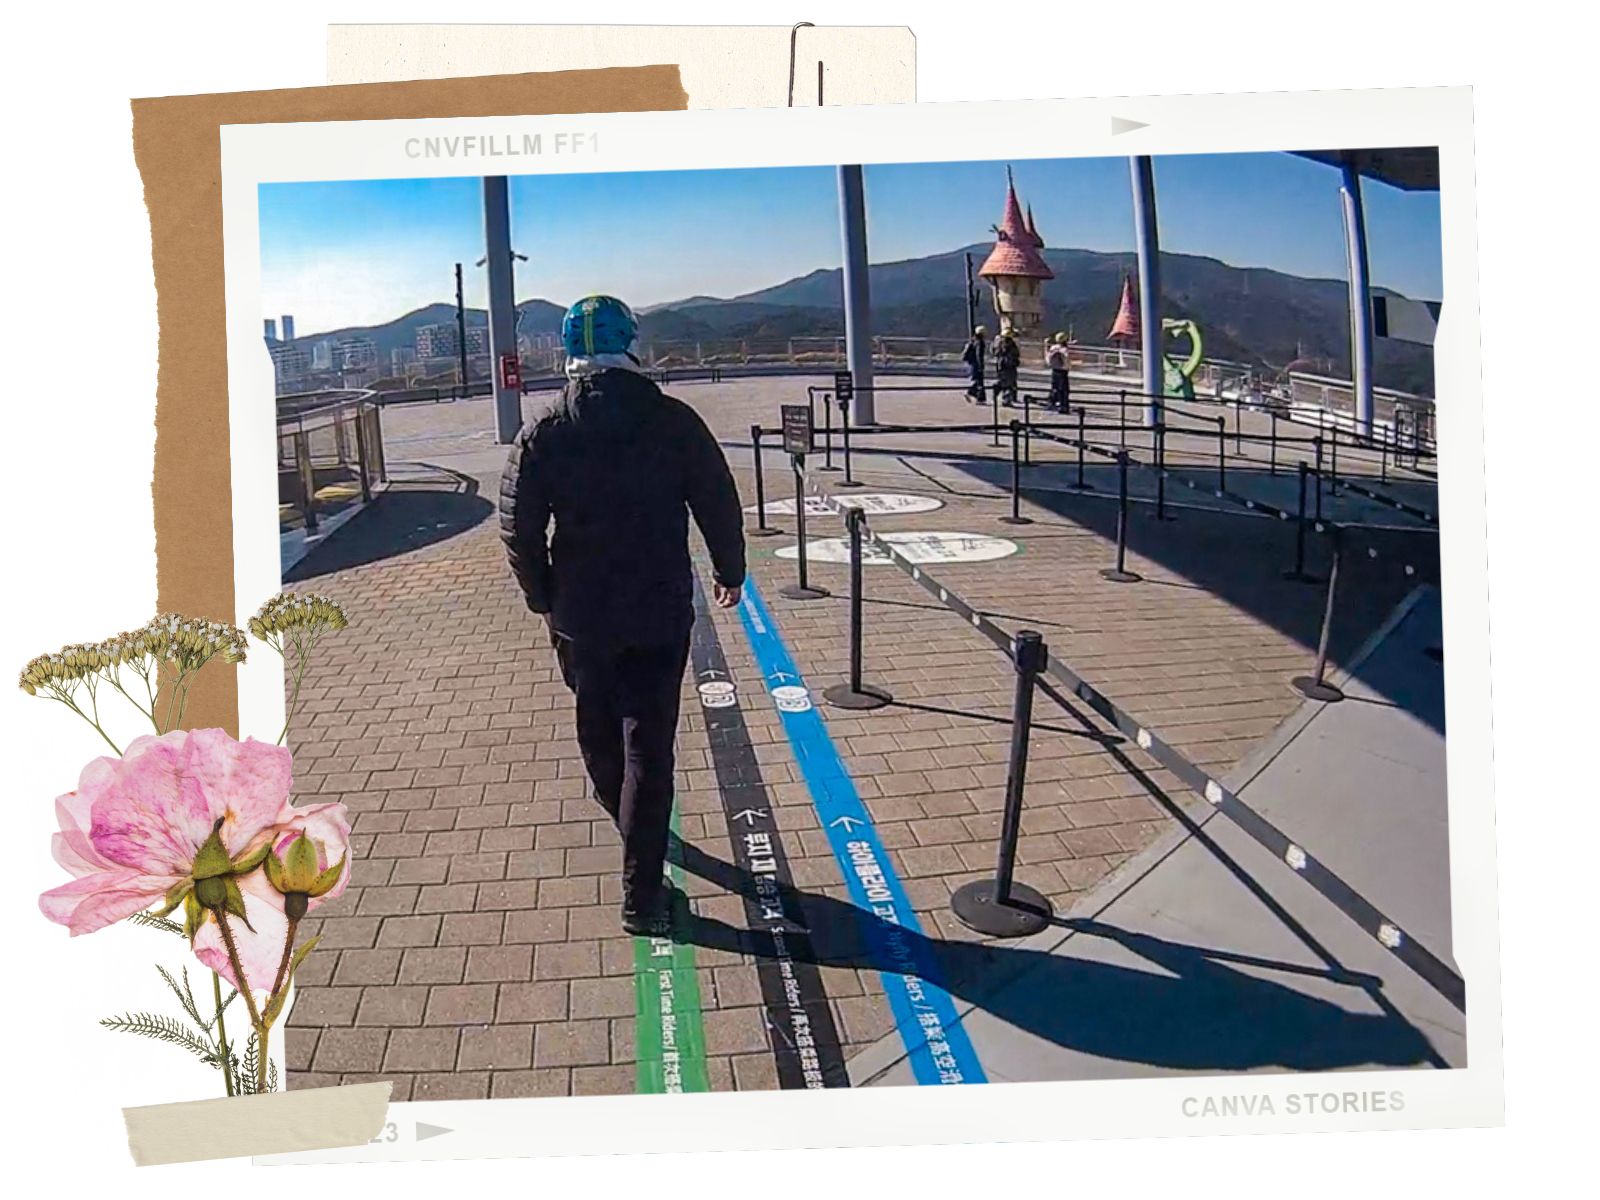
Once we got to the top, we saw 3 painted lines on the ground. These lines will show you where to go. Before that, don’t forget to take some time at the top to look at the views below. There are also a few photo ops up here for those who want to take photos.
If you’re ready for your luge ride, follow the painted lines. The green line is for first-time luge riders, the black line is for return riders, and the blue line is for the zip line. If it is your first time, there is a small orientation at the start, showing you how to operate the cart. If you already know what you’re doing, you can go to the black line.
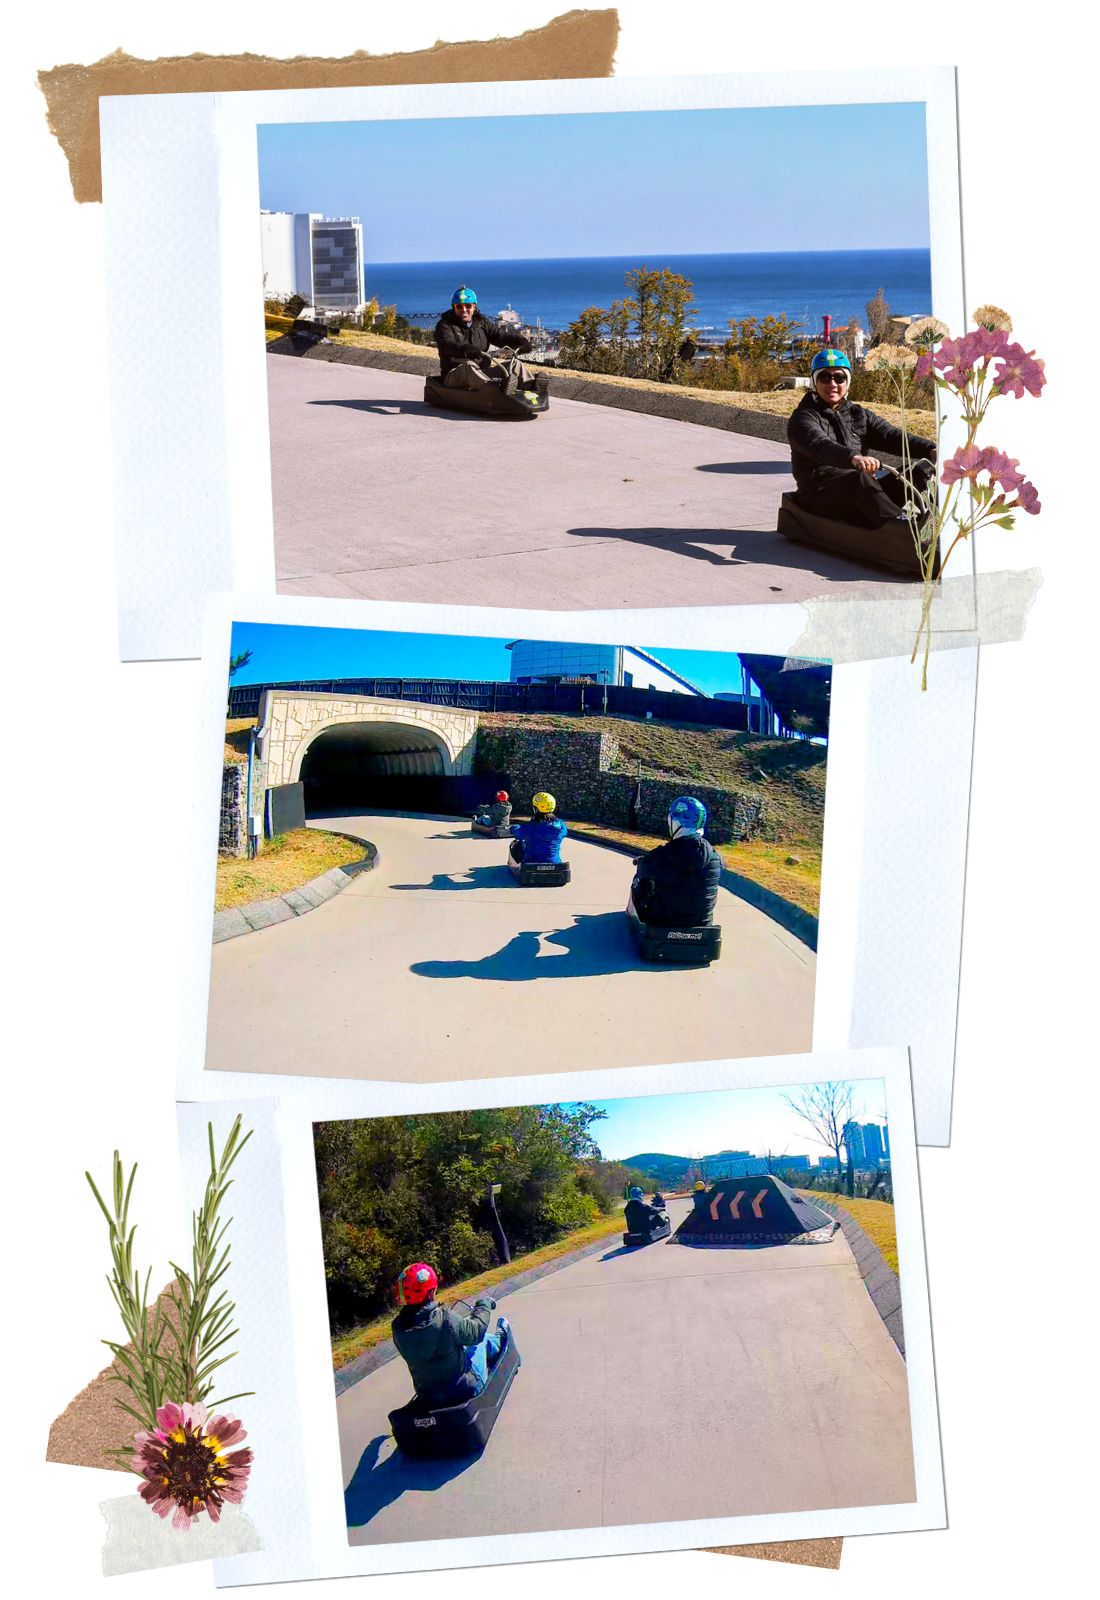
These carts are not motorized; the entire experience is gravity-driven. That being said, these hills can get pretty steep, and with that comes speed! As we said above, we recommend doing at least 2 runs. On your first run, you’ll be spending time figuring things out and getting used to the carts. On your second run and thereafter, you’ll be more experienced. This means you can really have some fun on the course.
The track is about 1.5 miles. There are several different courses. Regardless of whichever routes you take, they are all interesting and fun. There are obstacles along the way as well. So, make sure to keep an eye on the road. Some of our group, Danny and Dustin, went really fast. The rest of us took it a bit slower. I really liked how the cart handled the corner, and the brakes worked great. Even my sister, who was a bit more timid, enjoyed both of her rides.
If you are going to be in Busan, this is a really fun adventure for the whole family. Besides Busan, the Skyline Luge also has other locations in Malaysia, Singapore, Canada, and New Zealand.
Happy Adventuring. Don’t forget to check out the related posts below for more inspiration on your upcoming adventures. While at it, follow us on Instagram and subscribe to our YouTube channel! We’ll love you forever!
These are the gear that we personally use and find helpful for this particular adventure. Don’t forget to check out our Recommended Gear section as well.


Our favorite biodegradable, eco-friendly, reef-safe sunscreen!


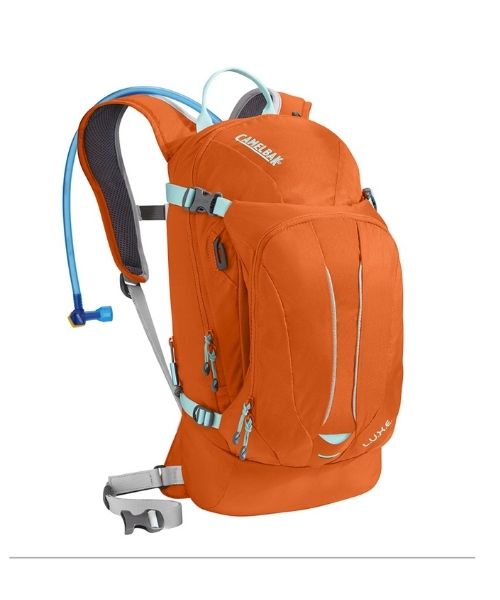
This is Vy's favorite hiking bag! It has tons of room for snacks and water!
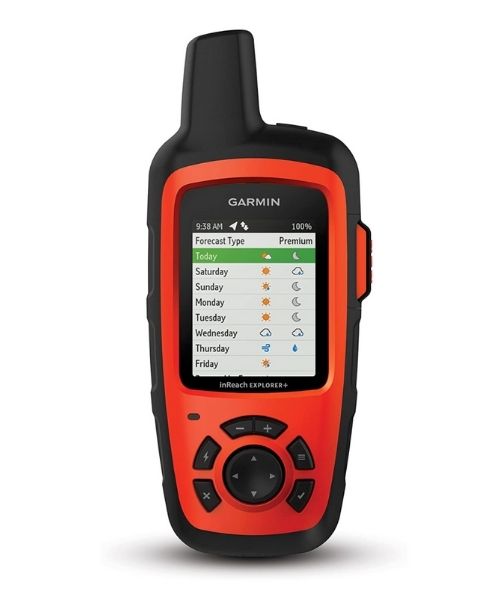
It's always good to bring a GPS tracker with you. We use the Garmin inReach.
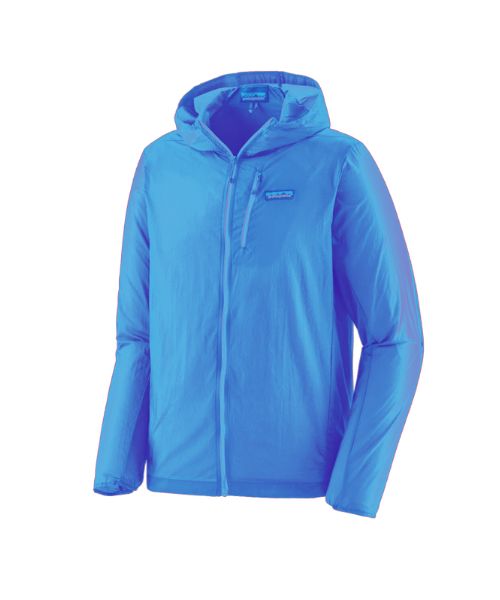
This jacket is packable into a super small and light little ball. Perfect for when you just need a little…
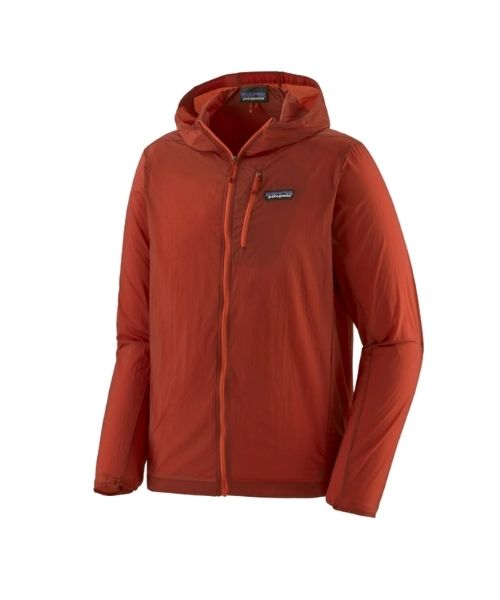
This jacket is packable into a super small and light little ball. Perfect for when you just need a little…
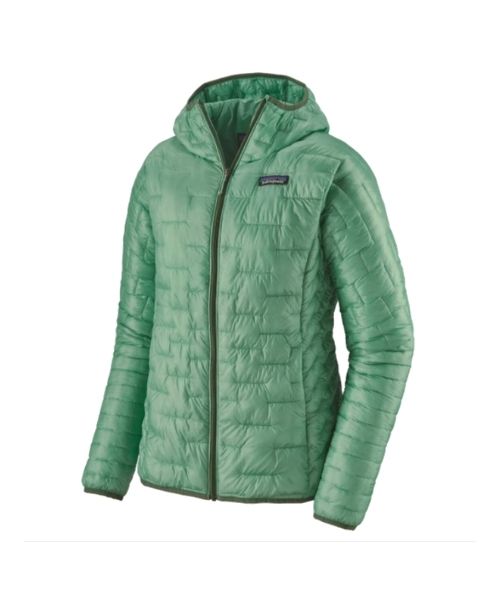
Our favorite hiking/travel jacket. It's warm and packable, perfect to bring on a hike or a road trip.
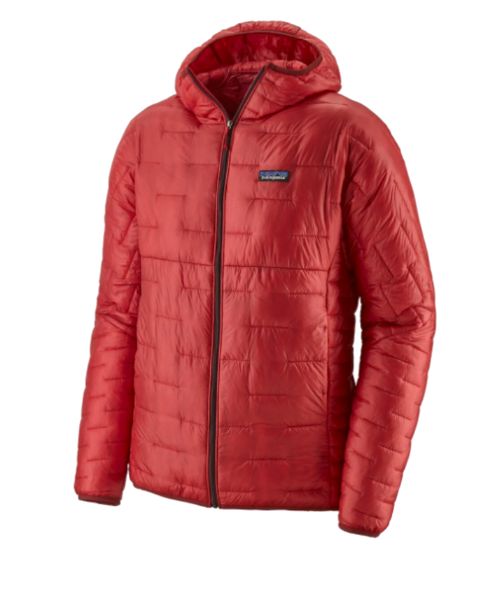
Our favorite hiking/travel jacket. It's warm and packable, perfect to bring on a hike or a road trip.

If you tend to have foot blisters on hikes, get this! We use this all the time.
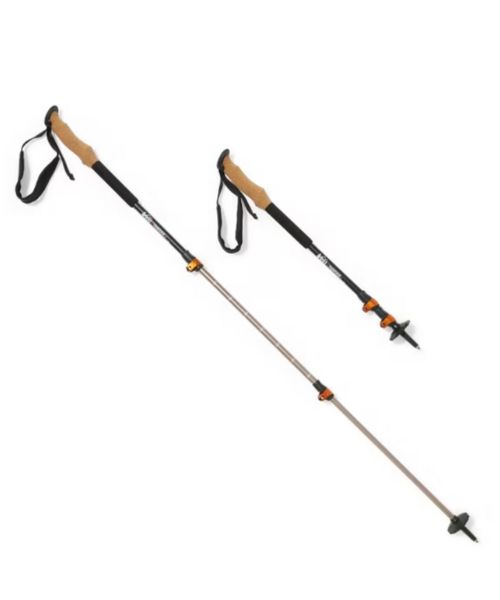
These hiking poles are sturdy, and great to help keep your balance on short or longer hikes
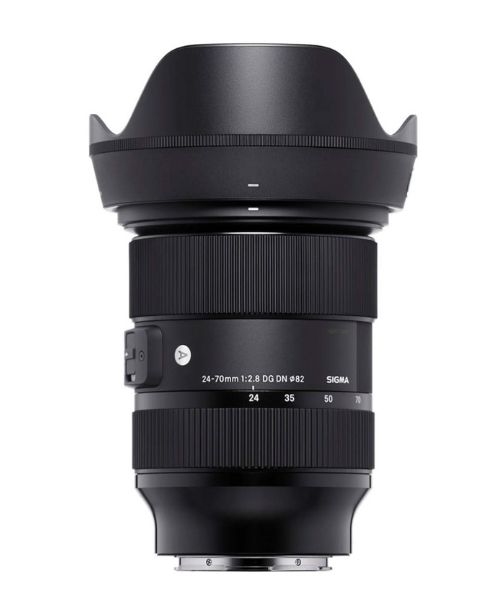
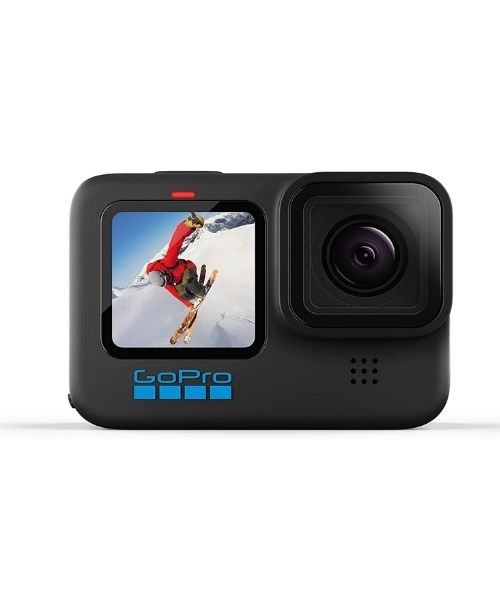
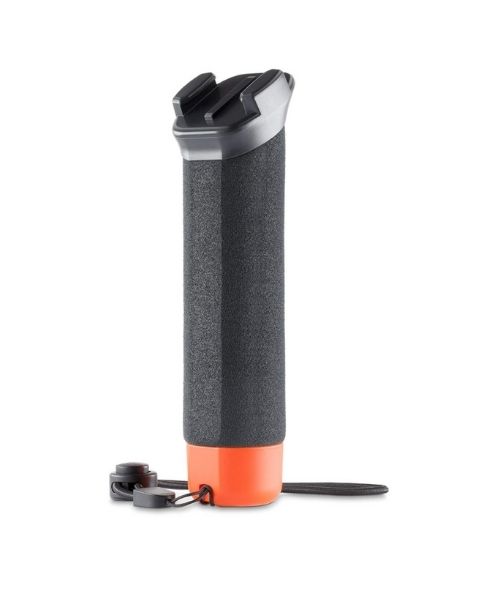
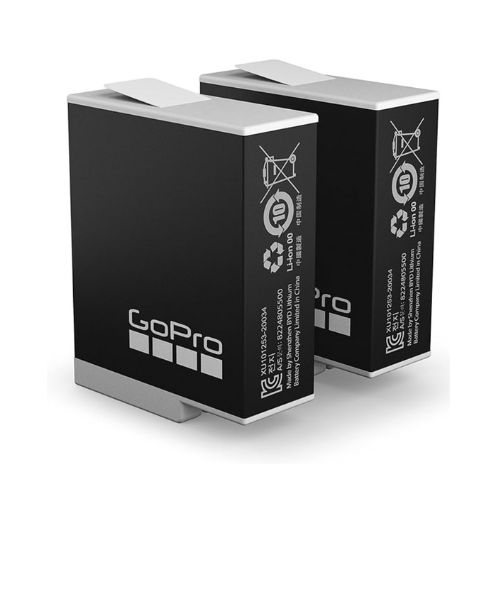
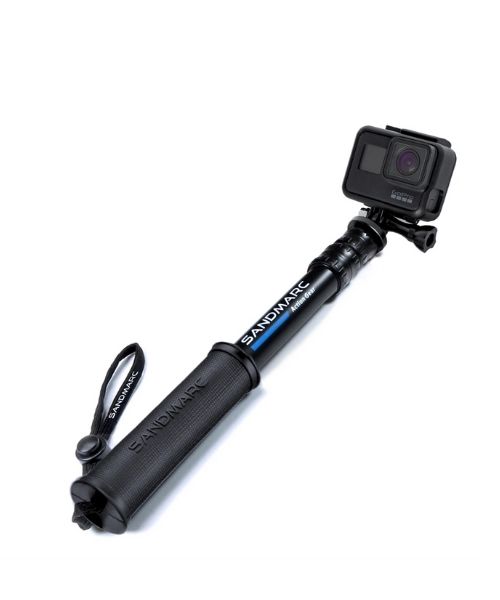
Compact GoPro pole that extends to 25", perfect to bring on your adventure.
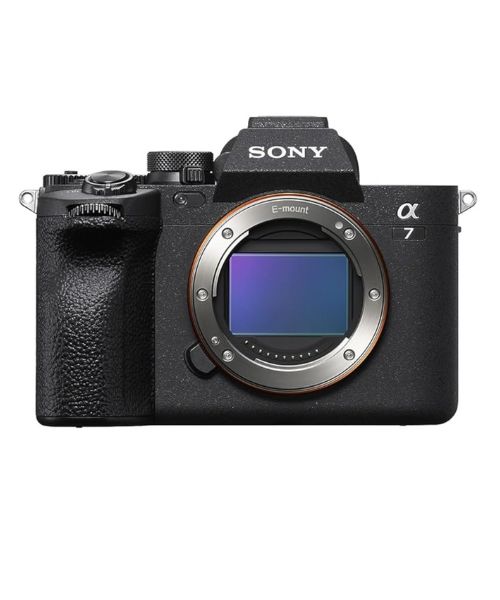
This is our go-to camera for all of our adventures. It comes with us everywhere!
Nice to meet you!
Hi! We are Dustin & Vy, the proud creators of Live That Adventure. We created this website because we wanted to inspire others to live their lives to the fullest. On here, you’ll find everything from hiking, canyoneering, kayaking, and snorkeling to adventure and travel tips, gear reviews, and bucket list items such as bungee jumping or wing walking. We’ll show you the ropes so you can do them too!
Subscribe
Get our best adventure tips, guides and more send to you!