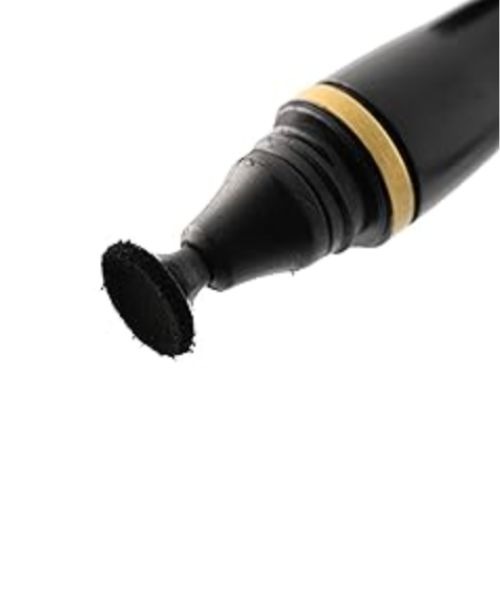
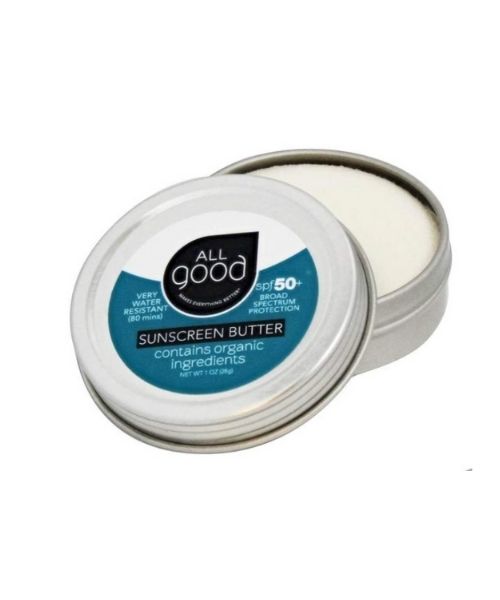
Our favorite biodegradable, eco-friendly, reef-safe sunscreen!

Our favorite biodegradable, eco-friendly, reef-safe sunscreen!
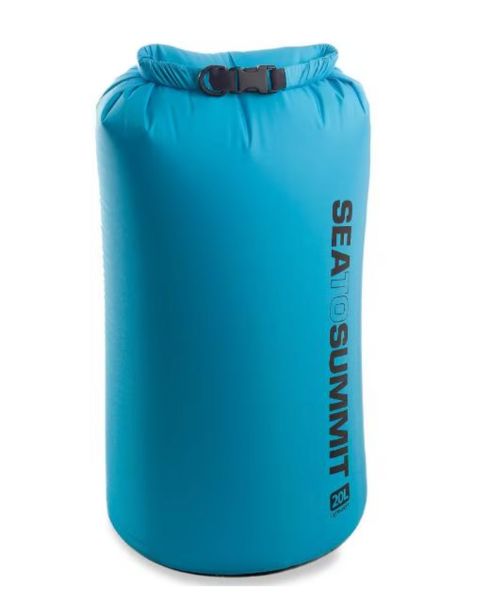
We use these dry bags on everything water-related from canyoneering, kayaking, jet skiing, and more. They are durable and definitely…
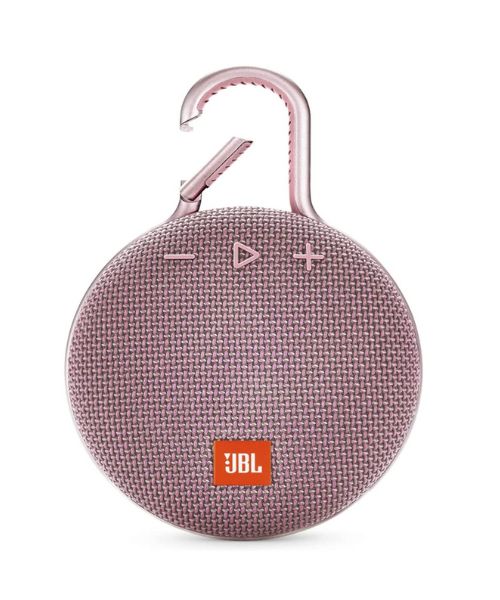
This speaker is compact and waterproof, perfect for a day on a kayak or paddleboard.
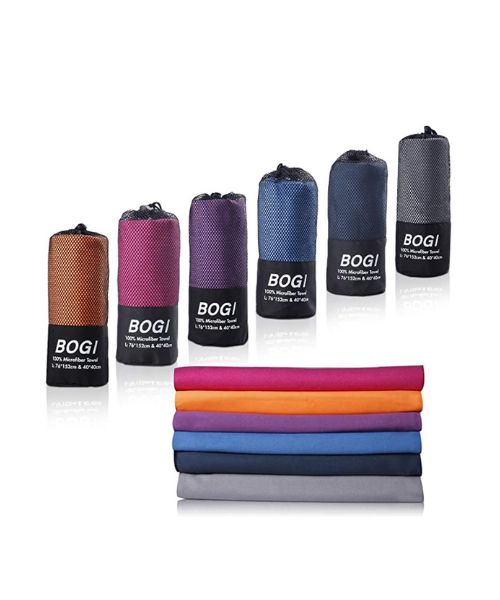
This little towel is light, packable, and dry very quickly! We bring it on almost every adventure, from camping, road…
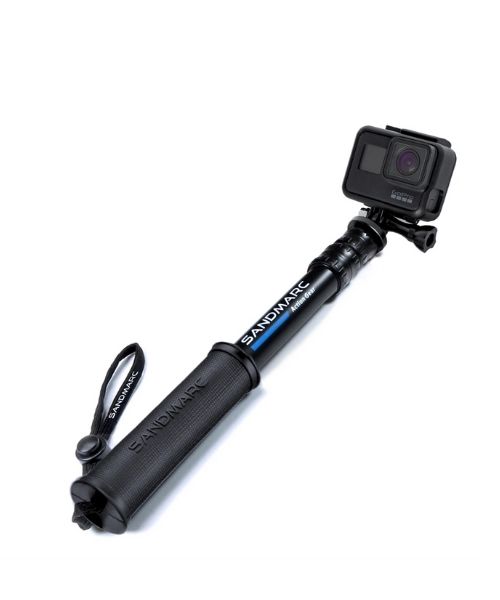
Compact GoPro pole that extends to 25", perfect to bring on your adventure.
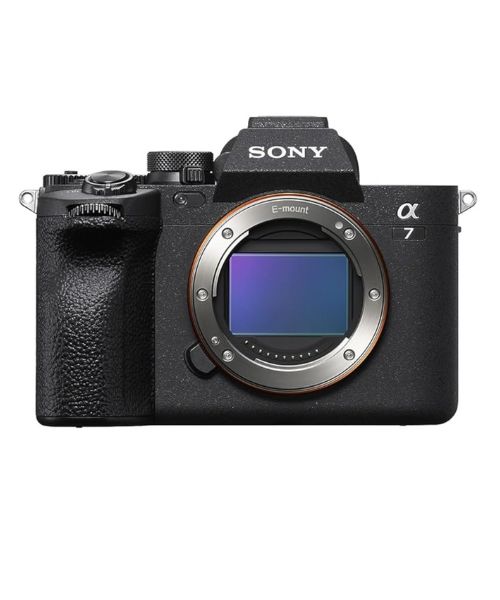
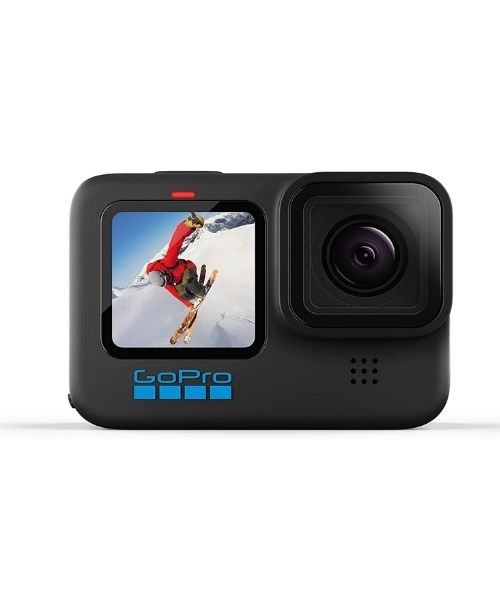
This is our go-to camera for all of our adventures. It comes with us everywhere!