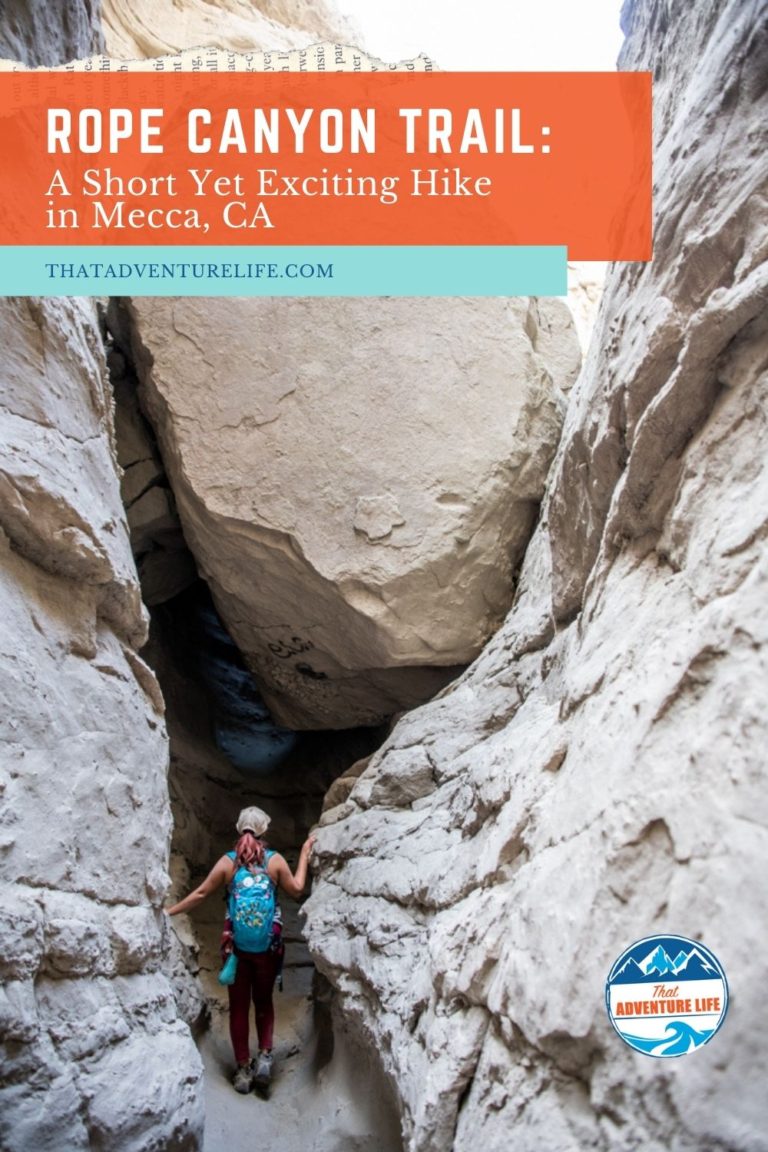
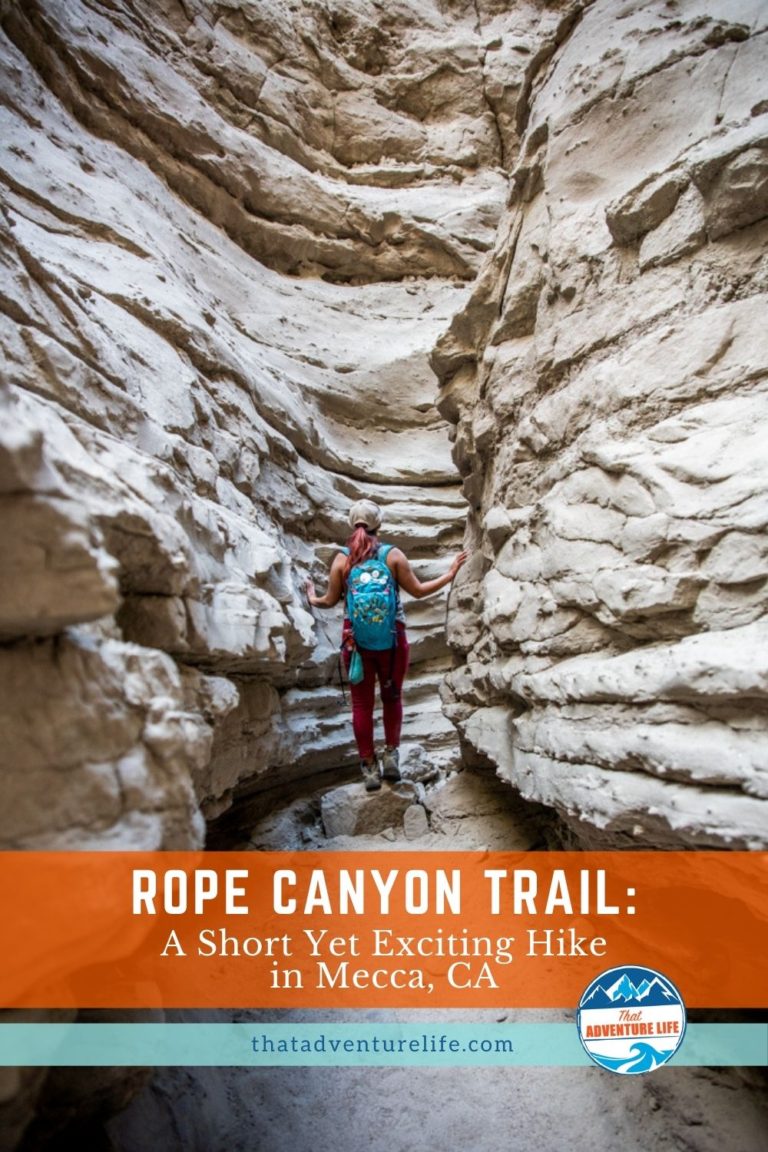
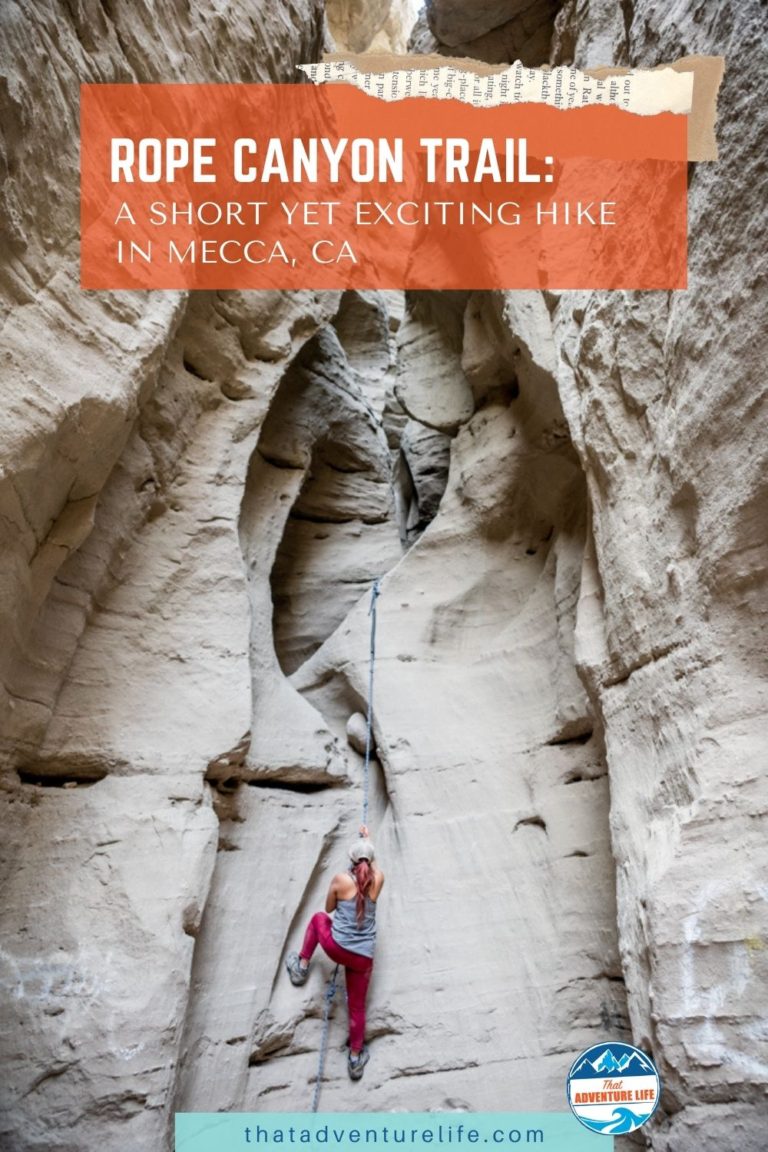
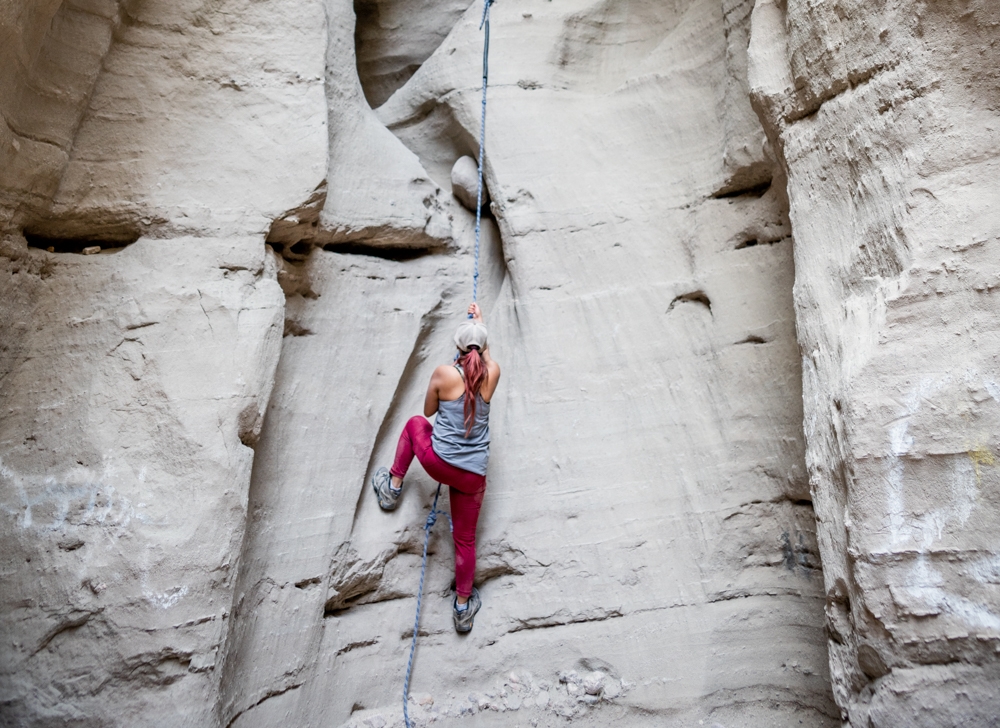
As many times as we hiked Painted Canyon and Ladder Canyon near Palm Springs, we had no idea about its exciting sister trail. This trail is Rope Canyon Trail. Rope Canyon Trail is a short, yet exciting hike that features ladders, slot canyons, and at least 4 fixed rope climb with the highest being 20ft vertical walls. This trail is NOT for beginners. However, if you are up for the challenge, it is a fun hike all on its own or in addition to Ladder Canyon and Painted Canyon trail. Since it is a great trail for team building, we brought the Adventure Crew with us.
Note: This trail is NOT for beginners. The rope climb is no joke. Even though there are plenty of footings on the walls, it is pretty high. You need to be comfortable with rock scrambling and have some rope climb experience. You also need to be able to squeeze through a tight slot canyon and crawl under some boulders.
Stats
Where
Parking:
Painted Canyon Rd, Palm Desert, CA 92260
33°37’08.7″N 115°59’57.8″W
Rope Canyon Trail trailhead:
33°37’11.8″N 115°59’54.2″W
Fork to ropes if you are going the reverse route:
33°38’01.0″N 115°59’35.6″W
Parking
Parking is a big sandy area, right in front of the Ladder Canyon trailhead.
Restroom
There is no restroom
Fee
Free
Weather
Distance
2.4 miles loop
Elevation Gain
550 ft
Level
Difficult due to the vertical rope climb and some navigational skills.
Time:
1 – 3 hours
Pet-friendly
We wouldn’t recommend bring your pups though.
Ideal Weather
Winters and Springs are the best seasons to go. It gets VERY hot here in the summer. Also, since it is a slot canyon, please don’t go when rain is in the forecast. There might be a flash flood.
Ideal Time
We recommend going in the morning. It’s cooler and give you more time if you feel like extending the hike longer.
Video
The Adventure
Getting to Rope Canyon Trail Trailhead
Rope Canyon Trail starts at Painted Canyon trailhead and parking lot. It is located on Painted Canyon Road in Mecca, California. You should be able to use Google Maps to find your way to the trailhead. Be sure to have plenty of gas. You will be heading out into an area that is a little ways from civilization. There is a fair amount of traffic coming through the area, but it’s not the kind of place that you would want to break down.
Painted Canyon Road is a 4.7 mile dirt road full of washboard and soft sand. Most of the time, it is doable for a regular sedan. We’ve seen a few that made it there. However, 4 WDs are highly recommended due to the soft sand. It is a beautiful drive.
Rope Canyon Trail Map and Trail Info
Rope Canyon Trail can be difficult to find and navigate since there are no signages. It started out on the same trail as Painted Canyon/Ladder Canyon Trail. You can either loop it back to Ladder Canyon Trail (2.4 miles) or skip Ladder Canyon and use Painted Canyon Trail for a longer loop (maybe 5 miles?). In this blog, we’ll talk about the Ladder Canyon to Rope Canyon Loop.
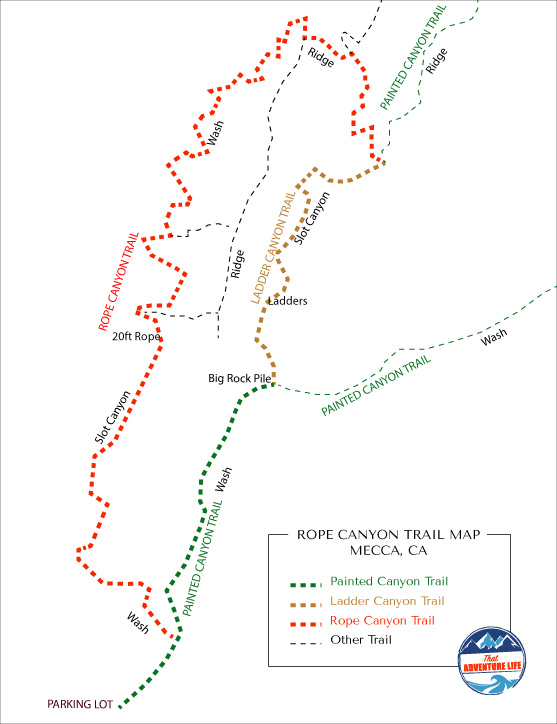
From the parking lot, follow the big sandy wash with towering walls on both sides. About 200 ft, there is an entrance for a small wash on your left. It is hidden behind the trees so make sure you pay attention. There is a big orange arrow painted on the wall. This is the start of Rope Canyon Trail. We also put the coordinates above for the trailhead. Since this is a loop, you can go either way. If you follow the Rope Canyon Trail here (clockwise), you will have to climb up the ropes. If you go through Ladder Canyon Trail first (counter-clockwise), you will climb down the rope instead.
There are pros and cons for each route. Going clockwise will require more upper body strength to go up the rope. Plus, you won’t be able to inspect the condition of the ropes. However, you will have a better idea of where all the footings are on the walls. If you go counter-clockwise, you won’t need as much upper body strength to climb down the rope. You can also make sure the ropes are in good shape. The bad thing about this route is that it can be intimidating staring down the 20ft drop and not being able to see where all the footholds are. We opted for the counter-clockwise route. This way, we can make sure the ropes are in good condition before trusting our lives on them. Always make sure to check out the ropes before you use them!!
Through Ladder Canyon Trail
About 0.5 miles from the parking lot, there is an arrow made from a pile of rocks on the floor of the wash. You’ll want to turn left here and go under the big pile of boulders. Going straight on the wash will take you through Painted Canyon Trail, which you can do for a longer route.
Under this pile of boulders, you’ll encounter your first ladder. It is a small opening to climb up to the top. Be careful when you’re climbing these ladders. Some of them have broken rungs. It is possible to go up and around the boulders instead of climbing up the ladder. Once you get up the ladder, it is a short walk to another pile of big boulders. To get over this, you can go right and carefully walk along the narrow ledge through the gap between the boulders and the rock wall. The more popular route is to go straight and climb up the well-worn path. Once on top, there is a ladder for you to climb back down.
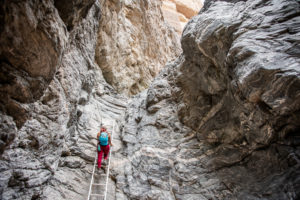
Once you climb down this ladder, the next one is right around the corner. This is where the slot canyon starts too. This third ladder is particularly picturesque, setting against the swirling slot canyon’s walls. The top of this ladder isn’t quite high enough to reach the top. You will have to pull yourself up. Once you’re up, there is a steep slope that you have to scramble up. It’s not as bad as it looks. The ground is pretty grippy.
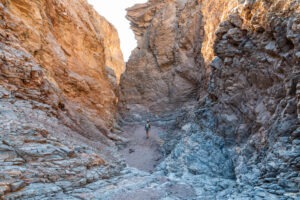
After this, you’ll enter another slot canyon. The slot canyon is a welcoming sight on a hotter day. It is not as colorful as Antelope Canyon, but I still think it’s super neat. At the end of the slot canyon, there is one more ladder to climb out. You will need to scramble your way to the top after the last step since the ladder is not tall enough.
The First Part of Rope Canyon Trail
Once get out of the slot, you’ll follow the wash for a short distance before there is a split on the trail. This split is not very noticeable. Keep an eye out for the painted orange arrow here. You’ll want to go left at this split. From here, the trail follows the wash and goes up the hill. It will take you up to the ridgeline.
This part of the trail can get confusing. If you have the All Trails app, use the recording option to guide you through this part. Once you go up the ridgeline, there is a faint trail that loops back down to the valley floor. This is where you want to go. This trek down is quite steep. However, since the trail is mostly soft sand, you can dig your feet in to give you traction. Once you get down on the valley floor, you’ll want to follow the wash for quite a bit. There are orange arrows painted on the rock wall to let you know that you’re going the right way.
The Rope Section on Rope Canyon Trail
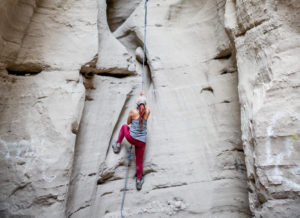
The first fixed rope marks the start of the slot canyon. This is the tallest vertical wall, about 20ft, that you have to climb down (or up). When we first looked down the vertical wall, we all looked at each other, contemplating whether we should be headed back the other way or not.
However, as a canyoneering expert, Anh took no time to examine the rope and anchors to make sure they were in good condition. He then proceeded to climb down the wall like a boss. It’s easier than it looks. There are footholds and crevices down the wall where you can safely place your feet. However, since you can’t see where you’re going, it would be helpful to have the more experienced person in your group go down first, then guide the less experienced one. It is also helpful to stay closer to the wall and lower your butt down first.
Right after the first rope, there is a big boulder that you have to crawl underneath to continue on your trail. After a short walk through the slot canyon, you’ll come up to the second rope. This rope is a short one. You shouldn’t have any problem climbing down this rope.
Before getting to the third rope, there is a down-climb spot that you have to pass through first. This down-climb can be difficult for non-experienced climbers or people with limited altitude. Anh, Jennifer and Dustin made it down with no problem. However, Natalie and I had a bit of trouble going that route. We ended up walking on the ledge on the right and go down that way. It is tricky, but it is easier than the other spot.
The third rope is not that long, but it is tricky. It goes down a corkscrew wall. It is super awkward to climb down. You have to hold on tight to the rope, yet at the same time, turn and push your body out to get out of that twisted corner.
The last rope is immediately right after the third one. This is the second tallest wall, but it is not that bad. The start can but a bit difficult, but once you go down, you should be able to lean against the wall. It is pretty grippy. Of course, good hiking shoes would help a ton and definitely recommended.
Getting Back
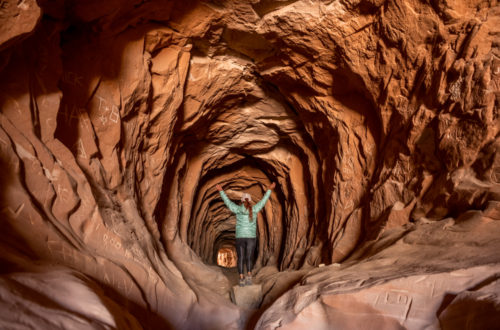
Once you complete the last rope, the slot canyon tightens up. There are a couple of spots where you have to crawl under giant boulders to get out. This part of the slot canyon can get pretty tight. Dustin has to take off his backpack to be able to get through a few spots. The slot canyon eventually ends and drops you back out on the wash. From here, it is an easy walk back to the main Painted Canyon trailhead and the parking lot.
Rope Canyon Trail is a challenging, yet super fun canyon. It is easier and safer if you do this hike with a group of experienced people. We had a blast with our Adventure Crew and can’t wait to go back again. If you have time, check out Painted Canyon and Ladder Canyon Trail. Don’t forget to check out our related posts below for more fun stuff to do!
These are the gear that we personally use and find them helpful for this particular adventure. Don’t forget to check out our Recommended Gear section as well.
adventure gear
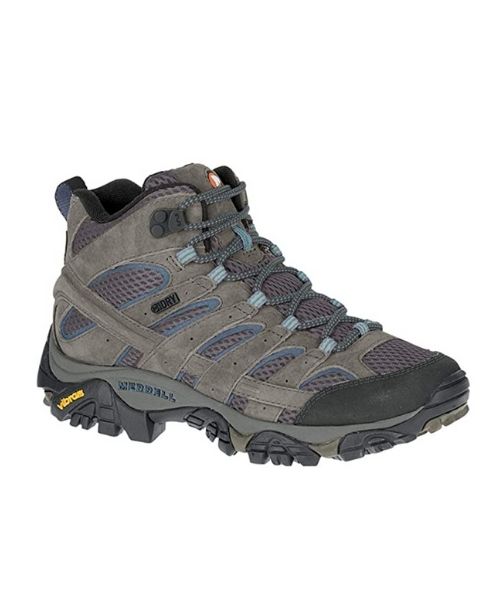
You need hiking shoes with good tractions for this. Vy uses the Merrell Women’s Moab 2 hiking boots
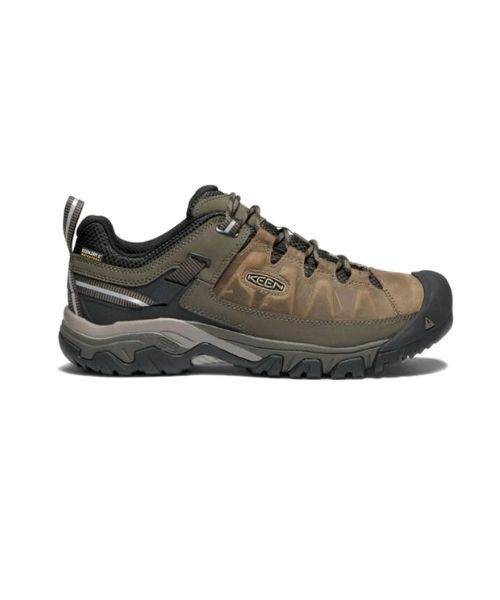
Dustin’s shoes are Targhee III Waterproof
There isn’t a lot of shade in the desert. Make sure to use lots of sunscreens! We use eco-friendly, reef-safe sunscreen, Stream2Sea SPF 30.
Face sunscreen is also important. We love these tinted, organic All Good Organic Sunscreen Butter.
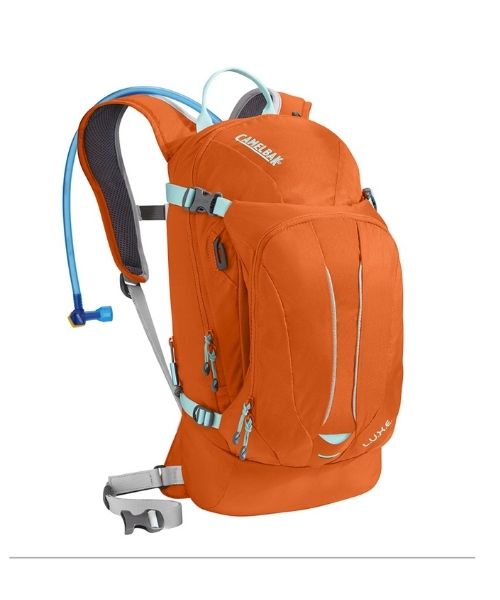
You should always bring plenty of water. Vy loves the Camelback L.U.X.E.
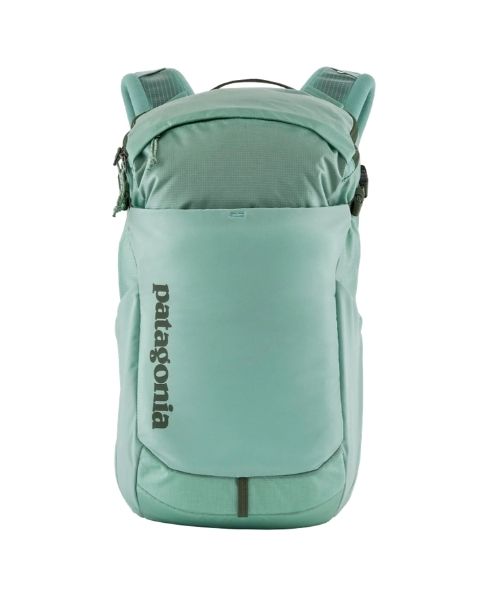
For shorter hikes, the Patagonia Women’s Nine Trails Pack 18L is perfect to hold water and your essentials.
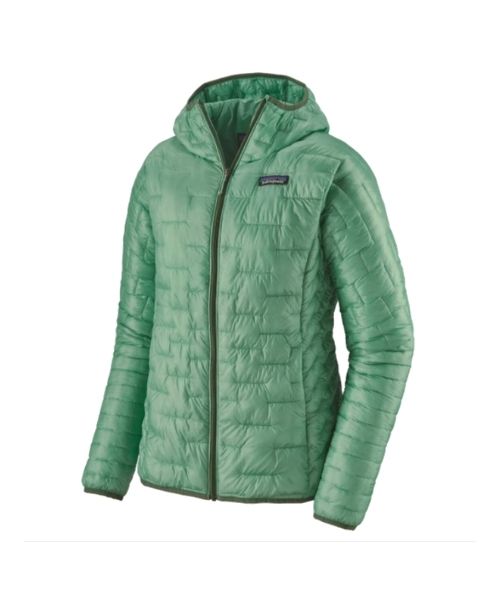
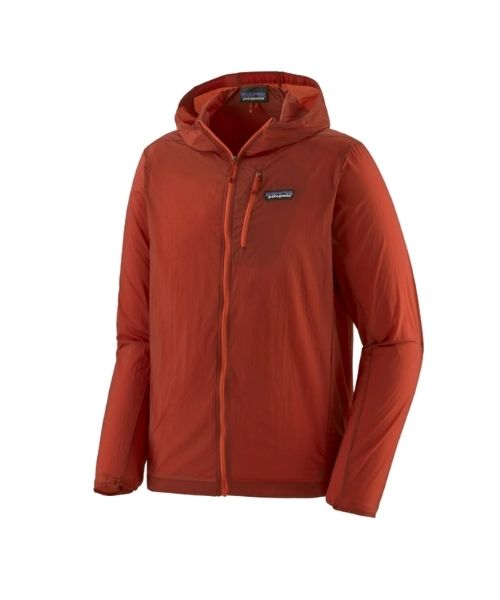
If you want something lighter, we love the packable Patagonia Women’s Houdini® Jacket and Patagonia Men’s Houdini® Jacket
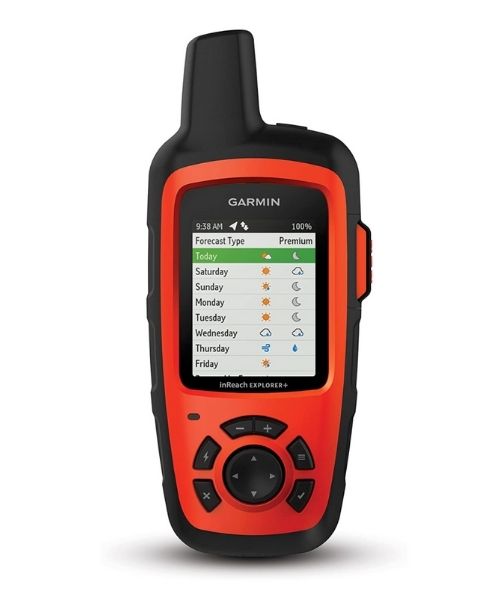
It’s pretty easy to get lost on this trail so a reliable GPS tracking is recommended. We use Garmin inReach.
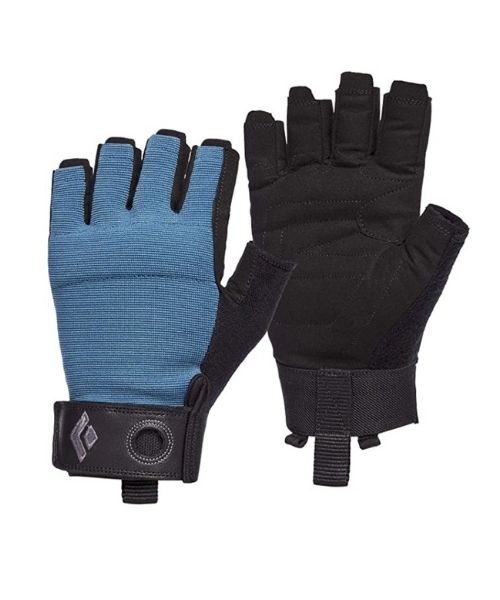
The ropes can be abrasive. You can use a pair of garden gloves to help with the ropes. We use these gloves to help us climb up and down.
other things to bring
- Always good to bring some snacks with you. For healthy and easy snacks, check out some of our recipes.
- Full tank of gas
camera gear
Related Posts
Save your pins:
