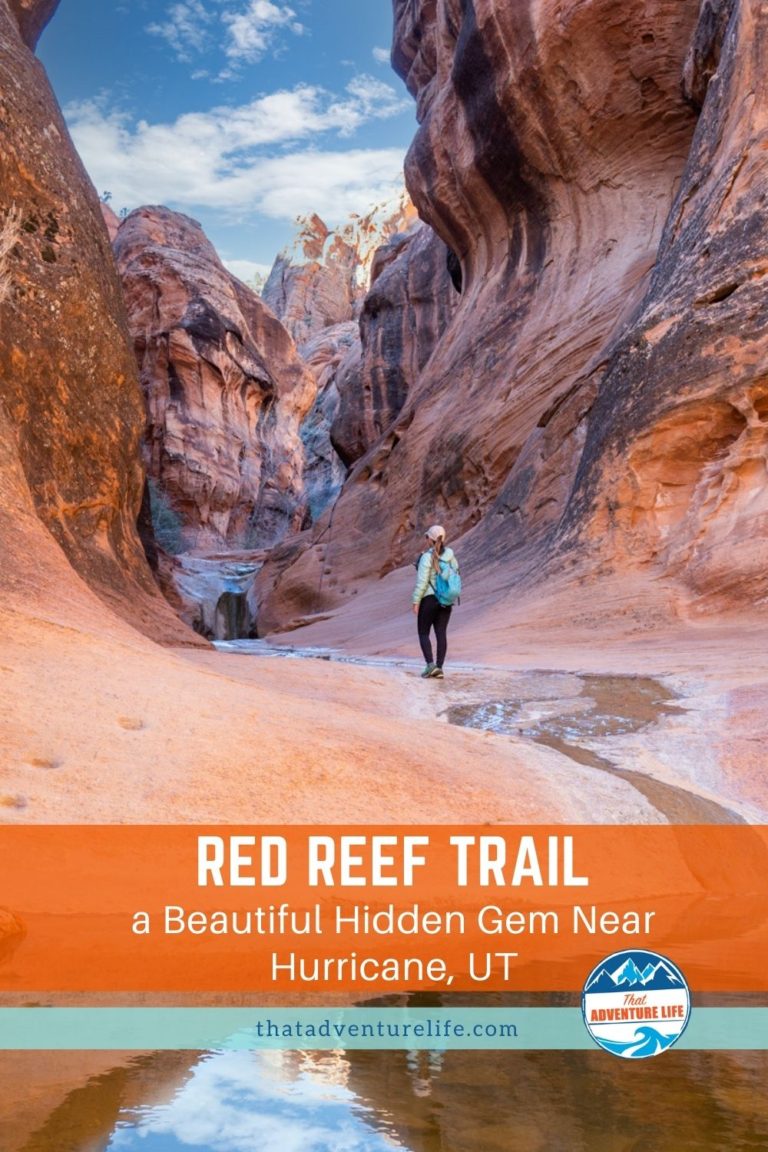
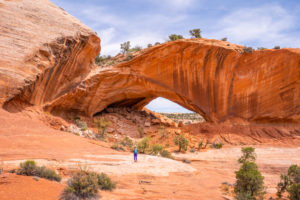
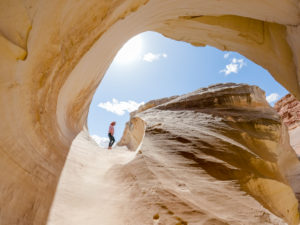
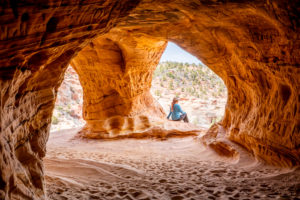
Ah, the power of social media! The reason we found out about this little gem of a hike called Red Reef Trail in Utah is from a post that our friend posted. Red Reef Trail, located inside the Red Cliffs Recreation Area in Hurricane is a unique and very beautiful trail. It features an interesting blind arch, amazing sceneries, and cascading waterfalls flowing into the natural slickrock bowls if you hike at the right time. The first 0.6 miles of this trail are easy. This is where the waterfalls and the slick rock bowls are. Most people turn back at this point. The rest of the trail is a backcountry hike that is rated strenuous and required good route-finding skills. You can also explore as far as you want before turning back.
Note: Please make sure to respect this beautiful place and the surrounding areas. Always practice LEAVE NO TRACE. This means no loud music, no graffiti, no taking artifacts or fossilized items, and pack out what you pack in! Please help us protect this place for generations to come!
Stats
Where
Red Reef Trail trailhead:
37°13’28.0″N 113°24’22.8″W
Parking
There is a very small day parking in front of the trailhead. Day use parking here filled up very quickly on weekends, holidays, and most days during the spring and fall months. If all designated day-use parking is full, you may use the White Reef Trailhead as an overflow lot. You will need to hike in to start the trail.
Restroom
There are vault toilets located near campsite 7 in the Red Cliffs Campground and at the Cottonwood and White Reef trailheads.
Fee
$5 per vehicle. Cash or check only. You can use the America the Beautiful Passes for free day-use.
Important Things
- The trail gets busy during the weekends, holidays and most days between Spring and Fall months. Get there early if you want parking.
- DO NOT ATTEMPT THIS HIKE IF THERE ARE CHANCES OF FLASH FLOOD.
- Rope might not be there.
Distance
- 0.6 miles each way to the waterfalls that cascade into slickrock bowls
- You can then go as far as you want. The whole trail is 5.7 miles.
Elevation Gain
90 ft
Level
Easy for the first 0.6 miles, then strenuous.
Time:
30 mins – 4, 5 hours depending on how far you want to go.
Pet-friendly
Pets are permitted, but they must be kept on a leash. DO NOT LEAVE THEM ON THE SIDE OF THE TRAIL!
Ideal Time
You can do this hike anytime, however, the best seasons to hike the Red Reef Trail is during the Fall and Spring. In the fall, the leaves provide an amazing contrast to the red rocks. In the early spring, the water is flowing which makes for beautiful views.
Weather
Video
Getting to Red Reef Trail Trailhead
Red Reef Trail trailhead is located at Red Cliff Campground, between campsites 2 and 3.
From Saint George (Northbound)
- From I-15 North, take the exit for UT-288 North toward Leeds
- Turn right onto Old Highway 91.
- After 2 miles, turn right onto West Red Cliffs Campground Road.
- Follow the campground road for 1.5 miles to the day-use parking.
- Red Reef trail trailhead is located between campsites 2 and 3
From Cedar City (Southbound)
- From I-15 South, take exit 23 toward UT-288/Leeds
- Turn left onto Silver Reef Road
- Continue for 480ft then turn right onto Main Street
- After 1.5 miles, continue south on Old Highway 91
- After 2 miles, turn right onto West Red Cliffs Campground Road.
- Follow the campground road for 1.5 miles to the day-use parking.
- Red Reef trail trailhead is located between campsites 2 and 3
The Adventure
The Start of the Trail:
We pulled up to the day-use parking lot at the crack of dawn on a freezing Tuesday morning. Even though this is a popular trail, we were the only ones there. The trailhead is not that hard to find as long as you have to coordinates. Also, there is a small metal sign marking the trailhead. The first 0.6 miles of Red Reef Trail are sandy but clearly marked.
The beginning of the Red Reef Trail is a flat, sandy trail. There is a cool tree stump that kind of looks like an elephant. Along the way, there are a few cool caves that you can climb up and explore. As we hike further in, the trail slightly goes uphill. It can get a bit confusing here because of other worn trails that were created by previous hikers. Luckily, there are markers along the way to mark the correct trail.
The Blind Arch
As we follow along the Red Reef Trail, we noticed a big blind arch/cave in the rock wall on the right-hand side. Of course, we had to go down to explore. Supposedly, there are petroglyphs on the ceiling of the arch. We didn’t hike all the way up though since we were short on time.
After leaving the arch, we continued on our way. As the red canyon walls started to narrow in, we also noticed there was water on the trail. Since we went at the end of March, there was a decent amount of water and ice. We had to cross back and forth across the water to stay on the trail. Even so, this part of the hike is beautiful.
The Main Event
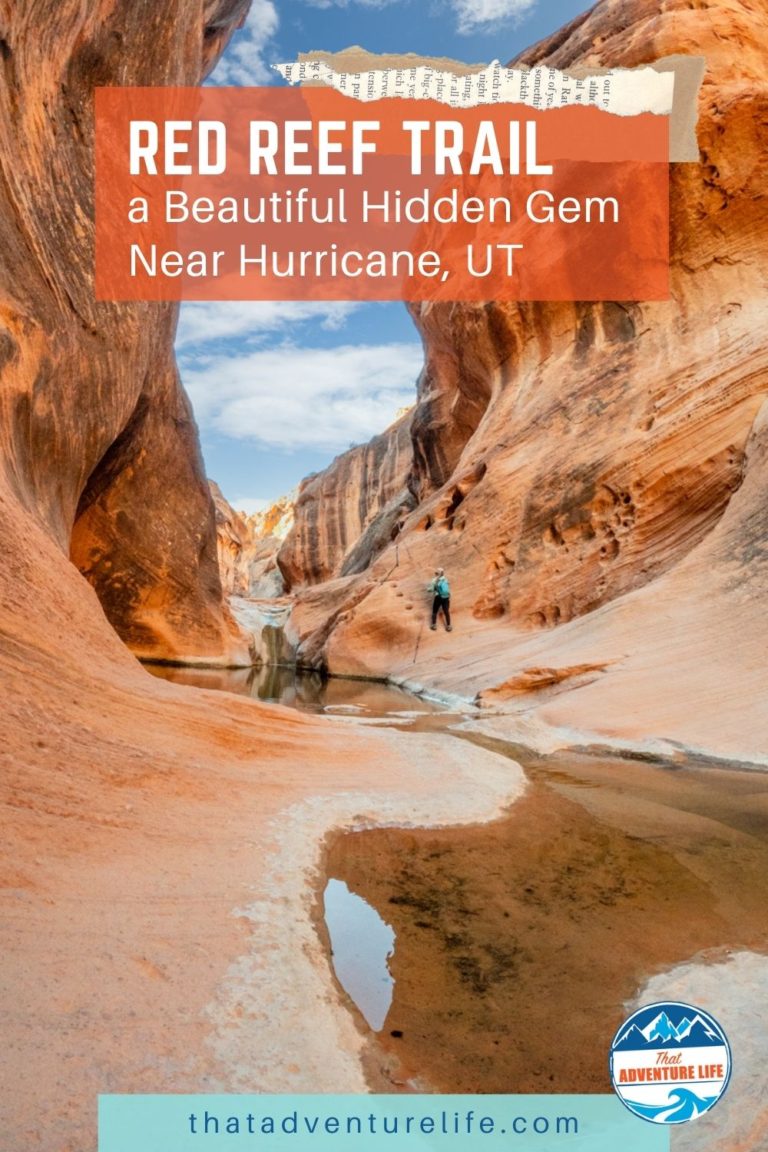
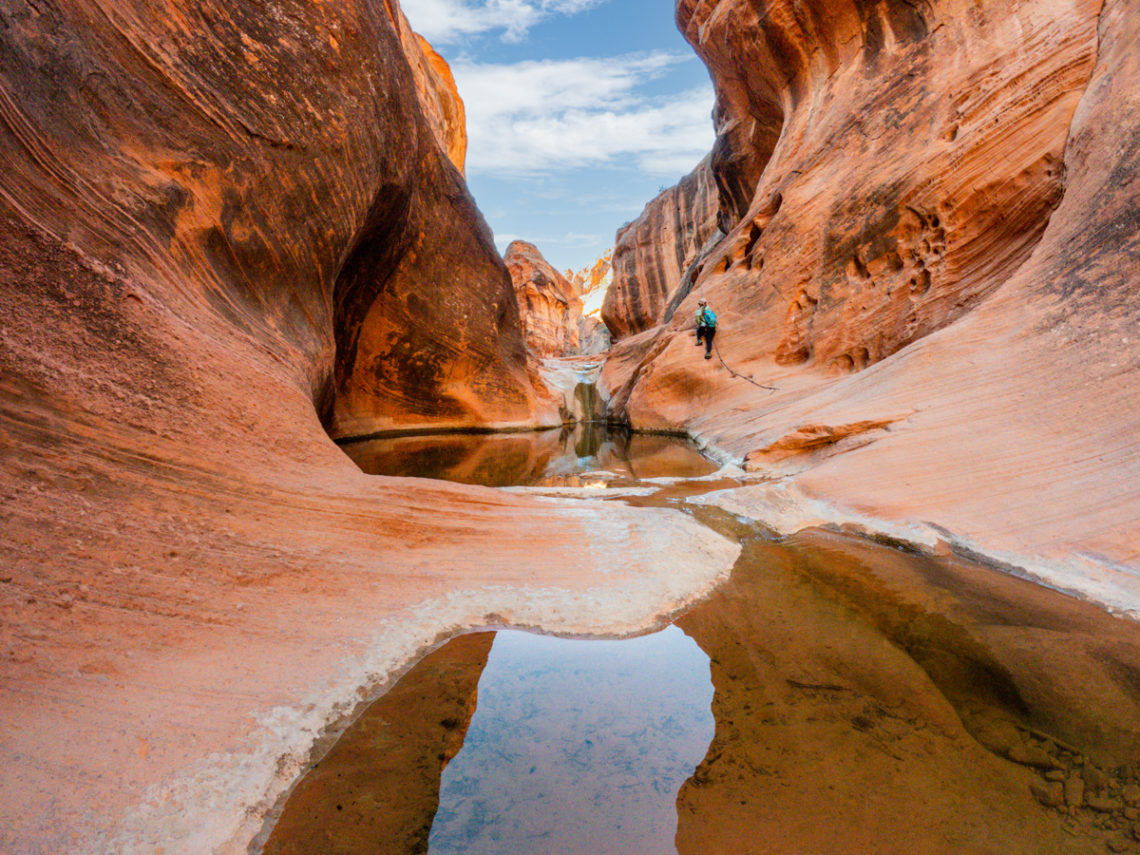
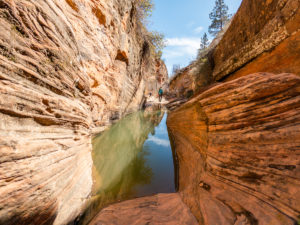
Soon enough, we reached the main event. It is the section where most people hike to for photos and turn back. There was a big pool at the bottom, following a narrow, slickrock canyon right above. We gingerly climb our way into the canyon above the pool. It can be slippery so watch your steps. If you go later in the summer or fall, this area might be dry.
This area is so surreal. It’s hard to describe what we saw here. I feel like pictures don’t really do this place justice. The glistening pools are cradled inside the towering red canyon walls. These pools are filled with short cascades of water. It might not look as beautiful during the dry seasons, however, if you get here at the right time, it is breathtaking.
The Obstacle
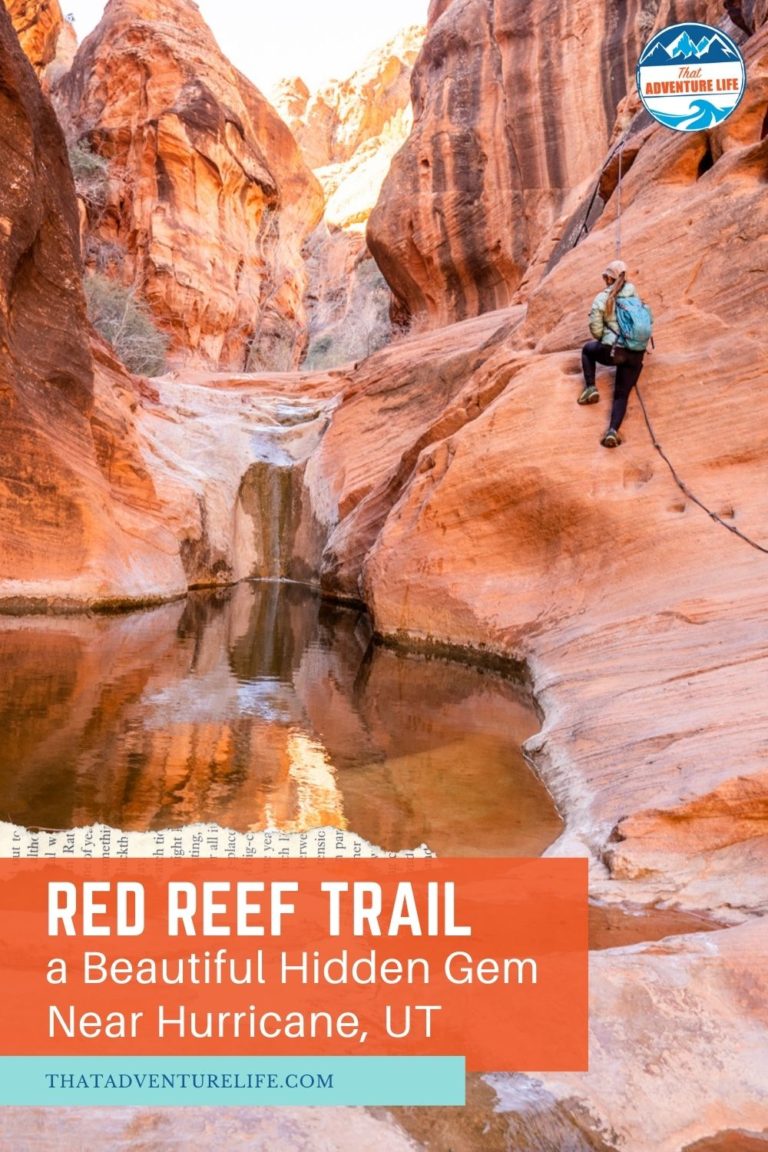
Above the pools are a series of small footholds carved into the sandstone. There is usually a rope or two there to help with the balancing. Please note that the ropes might not be there when you visit. If you decide to climb up and over this obstacle, please make sure to be careful. It can get slippery. Also, the switch over at the top can get a bit awkward. It is harder climbing back down than up though, in our opinion. Therefore, make sure you’re comfortable with climbing back down before going up.
The Trail Beyond
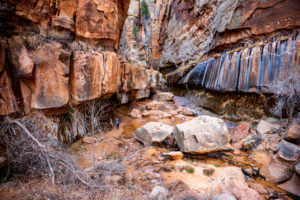
Once we climb up this obstacle, there isn’t a trail to follow. We ended up hiking along the canyon and the stream that runs in the middle of it. This part of the trail is also very beautiful. I can imagine the wildflowers blooming in the springs or the colorful leaves in the falls here. In this section of the trail, there is a lot of boulder hopping to avoid the water.
We eventually follow the stream via right to a slot canyon that was full of water. So, we decided to turn back to follow a worn trail that run along the left canyon wall. After some scrambling, we reached the base of a big rocky hill. It looked like we could scramble up to continue on. However, we were short on time and also weren’t planning to do a backcountry trail, so we decided to turn back. It is the same way going back.
Utah is such a gorgeous place to explore. If you’re heading to Zion National Park, don’t forget to check out some of the classic trails such as Emerald Pools, Kayenta Trail, Angels Landing, Watchman Trail or Canyon Overlook. Zion is also full of hidden surprises such as Lower Pine Creek, Cascade Falls and Many Pools. If you love surprise places, check out Moqui Caverns or Belly of the Dragon.
These are the gear that we personally use and find them helpful for this particular adventure. Don’t forget to check out our Recommended Gear section as well.
adventure gear
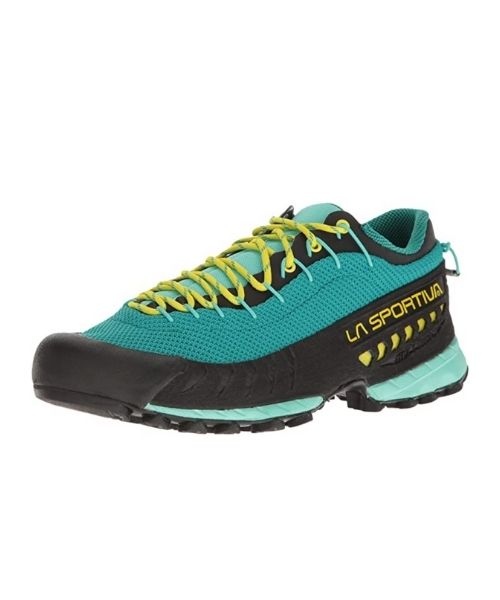
This is our favourite hiking shoes. We use them for canyoneering as well. Lots of traction. Vy’s version.
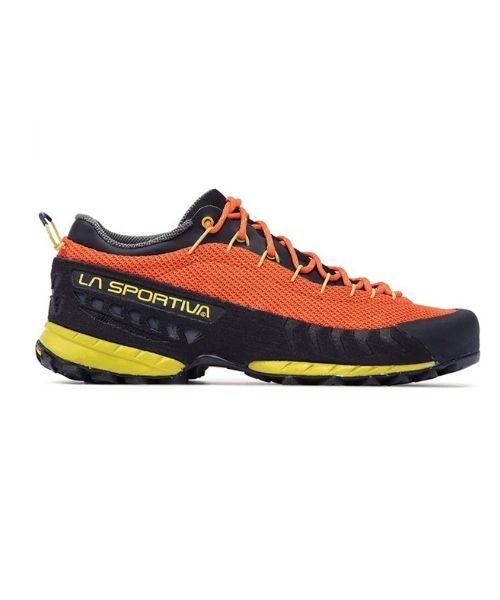
Dustin’s version for La Sportiva shoes
Make sure to use lots of sunscreens! We use eco-friendly, reef-safe sunscreen, Stream2Sea SPF 30.
Face sunscreen is also important. We love these tinted, organic All Good Organic Sunscreen Butter.
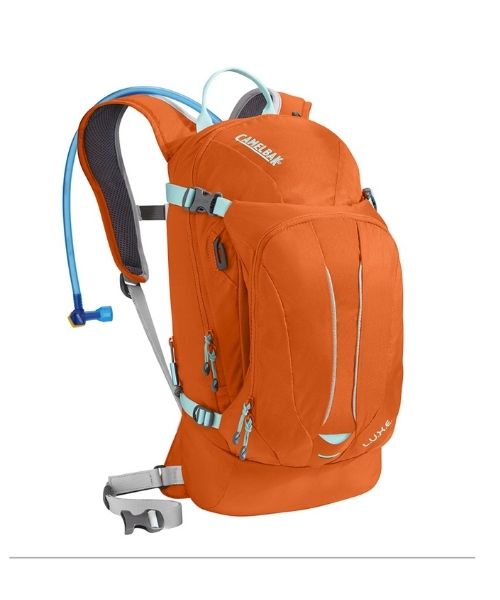
You should always bring plenty of water. Vy loves the Camelback L.U.X.E.
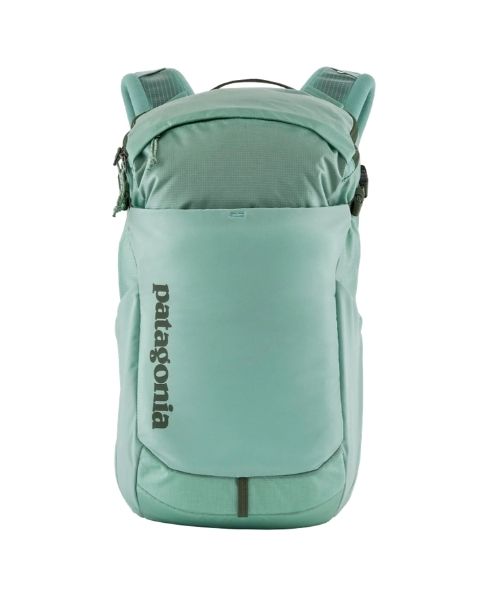
For shorter hikes, the Patagonia Women’s Nine Trails Pack 18L is perfect to hold water and your essentials.
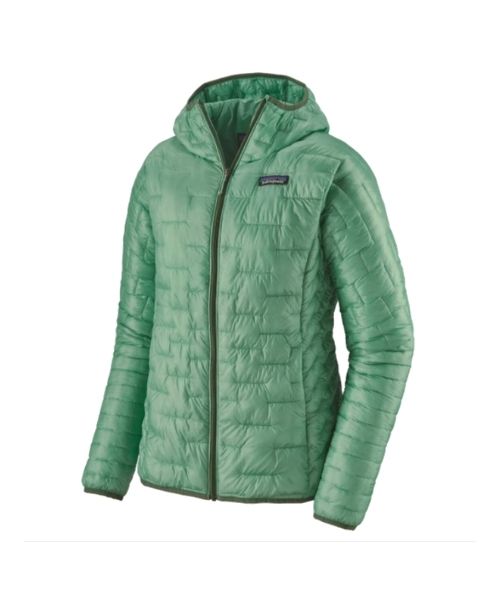
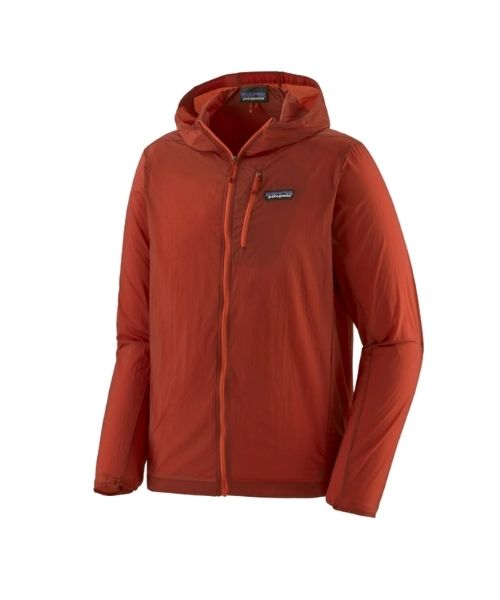
If you want something lighter, we love the packable Patagonia Women’s Houdini® Jacket and Patagonia Men’s Houdini® Jacket
other things to bring
Always good to bring some snacks with you. For healthy and easy snacks, check out some of our recipes.
camera gear
Related Posts
Save your pins:
