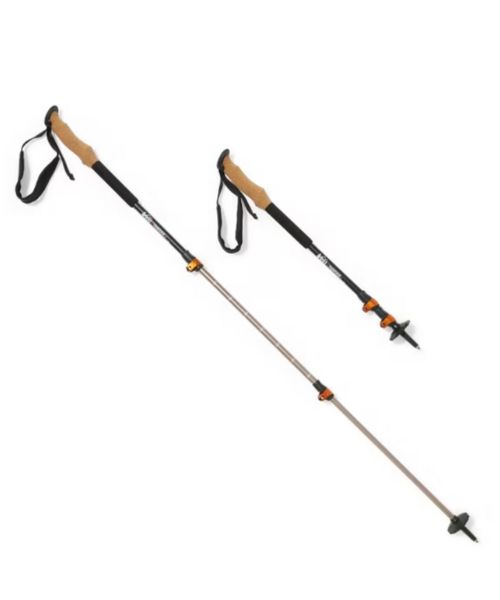
These hiking poles are sturdy, and great to help keep your balance on short or longer hikes
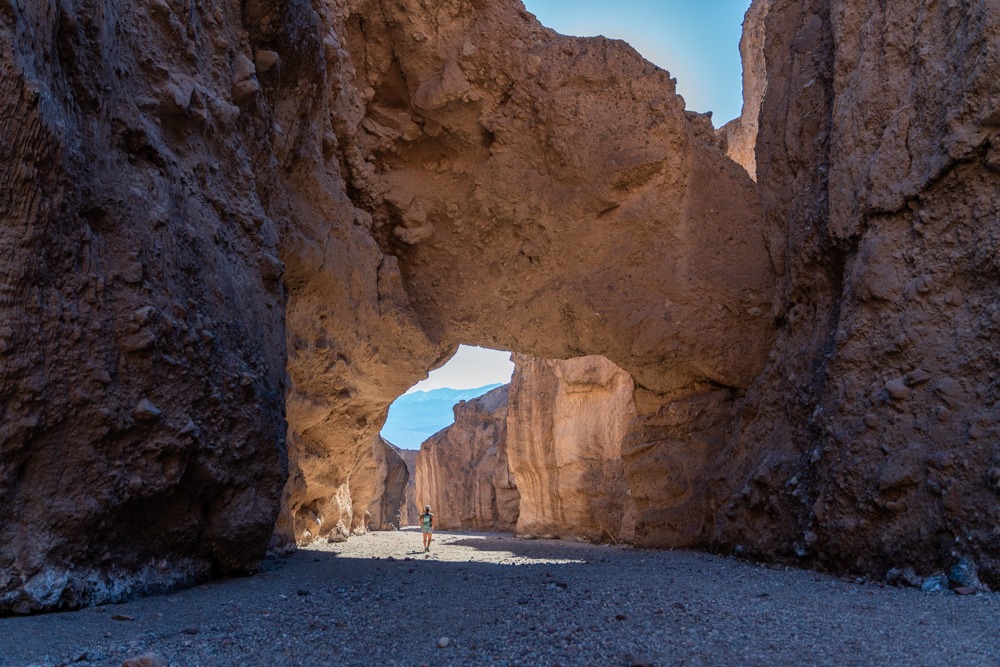
Natural Bridge Trail is a short and easy hike in Death Valley National Park that takes hikers to an amazing, yup you guessed it, natural bridge. If you’re up for a challenge though, there are a couple of fun scrambling routes that add a lot of spiciness to this otherwise beginner trail. We really like this hike because it has something for all different levels of hikers, from beginners to more advanced hikers. In this blog, we’ll show you all the fun routes!

Natural Bridge Trail trailhead
Natural Bridge Road, Death Valley National Park, CA 92328
36.281144, -116.770178
Open dirt parking area large enough for buses and RV’s
There is a fee to enter Death Valley National Park. For more information, check out the park’s website. You can also use your America the Beautiful pass!
Vault toilet at the trailhead.
Pets are not allowed on the trail!
Although Death Valley isn’t known for rain, flash floods do occur from time to time. So, as for any slot cayons, do not attempt this hike if there’s rain in the forecast.
1 – 1.4 miles out and back depending on where you turn back
86 ft – 449 ft depending on how far you go
Easy to the dry fall. Moderate if attempting the extra routes
30 – 45 minutes
Since this is the desert, the best times to hike this trail are October through May when the weather is cooler. This is a popular hike so go early if you’re visiting during peak seasons.
From Furnace Creek, follows Badwater Road souther for about 13 miles. Then, turn left (east) onto a dirt road toward Natural Bridge Canyon. There should be signages on the road marking this turn. Once you make that left, drive for about 1.5 miles before reaching the dirt parking area. This dirt road can be bumpy so take your time. The trailhead is located right next to the big information kiosk
The parking area of Natural Bridge Trail itself is an awesome viewpoint. From here, we could see down the the salt area of Badwater Basin. When we went, the whole area was filled with water, resembling a giant lake. We’ve been to Death Valley quite a few times, but this was the first time that we’ve seen this much water. Whether there’s water or not, this spot here makes a wonderful quick lookout.
After spending some time taking photos of the one-of-a-lifetime lake, we followed the worn trail next to the information kiosk and got on our way. The trail followed above the wash before dipping into the wide canyon. It was uphill this entire time. Around 0.2 miles, the trail flattened out until we reached the Natural Bridge, which is at around 0.4 miles. The short little canyon section before getting to the bridge was quite beautiful. The towering canyon walls curved around, creating very interesting sections. Since it was only 0.4 miles from the trailhead to the Natural Bridge, it felt very short.
The Natural Bridge itself was quite interesting. It was large, spanning from one side of the canyon to the other. This trail is easy so it’s a very popular trail. This means that you will always be finding people here at the bridge. If you want this area to yourself, go early in the morning or later in the day on a weekday. We found that if you came here when the sun hit just right, it created a really cool spotlight through the opening.
Now, if this is all you want to do, you can turn back the same way. The wash does continue for a bit longer, where it reaches a dry fall. Most people turn back at this first dry fall. However, if you’re up for some scrambling, there are 2 routes that you can do to extend this hike a bit longer: the dry fall route which continues to follow the slot canyon, and the hillside route, which goes above the slot canyon.
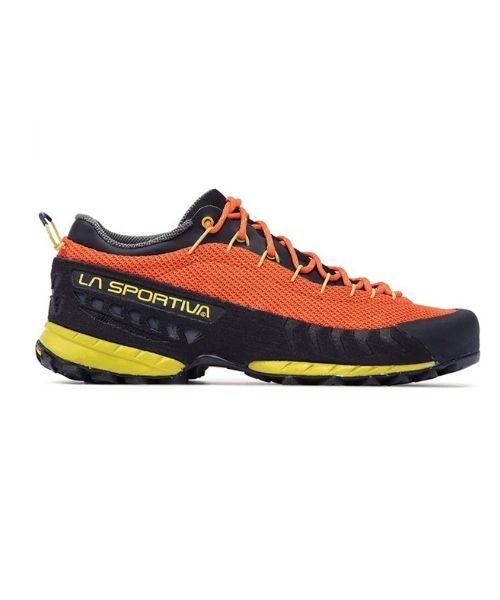
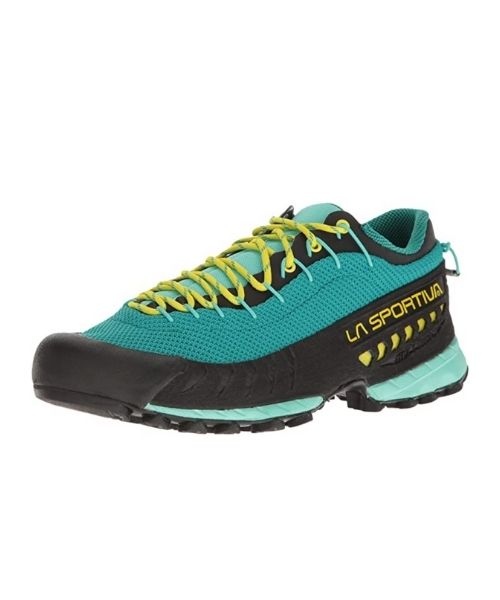
For the dry fall route, you’ll climb over the dry fall. It’s actually not that bad, as long as you have shoes with great traction and know what you’re doing. We stuck to the middle right of the dry fall and climbed up halfway before staying toward the left side. You can always pick the route that works better for you. Once we climbed past the first dry fall, the canyon walls narrowed significantly. Soon after, we came across the second drywall. This second drywall is more technical. You’ll need to know how to climb a little bit. The good thing is, there are tons of footholds and handholds along the way.
After the 2nd drywall, the trail ducked under a cool Indiana Jones boulder. The canyon was also a lot narrower and more beautiful. Once we passed the boulder, there were a few smaller obstacles before we reached the end of the trail where the last dry fall was. If you want to and have the skill, we guess you could climb past it. But it was pretty high so we didn’t feel like taking on the challenge. At the time we went, there was water, dripping down this last dry fall. It was pretty cool. Here, turn back the same way you came from. Take it slow at those downclimbs though. They can be challenging.
The hillside route also starts near the first dry fall. About 20ft or so before getting to the first dry fall (from Natural Bridge), there is a small, worn trail on the left, leading up the hillside, above the slot canyon. Follow this up. This little trail is well-defined. However, it can be slippery with lots of loose rocks. It also traverses next to the cliff in some sections, so be careful, especially on the way down. The view from up here is quite spectacular. We could see the slot canyon below as well. It seems like this hillside route goes on for quite a bit. We had no idea where and how far this trail leads to. Therefore, we turned about at around 0.25 miles
If you love slot canyons, check out Buckskin Gulch. That slot canyon goes on forever! Death Valley is also home to Sidewinder Canyon. California also has some awesome slot canyons, with our favorite being the Rope Canyon and Ladder Canyons. These two hikes are super fun too!
Happy Adventuring. Don’t forget to check out the related posts below for more inspiration on your upcoming adventures. While at it, follow us on Instagram and subscribe to our YouTube channel! We’ll love you forever!
These are the gear that we personally use and find helpful for this particular adventure. Don’t forget to check out our Recommended Gear section as well.

These hiking poles are sturdy, and great to help keep your balance on short or longer hikes
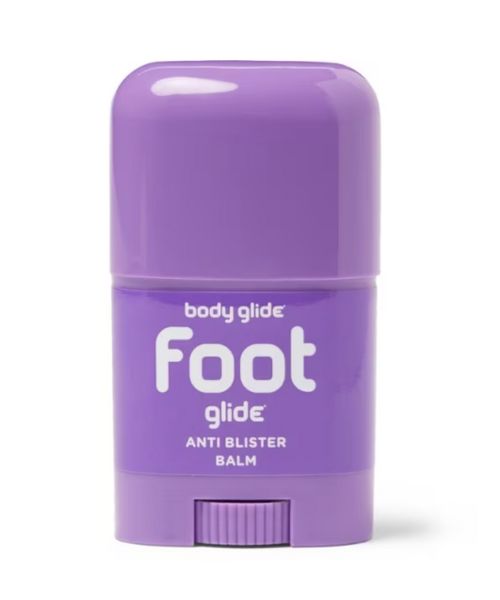
If you tend to have foot blisters on hikes, get this! We use this all the time.
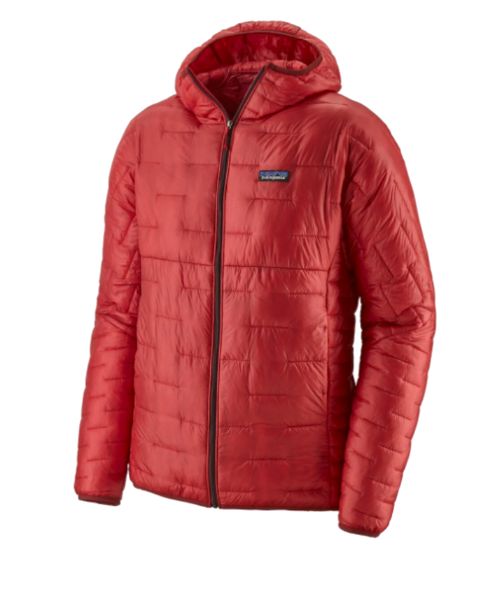
Our favorite hiking/travel jacket. It's warm and packable, perfect to bring on a hike or a road trip.
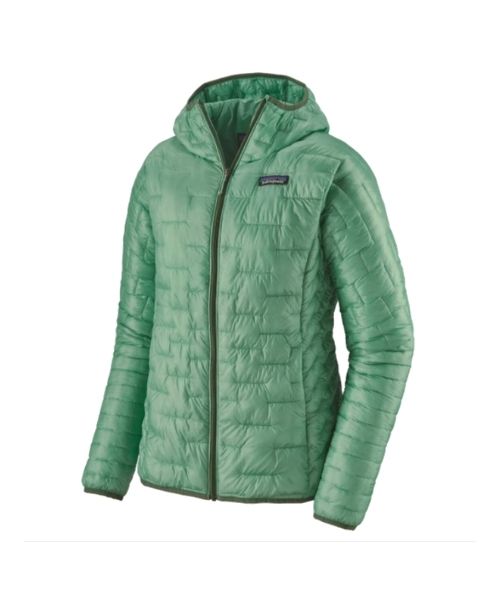
Our favorite hiking/travel jacket. It's warm and packable, perfect to bring on a hike or a road trip.
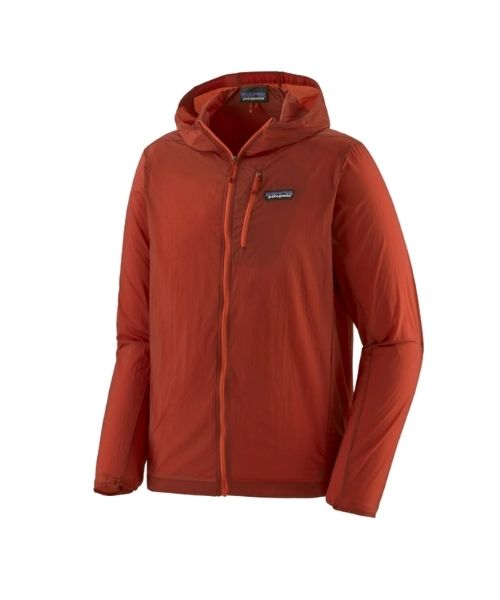
This jacket is packable into a super small and light little ball. Perfect for when you just need a little…
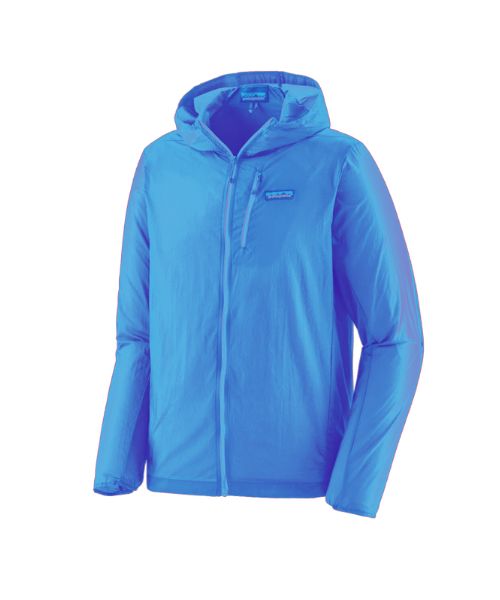
This jacket is packable into a super small and light little ball. Perfect for when you just need a little…
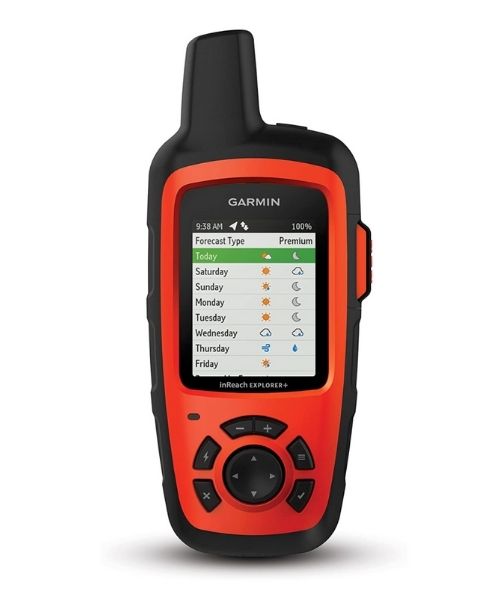
It's always good to bring a GPS tracker with you. We use the Garmin inReach.
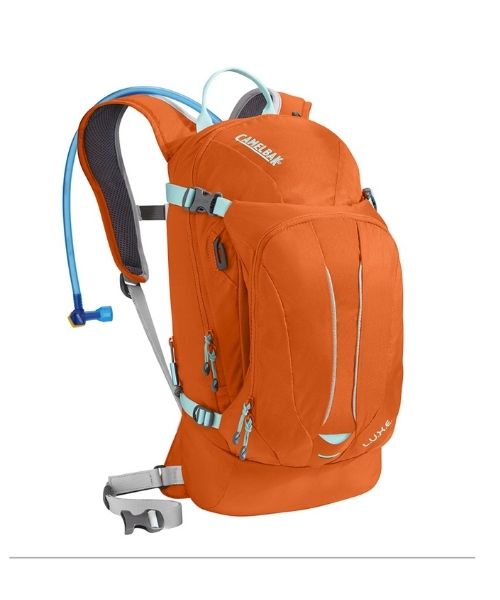
This is Vy's favorite hiking bag! It has tons of room for snacks and water!
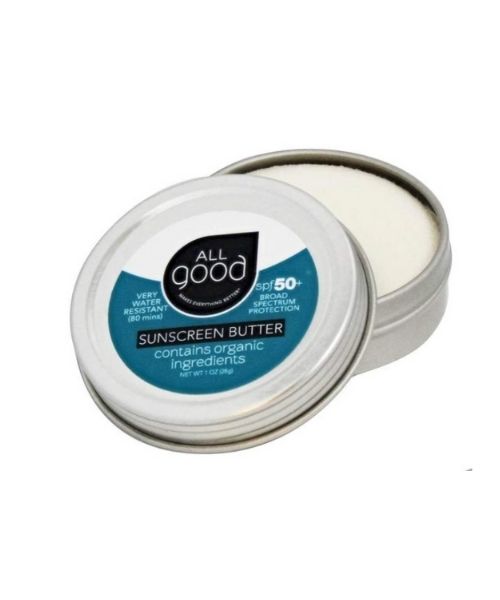

Our favorite biodegradable, eco-friendly, reef-safe sunscreen!
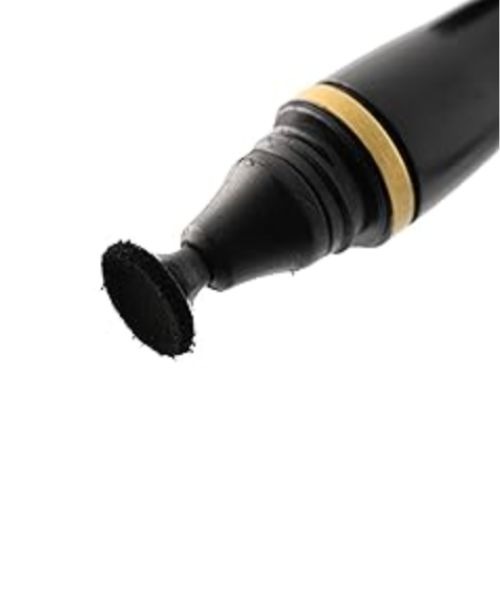

This is our go-to camera for all of our adventures. It comes with us everywhere!
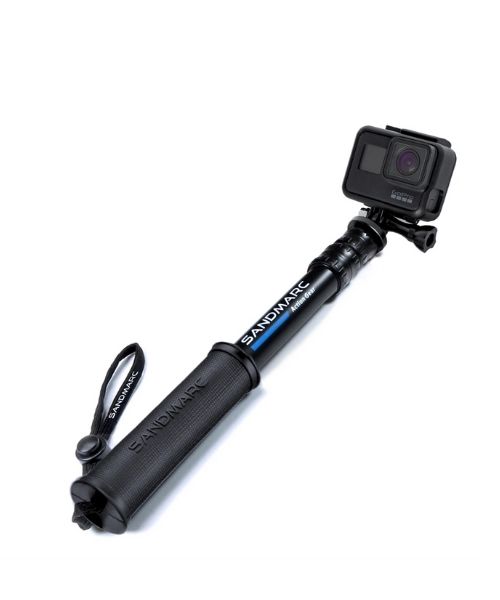
Compact GoPro pole that extends to 25", perfect to bring on your adventure.

Nice to meet you!
Hi! We are Dustin & Vy, the proud creators of Live That Adventure. We created this website because we wanted to inspire others to live their lives to the fullest. On here, you’ll find everything from hiking, canyoneering, kayaking, and snorkeling to adventure and travel tips, gear reviews, and bucket list items such as bungee jumping or wing walking. We’ll show you the ropes so you can do them too!
Subscribe
Get our best adventure tips, guides and more send to you!
Subscribe
Get our best adventure tips, guides, and more send to you!