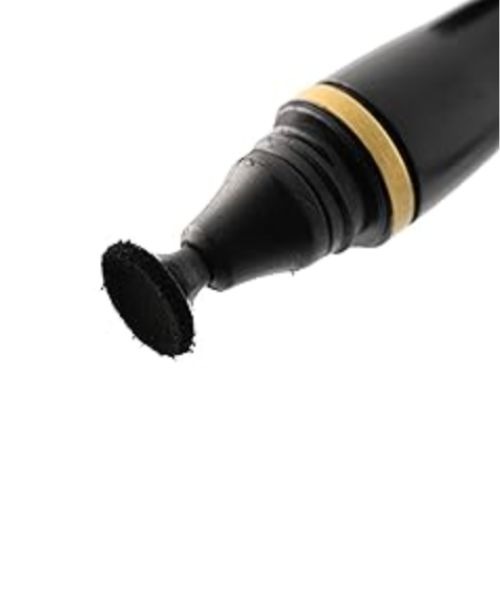
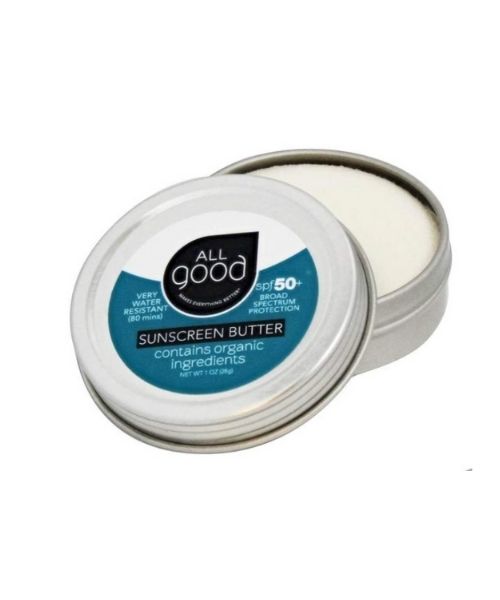
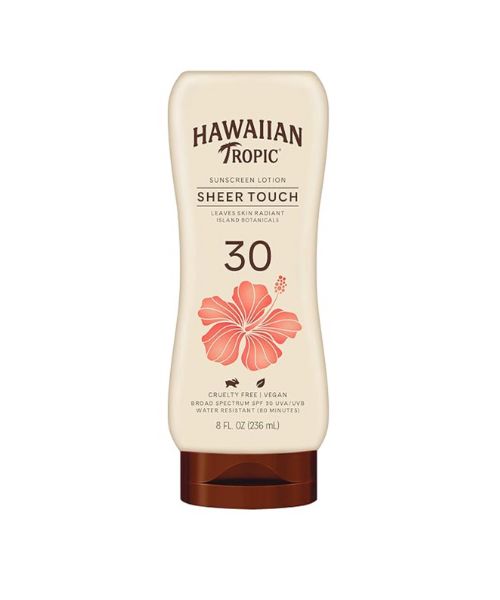
Our favorite biodegradable, eco-friendly, reef-safe sunscreen!


Our favorite biodegradable, eco-friendly, reef-safe sunscreen!
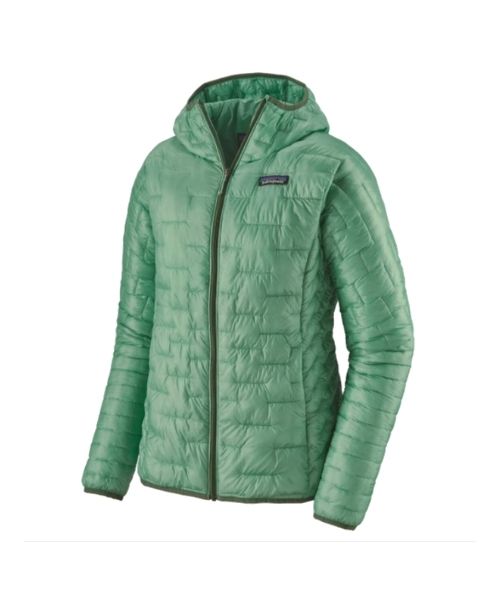
Our favorite hiking/travel jacket. It's warm and packable, perfect to bring on a hike or a road trip.
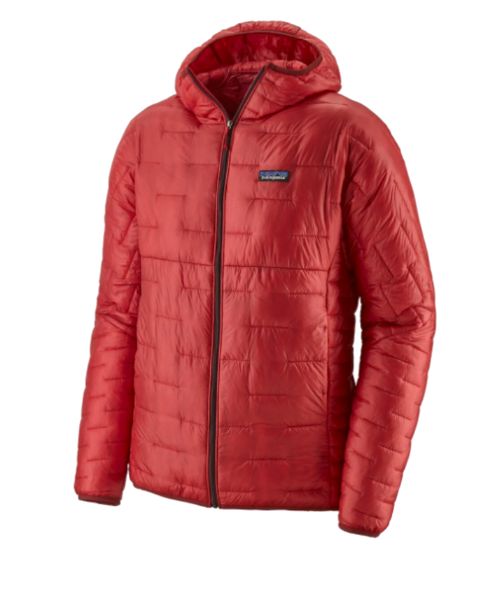
Our favorite hiking/travel jacket. It's warm and packable, perfect to bring on a hike or a road trip.
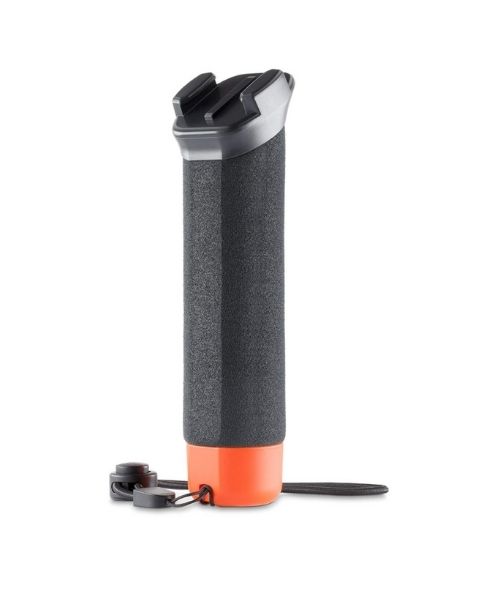
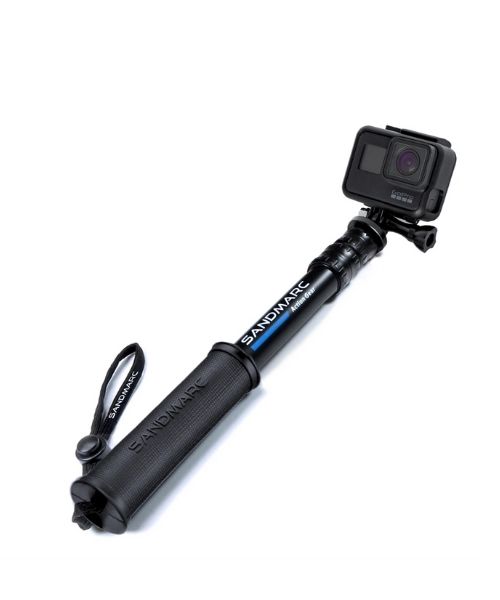
Compact GoPro pole that extends to 25", perfect to bring on your adventure.
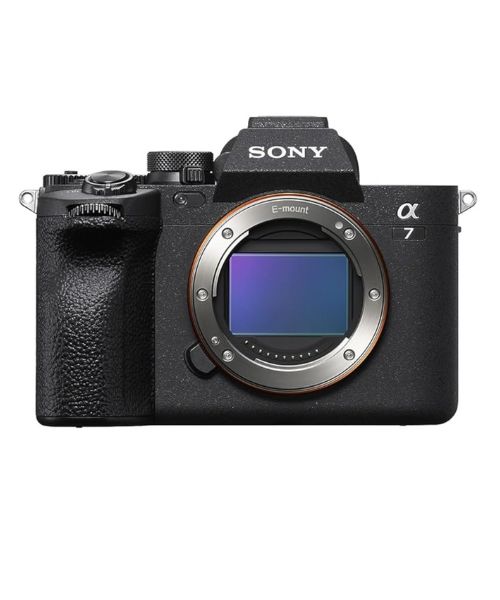
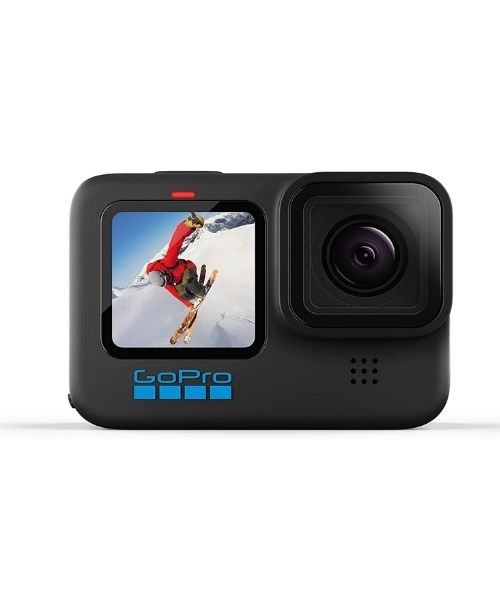
This is our go-to camera for all of our adventures. It comes with us everywhere!