

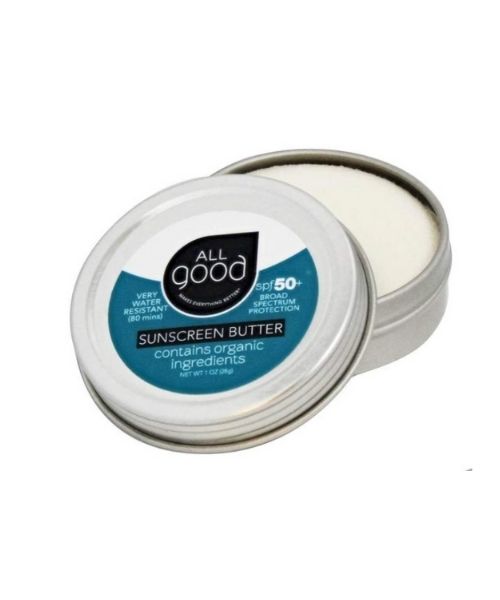
Our favorite biodegradable, eco-friendly, reef-safe sunscreen!
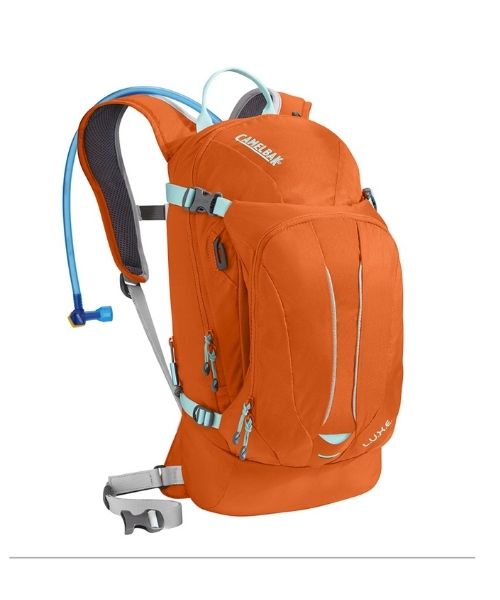
This is Vy's favorite hiking bag! It has tons of room for snacks and water!
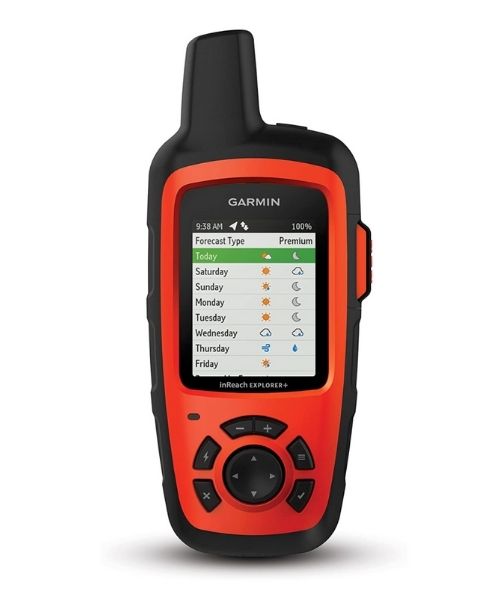
It's always good to bring a GPS tracker with you. We use the Garmin inReach.
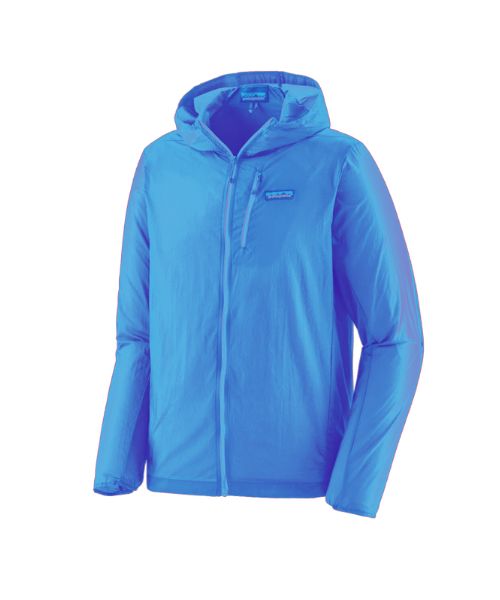
This jacket is packable into a super small and light little ball. Perfect for when you just need a little…
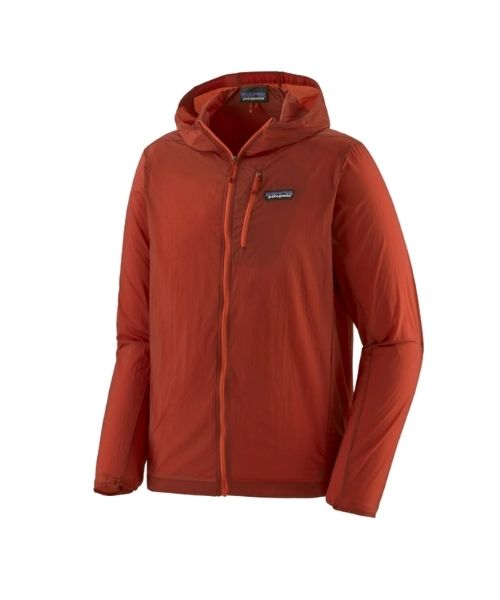
This jacket is packable into a super small and light little ball. Perfect for when you just need a little…
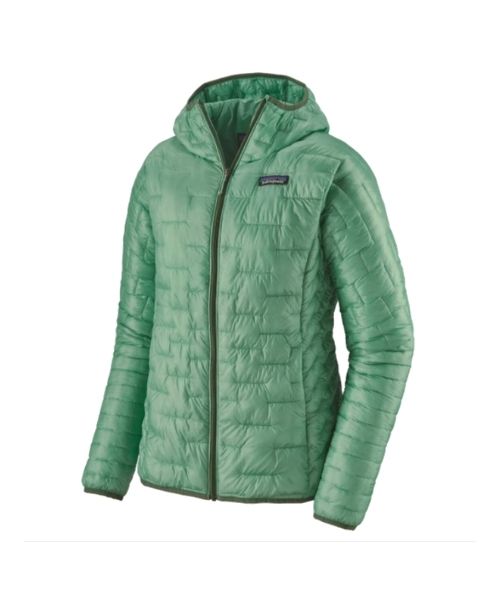
Our favorite hiking/travel jacket. It's warm and packable, perfect to bring on a hike or a road trip.
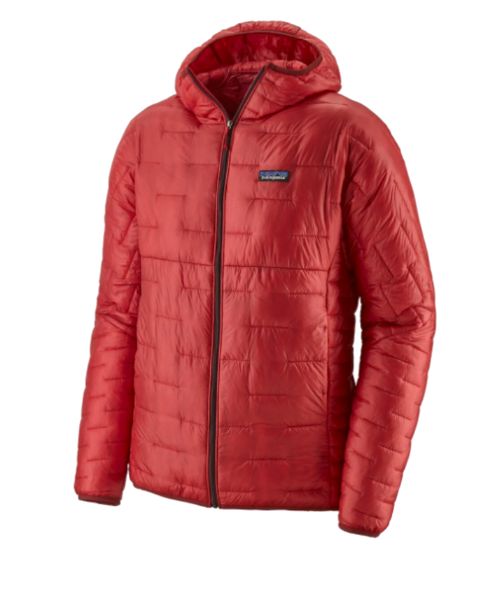
Our favorite hiking/travel jacket. It's warm and packable, perfect to bring on a hike or a road trip.
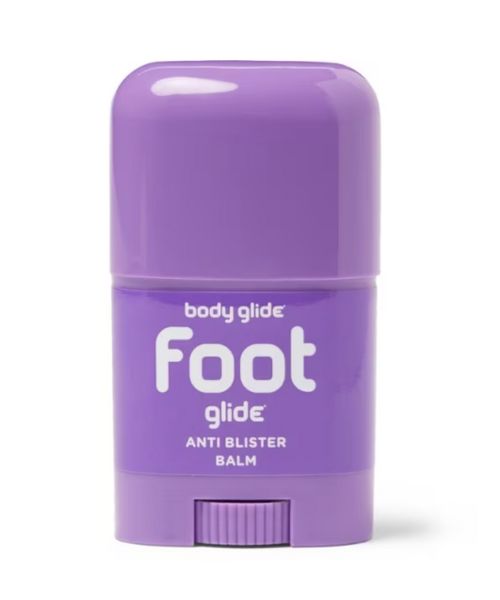
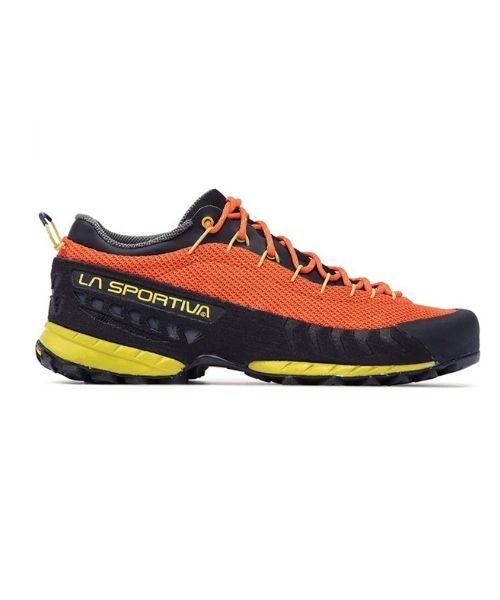
If you tend to have foot blisters on hikes, get this! We use this all the time.

Our favorite head light! It's super bright and long-lasting. We bring this on hikes, caving, and more.
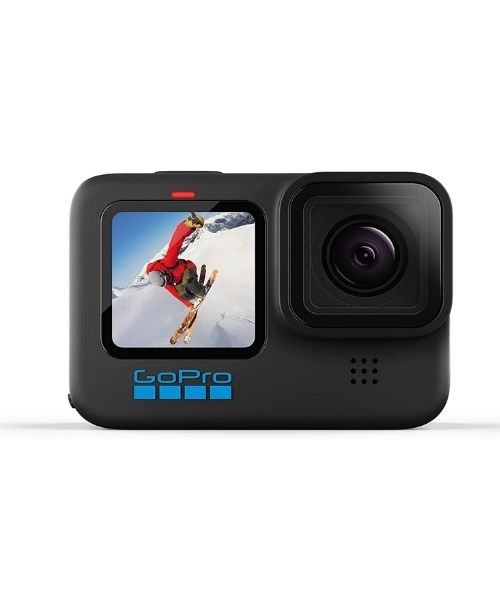
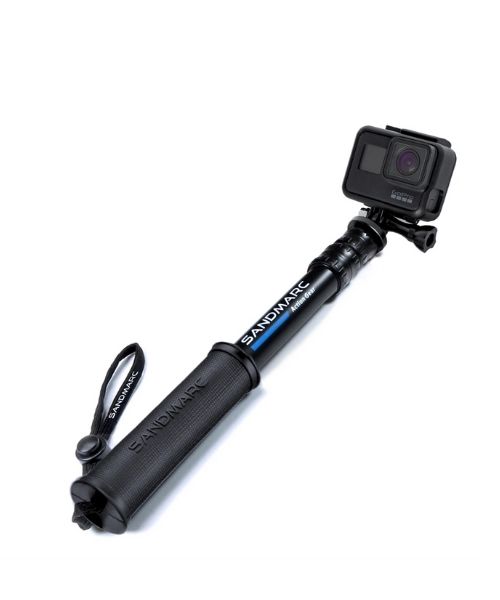
Compact GoPro pole that extends to 25", perfect to bring on your adventure.
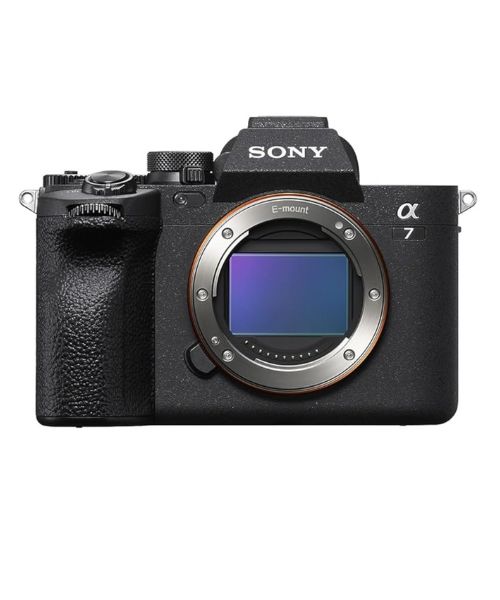
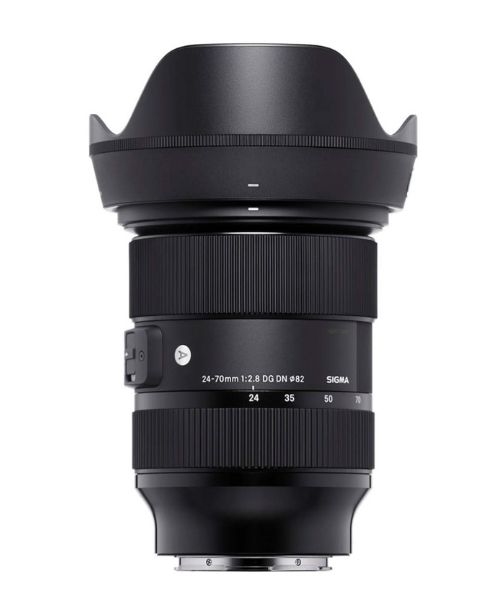
This is our go-to camera for all of our adventures. It comes with us everywhere!