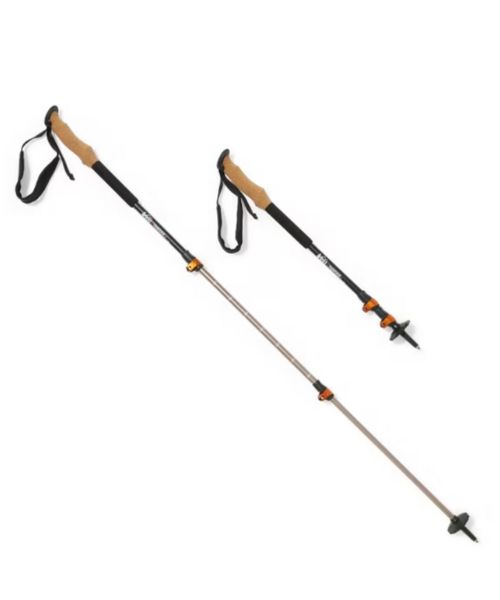
These hiking poles are sturdy, and great to help keep your balance on short or longer hikes
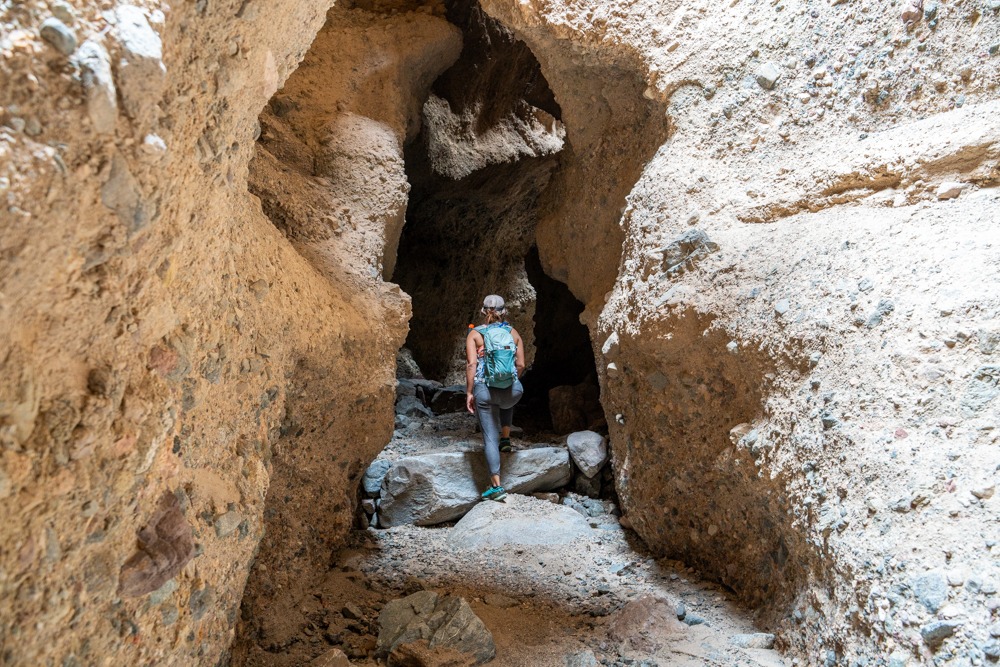
We’ve been to Death Valley National Park multiple times, either for hiking in the popular area near Furnace Creek or for canyoneering such as Scorpion Canyon. We didn’t venture much further than that until we found out about the Sidewinder Canyon trail. Sidewinder Canyon trail is located in the wilderness area of Death Valley National Park, about 31 miles south of CA-190, in California. It is an amazing trail for hikers who want solitude and awesome adventure. This trail is a very demanding hike both physically and mentally, especially if you want to explore all the side slot canyons. You’ll need to climb over vertical ledges over 6 ft high and squeeze or crawl into tight spaces 1.5ft wide. It’s one of the best hikes in Death Valley National Park, in our opinion!
Note: This trail is located in a remote area and is quite challenging. Therefore, we recommend bringing a GPS tracking device such as the Garmin inReach and wearing shoes with great traction. Check out our recommended gear below for that we used!

Sidewinder Canyon Trail parking
36.064820, -116.744883
Open gravel area large enough for buses and RV’s.
There is a fee to enter Death Valley National Park. For more information, check out the park’s website. You can also use your America the Beautiful pass!
No restrooms nearby. Please follow principle 3 of Leave No Trace (LNT).
Leave your pet at home. They are not allowed on the trail!
5 miles (8.4km) out and back | 6.36 with all the slots
1,580 ft (482m)
Moderate to Difficult
6-7 hours
We recommend hiking this trail in the winter or spring, when it’s cooler. It can get very warm here.
As we mentioned above, the Sidewinder Canyon Trail is located in the wilderness of Death Valley National Park. No signages are identifying the parking or the hike. To get here from Furnace Creek, turn onto Badwater Road to go toward Badwater Basin Salt Flat. Follow Badwater Road for about 31.5 miles until you see an unmarked gravel access road on the left, between mile markers 31 & 32. Turn onto this gravel rock and follow it until the end where you’ll reach a big gravel area. This gravel rock is typically passable to a sedan.
Once you reach this big gravel area, you’re at the parking lot of Sidewinder Canyon Trail as well as Willow Canyon Trail. Make sure to go all the way toward the right side (if facing the mountain range). Sidewinder Canyon is on the right-hand side while Willow Canyon is on the left so don’t go into the wrong canyon.
Before starting your adventure at Sidewinder Canyon in Death Valley National Park, we included some important GPS coordinates that would help you find the mouth of these slot canyons easier.
The Start of the Sidewinder Canyon
36.061673, -116.747015
Bonus Slot 1:
36.056972, -116.743639
Bonus Slot 2:
36.056400, -116.743639
Main Slot 1:
36.053057, -116.740807
Main Slot 2:
36.052978, -116.739026
Main Slot 3:
36.051670, -116.734872
Since there aren’t any signages at the trailhead, we got a bit confused as to where the start of the Sidewinder Canyon is. From the parking lot looking toward the hillside, there are many slot canyon openings so it can get confusing. These are not the correct canyons. Sidewinder Canyon is the large canyon just south of the parking area (right side if facing the hillside). We included the GPS coordinates for the beginning of Sidewinder Canyon above.
Toward the south (right-side) of the parking lot, follow the worn dirt trail as it branches out to multiple routes crossing over the big wash. You’ll want to look for what looks like a dirt embankment right below a short hill. The mouth of Sidewinder Canyon is located around the side of this embankment. Once you reach the embankment, turn left (east) into the Sidewinder Canyon.
Once we entered the Sidewinder Canyon in Death Valley, the trail kept gaining its elevation. The wash is sandy and gravelly so it took us a lot more effort to walk, especially up the hill. If you’re doing this hike, make sure to go early in the morning or when it’s cooler. There are no shades until you get into the slots. We did this hike around 9 am yet it was still quite brutal hiking up the gravel wash.
Around 0.4 miles, we reached our Bonus Slot Canyon 1 on the left-hand side. There are some other slots along this trail but we only had time to explore these 5 slot canyons. And trust us, these 5 will satisfy your thirst for adventure.
The entrance for Bonus Slot Canyon 1 is kind of tucked on the side of the canyon wall. It’s easy to spot from our angle though. It kind of looks like a ladle. There are many scrambling sections but none are too technical. There is also tons of sunlight as the canyon walls are quite wide open. This canyon seems to go on forever. We made it to around 0.4 miles before turning back.
Bonus Slot Canyon 2 is located just up the road from Bonus Slot Canyon 1, on the right-hand side. It is a very obvious opening so you won’t miss it. This slot canyon is narrower and rockier than the Bonus Slot Canyon 1. There are also a couple of technical sections where you’ll have to climb over some 6 ft high ledges. This canyon ends at a 20-30 ft dry fall. This is the end for us anyway. If you want to climb over this dry fall, go for us but we don’t advise it.
After exploring the 2 bonus canyons to whet our appetites, we were excited to explore the main slot canyons on the Sidewinder Canyon Trail. We said main slot canyons because these canyons are recommended by the park as the highlights on the Sidewinder Canyon Trail. All of these main slot canyons are on the right-hand side (south) of the Sidewinder Canyon.
The main slot canyon 1 is located around 0.6 miles from the mouth of Sidewinder Canyon, about 0.2 miles from Bonus Slot Canyon 2. At around 0.2 miles after leaving Bonus Slot Canyon 2, we came up to a fork where the main Sidewinder Canyon intersects with a large side canyon, on the right-hand side. Here, we turned right and followed this side canyon to where it splits into two separate drainages. The drainage on the left is hidden behind a large pile of boulders, and almost seemed impassable. This is our Main Slot Canyon 1.
To enter, we crawled through the crack on the lower left before climbing up and over a small boulder on the right. After getting down from the small boulder, we then squeeze our way through a small, tight space, around 1.5ft wide. Both of us had to remove our bags. Vy didn’t have much problem with it but Dustin had to get on his hands and knees to crawl through.
This Main Slot Canyon 1 is quite exciting. The walls are narrow and in some sections, it got so dark that we had to turn on our headlamps. There are also a couple of obstacles and over 6ft ledges that we had to climb over. Unfortunately, the fun was short-lived. The total length of this slot canyon is only 0.1 miles. So, we ran into a very tall drywall quickly and had to return toward the main canyon.
After we were back at the main Sidewinder Canyon, we headed up the canyon for about 0.1 miles to get to the opening of Main Slot Canyon 2. The entrance to this canyon is tucked between the corner of the canyon wall. This canyon has a lot more technical sections than the other ones. It would have if you have some climbing skills, especially for the downclimbs. There were many obstacles and vertical ledges 6 to 8 ft high that we had to climb over. It also gets dark in some sections where we have to turn on our headlamps.
We had to admit, some of the climbs can be a bit sketchy. We had to check the handholds and footholds to make sure they didn’t blow out before putting our trust in them. The good thing is, there are tons of footholds and handholds so it wasn’t too bad if you know what to do. Pick the routes that are best for you when climbing up and down. It’s hard to describe these numerous climbs but you can watch them in our video for better visuals. Be careful on the way down. The downclimb is always more challenging. You can always send your best climber down first so they can help to point where you can put your hands and feet.
There isn’t an official end to this slot canyon. You can go as far as you are comfortable with. We went about 0.4 miles before turning back since it didn’t seem like it would end anytime soon.
Once we got back to the main Sidewinder Canyon and headed up the canyon, the walls on the main canyon narrowed significantly at this point. About 0.24 miles from the Main Slot Canyon 2, we reached the obvious opening for Main Slot Canyon 3 on the right-hand side. There were some interesting features inside the slot canyon, including a couple of doorways and tight squeezes. Along the way, you’ll have to do some scrambling as well. We went for about 0.25 miles. After climbing over the 10ft ledge, we ran into a tall dry fall, over 20ft tall. At this point, we decided to turn back because we weren’t about to climb over that. You can continue further if you have to skill or turn back whenever you want.
After we returned to the main Sidewinder Canyon, we decided to continue to head up the canyon and see how far it takes us. The canyon winding along and became rockier as we hiked further. Eventually, we came across a big slab of rock in the middle of the canyon. It was an easy scramble from the left side. Once we climbed over this, the canyon opened back up. We hiked a bit further, about 0.7 miles from the Main Slot Canyon 3 before turning back.
We had such a blast at Sidewinder Canyon Trail in Death Valley, exploring all of its the side slot canyons. Most of the time, we were by ourselves. It was such an awesome adventure. We highly recommend checking out this trail. If you haven’t already, we also recommend hiking the full loop at Golden Canyon Trail. That trail has some of the most beautiful scenery in Death Valley National Park. If you like fun scrambling through slot canyons, check out Ladder Canyon and Rope Canyon near Palm Springs.
Happy Adventuring. Don’t forget to check out the related posts below for more inspiration on your upcoming adventures. While at it, follow us on Instagram and subscribe to our YouTube channel! We’ll love you forever!
These are the gear that we personally use and find helpful for this particular adventure. Don’t forget to check out our Recommended Gear section as well.

These hiking poles are sturdy, and great to help keep your balance on short or longer hikes
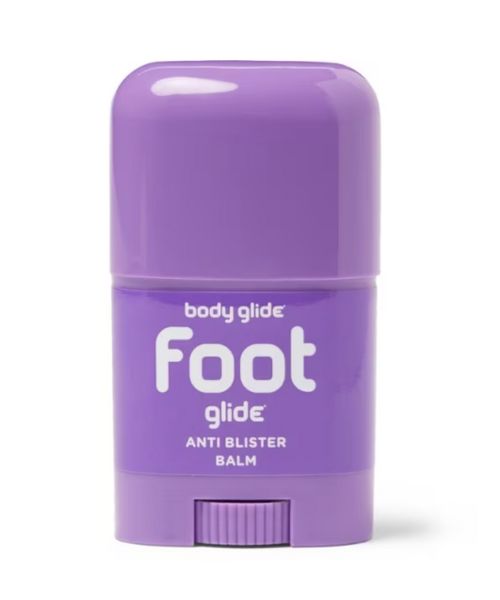
If you tend to have foot blisters on hikes, get this! We use this all the time.
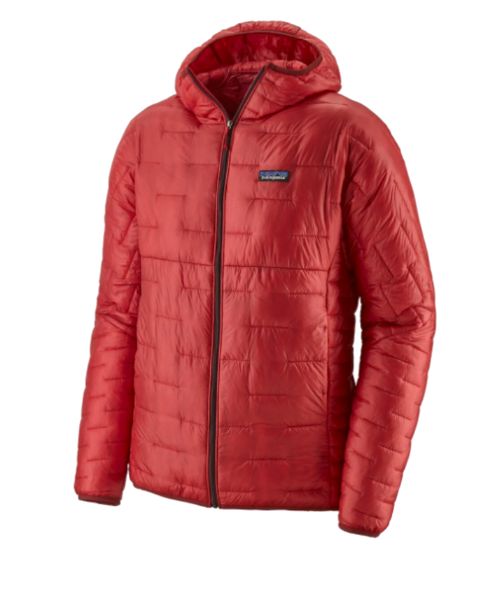
Our favorite hiking/travel jacket. It's warm and packable, perfect to bring on a hike or a road trip.
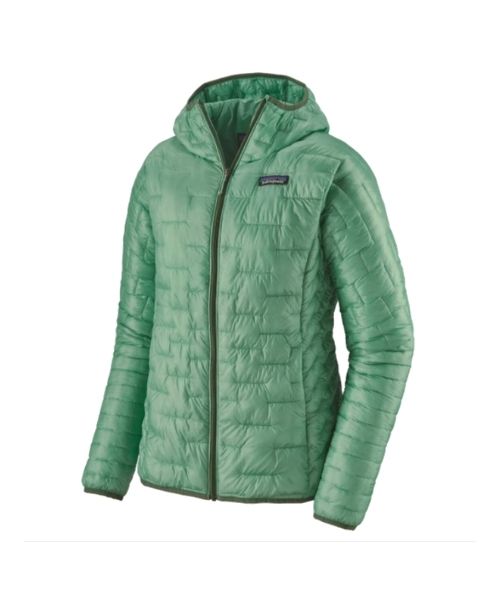
Our favorite hiking/travel jacket. It's warm and packable, perfect to bring on a hike or a road trip.
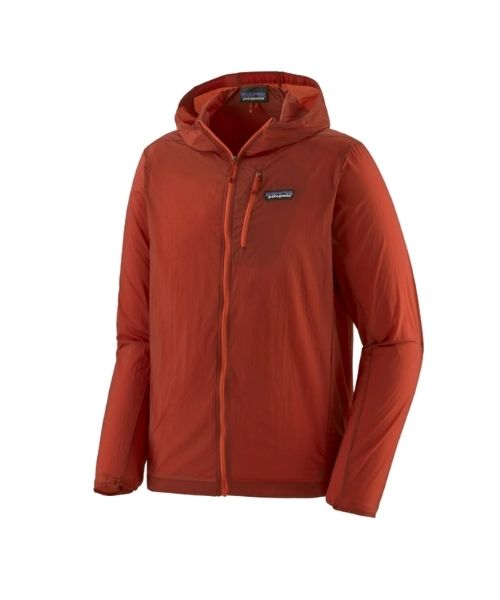
This jacket is packable into a super small and light little ball. Perfect for when you just need a little…
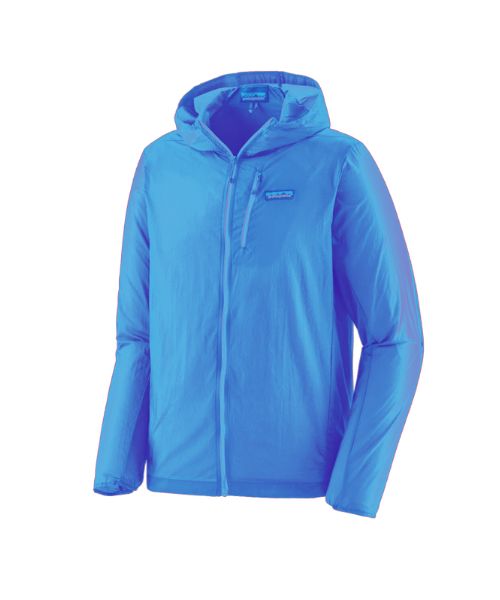
This jacket is packable into a super small and light little ball. Perfect for when you just need a little…
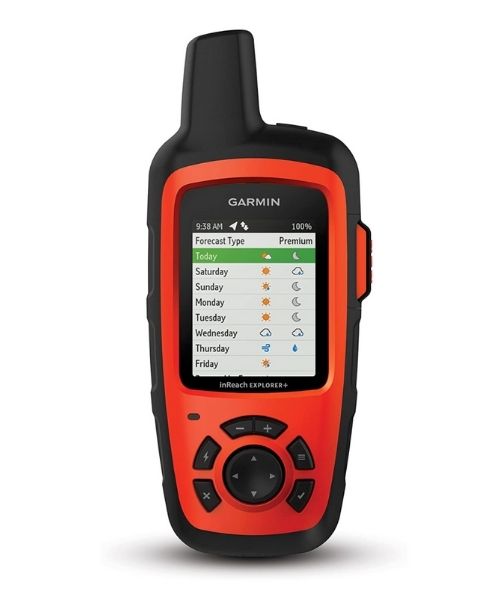
It's always good to bring a GPS tracker with you. We use the Garmin inReach.
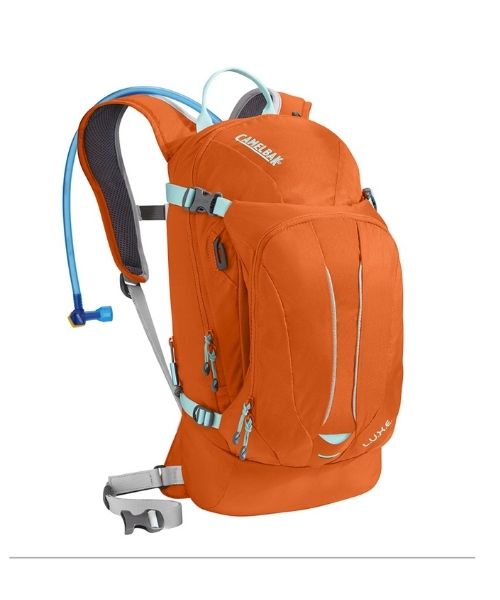
This is Vy's favorite hiking bag! It has tons of room for snacks and water!


Our favorite biodegradable, eco-friendly, reef-safe sunscreen!
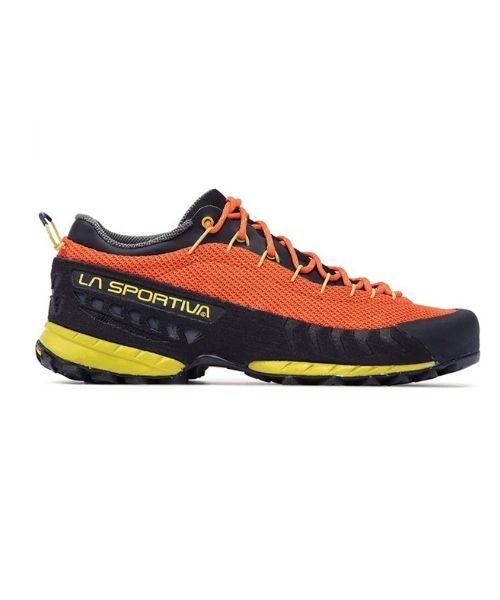
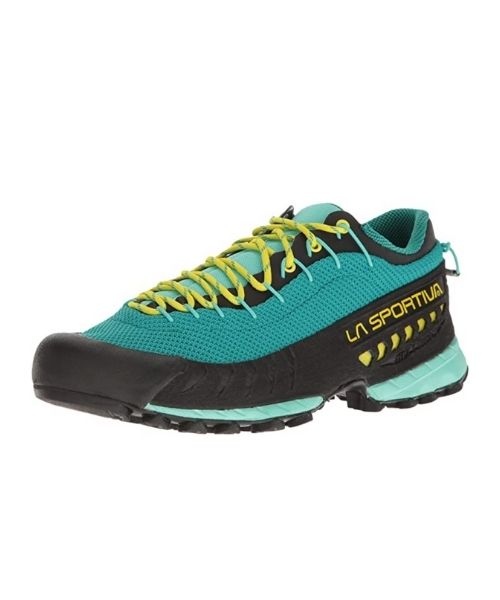
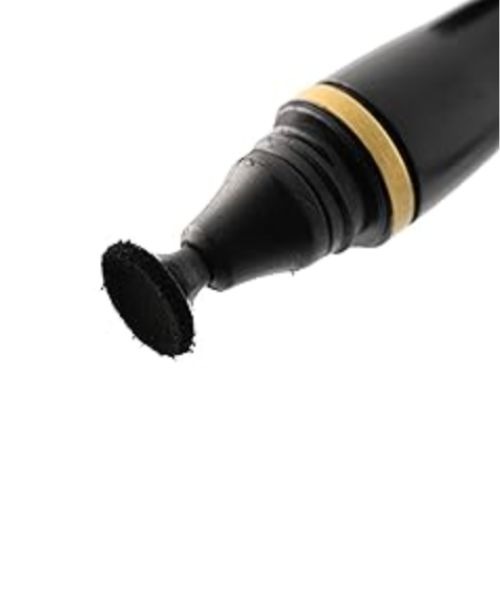
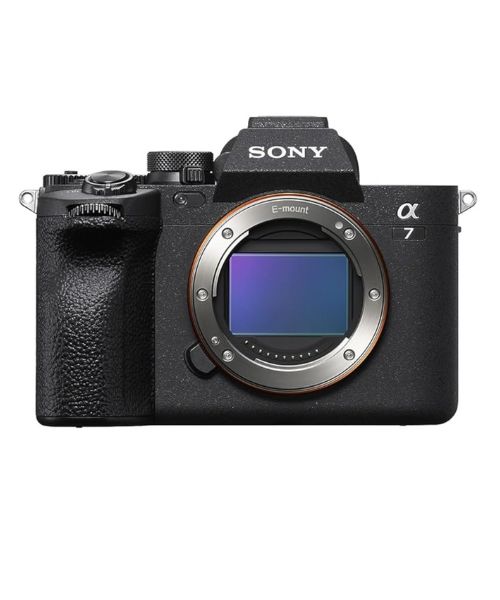
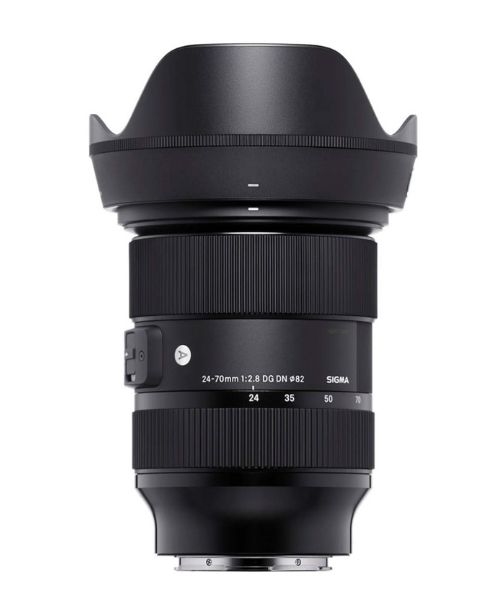
This is our go-to camera for all of our adventures. It comes with us everywhere!
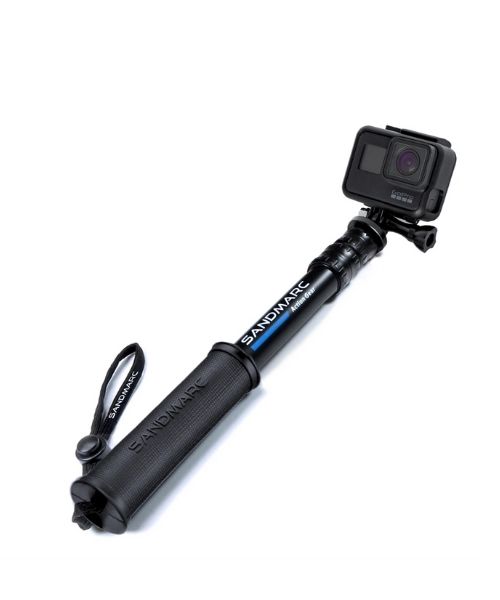
Compact GoPro pole that extends to 25", perfect to bring on your adventure.

Nice to meet you!
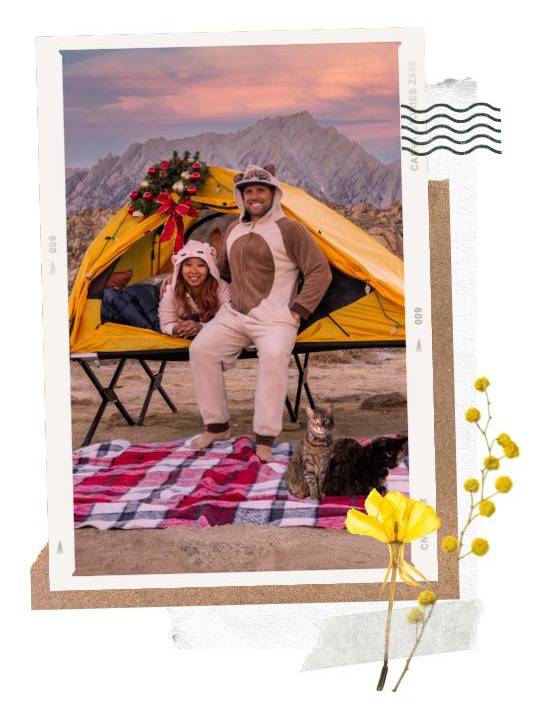
Hi! We are Dustin & Vy, the proud creators of Live That Adventure. We created this website because we wanted to inspire others to live their lives to the fullest. On here, you’ll find everything from hiking, canyoneering, kayaking, and snorkeling to adventure and travel tips, gear reviews, and bucket list items such as bungee jumping or wing walking. We’ll show you the ropes so you can do them too!
Subscribe
Get our best adventure tips, guides and more send to you!
Subscribe
Get our best adventure tips, guides, and more send to you!