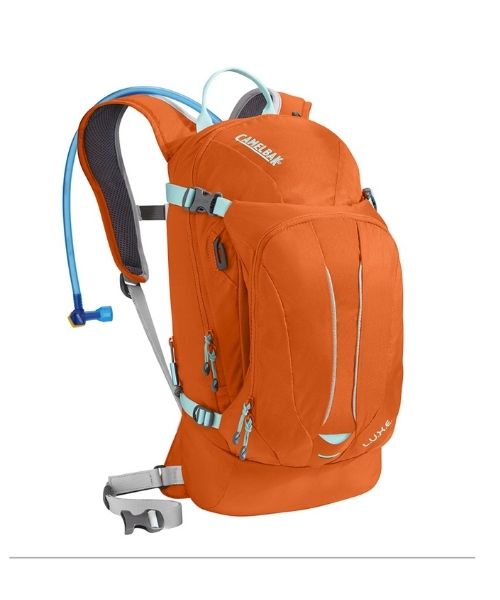
This is Vy's favorite hiking bag! It has tons of room for snacks and water!

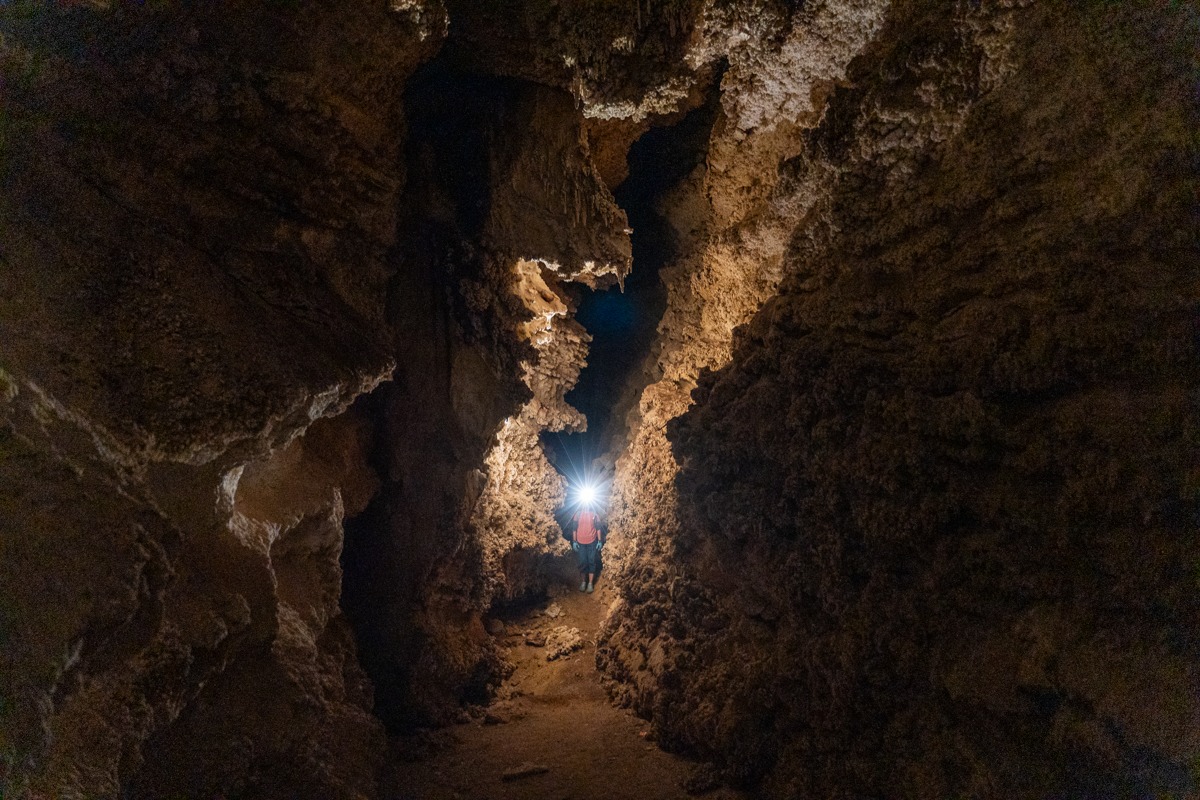
Our favorite head light! It's super bright and long-lasting. We bring this on hikes, caving, and more.

These gloves are perfect for climbing, scrambling and canyoneering

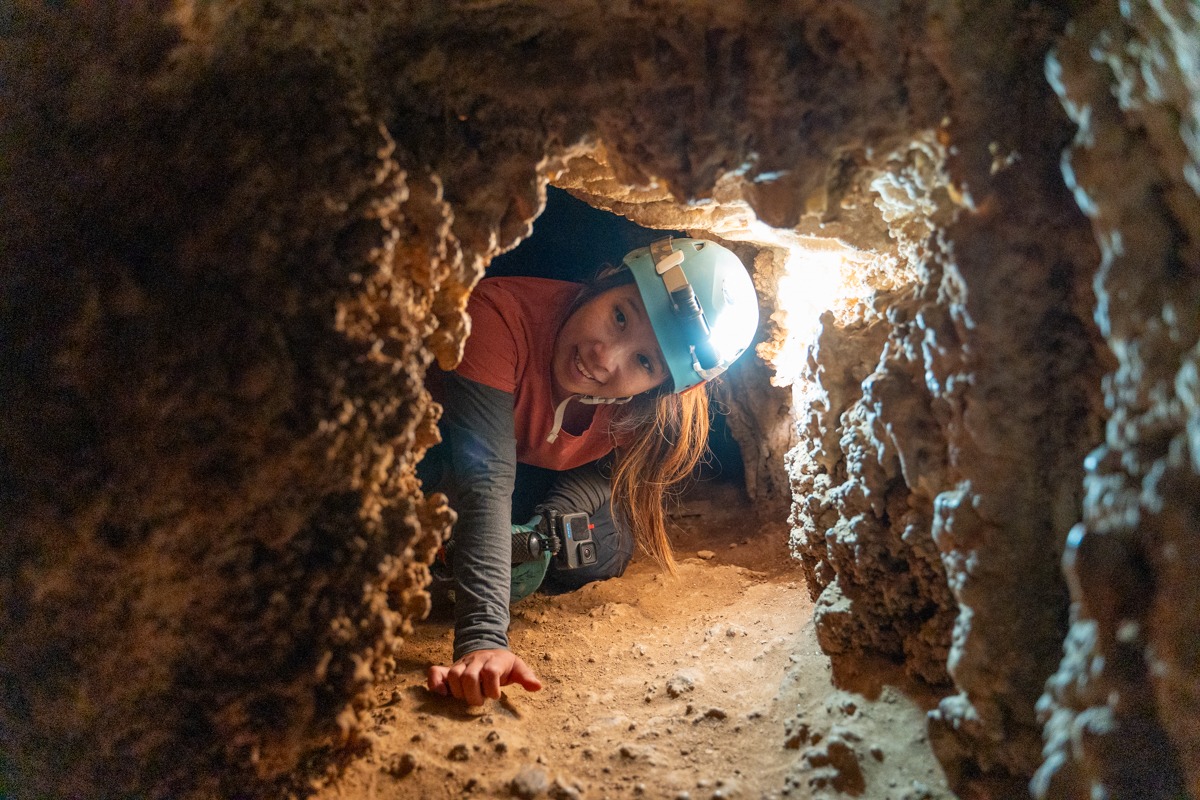
A great starter helmet, perfect for canyoneering or Via Ferrata

This is the Men's version. We love the adjustable lateral webbing and a fully adjustable chin strap that help keep…
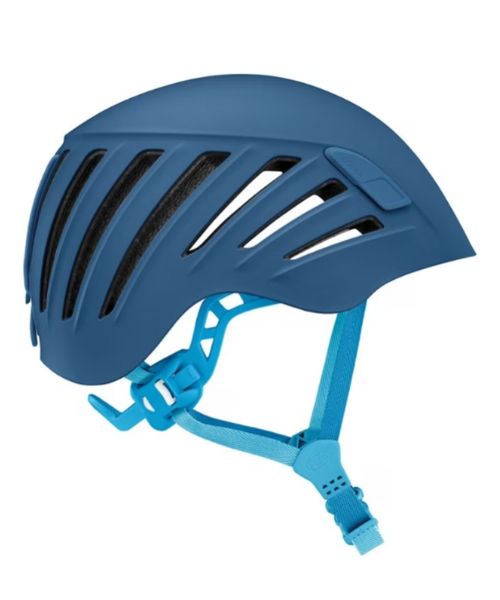
This is the women's version. It has an Omega easy-to-adjust, semi-rigid headband with a pronounced notch for wearing the helmet…
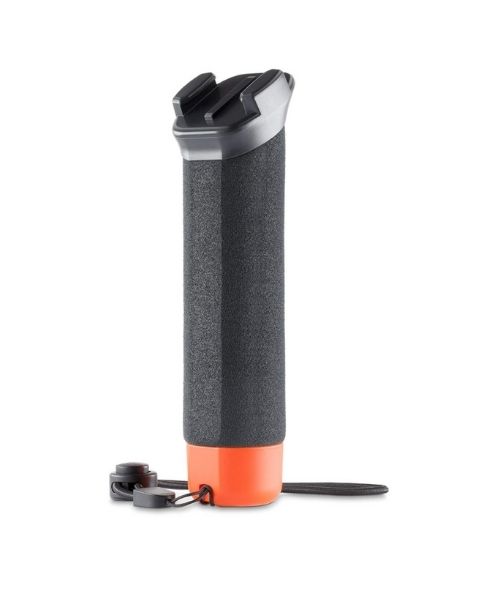
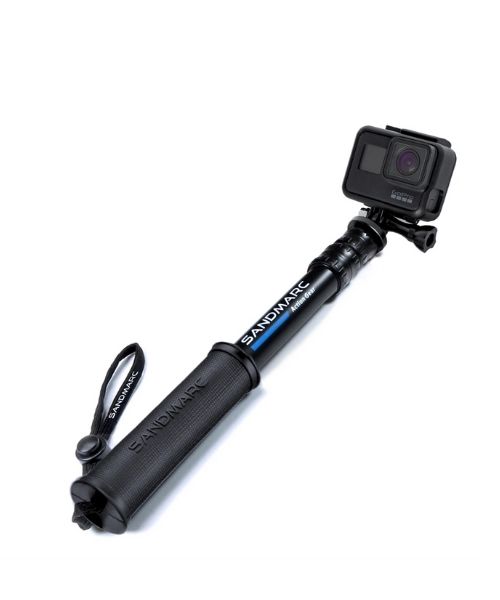
Compact GoPro pole that extends to 25", perfect to bring on your adventure.
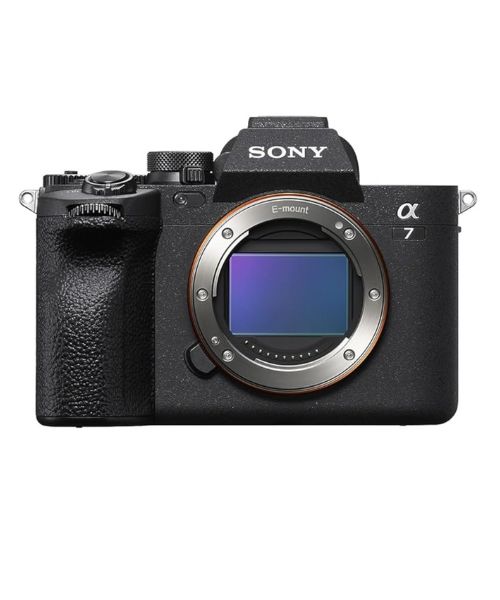
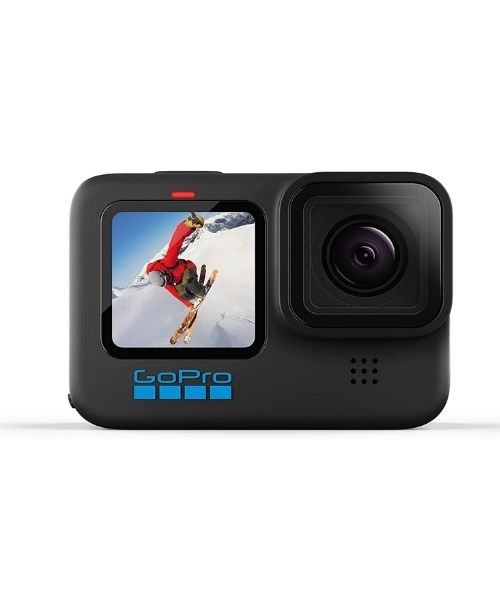
This is our go-to camera for all of our adventures. It comes with us everywhere!