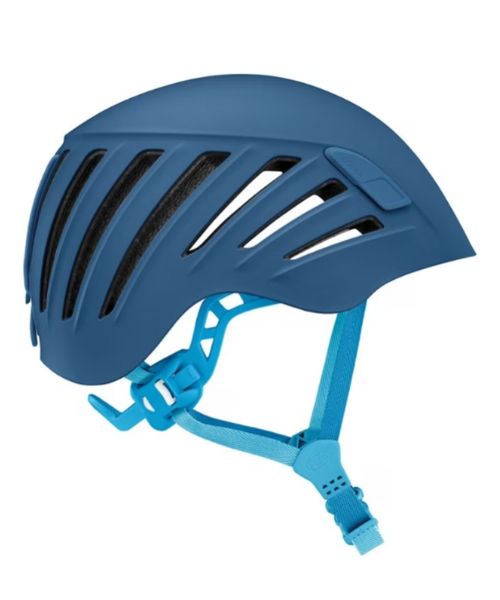
This is the women's version. It has an Omega easy-to-adjust, semi-rigid headband with a pronounced notch for wearing the helmet…
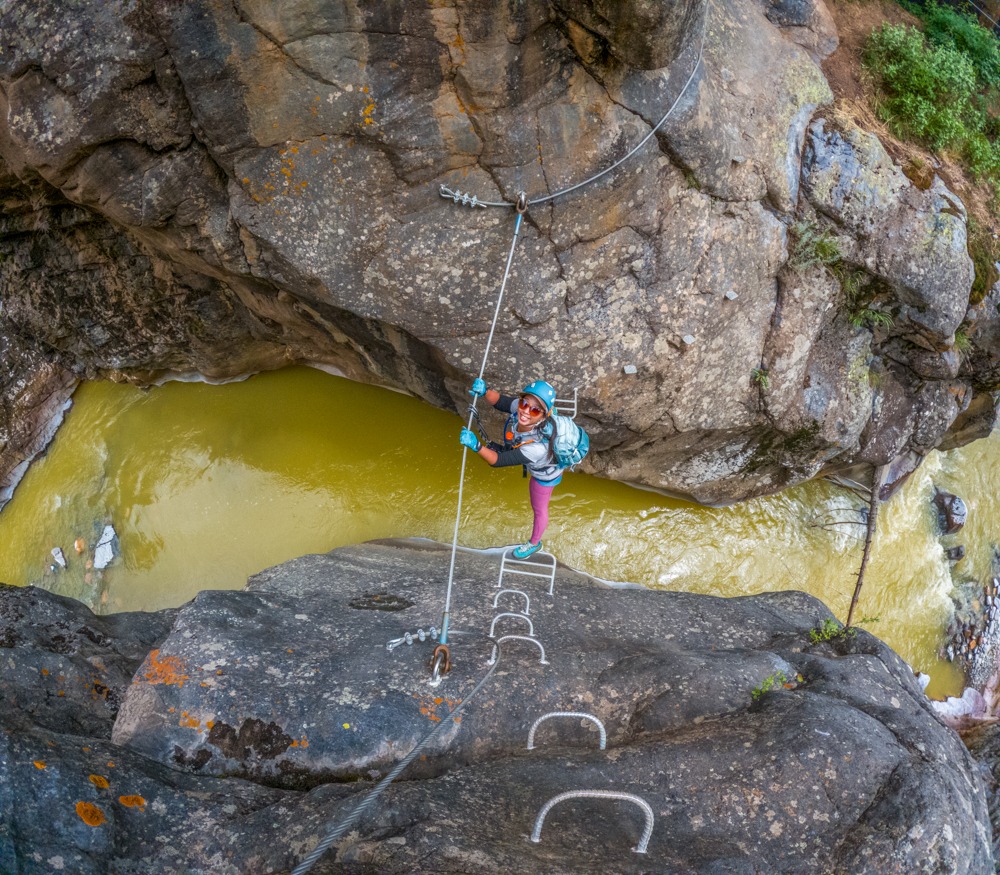
Via Ferrata is an addicting hobby, at least for us. Once we got the taste of the Ouray Via Ferrata Downstream Route in Colorado, we couldn’t wait to get back and try our skills on the Upstream Route. Opened in 2022, the Ouray Via Ferrata Upstream Route shares the same entrance as the Downstream Route. However, it is a lot more challenging than the original Downstream Route with fewer rungs, more natural rock features and a lot more climbing and traversing challenges. This route also has a super fun cable bridge, a 60ft Helix ladder, and a “leap of faith” across a section of the gorge. In short, it is a very fun adventure if you’re up for it.
Warning: Via Ferrata is a dangerous activity. It’s easy to slip and fall if you are not being careful. A slip or fall can cause serious injury or worse. Even though we tried to give you as much info as possible to help you make your decision wisely and keep you safe, we are not responsible for your safety. By getting on Via Ferrata, you are doing so at your own risk.
The Ouray Via Ferrata was built and maintained by a none profit organization, the Friends of the Ouray Via Ferrata (FOVF). The help them with the upkeep and to keep these Via Ferrata free, you can make a donation through the official website.

Upper Parking Lot (Upper Hairpin Parking)
Camp Bird Rd, Ridgway, CO 81432
38.016298, -107.672124
Extra Parking Lot (at the Million Dollar Highway hairpin)
38.018004, -107.675106
Start of Ouray Via Ferrata
38.015536, -107.674972
You can either park on the side of the road at the Upper Hairpin Parking (closest) or at a bigger dirt lot at the bottom of the hill.
Free if you have all your gear.
May – October from 8am – 4pm
No restrooms
Leave your pet at home. They are not allowed on the trail!
Difficult. You’ll need technical gear.
Takes average 3-4 hours
Go early if you want the closer parking or if you want to do both routes. If there’s heavy rain in the forecast, you might want to schedule your adventure.
The Ouray Via Ferrata Upstream Route is a lot more difficult than the classic Downstream Route. The Downstream Route is rated 4B, while the Upstream Route is rated 4.5B based on the Italian VF Rating System. That 0.5 doesn’t seem like much, but it’s actually way more challenging. Having done both of the routes back to back, we can attest to this.
To do this route, you will need prior experience on Via Ferrata (Telluride Via Ferrata doesn’t count) or other related climbing experiences. This is because the Upstream Route has fewer rungs, handholds, and footholds than the Downstream Route. You will need to know how to utilize natural rock features, be comfortable with many steep vertical climbs, a vertical 60ft Helix ladder, a cable bridge suspended approximately 100ft above the gorge, and jump over the narrowest portion of the gorge.
Ouray Via Ferrata, whether Upstream or Downstream, you can do this yourself as long as you have the proper equipment. Now, whether you should do this by yourself is another story. As mentioned above, the Upstream Route is an advanced Via Ferrata Route. You WILL need prior Via Ferrata experience or Rock climbing skills. We were surprised at how much we relied on our rock-climbing skills in some of the sections.
If you aren’t sure about your ability, we highly recommend hiring a professional guide. Not only will they provide all the necessary equipment, they will also give you helpful tips, and guidance, and keep you safe. Also, if you’re outside the manufacturer’s weight requirements (90lbs-265lbs/40kg-120kg), you WILL need to hire a professional guide that uses appropriate belay techniques in conjunction with a VF lanyard. You will not be allowed in if you go unguided.
For Ouray Via Ferrata Guides, we recommend Basecamp Ouray. We rented our lanyards from them multiple times as well as ran their guided Via Ferrata Gold Mountain, and they were beyond amazing.
To do the Ouray Via Ferrata Upstream route, you will need specific gear. Ouray Via Ferrata is very strict with their requirements. If you don’t have the correct gear, the ranger won’t let you in. If you don’t have your own, you can rent the Via Ferrata set from either Basecamp Ouray or San Juan Mountain Guides. We usually rented with Basecamp Ouray. The required Via Ferrata set includes:
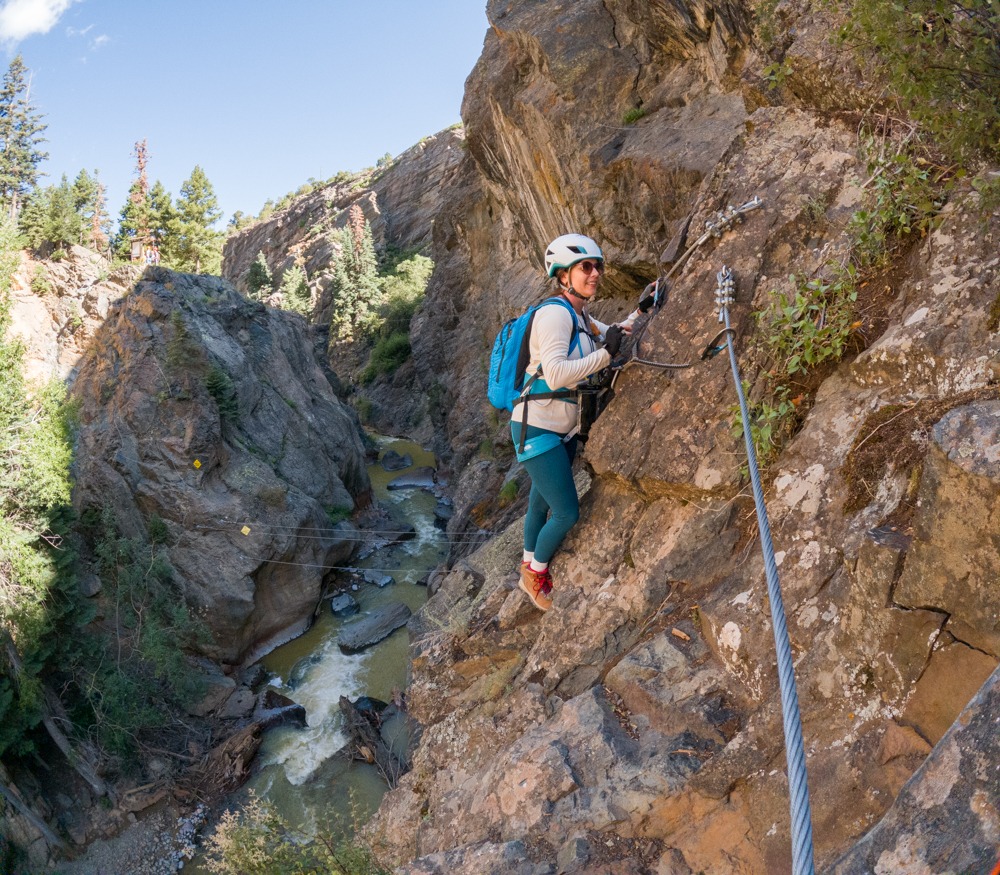
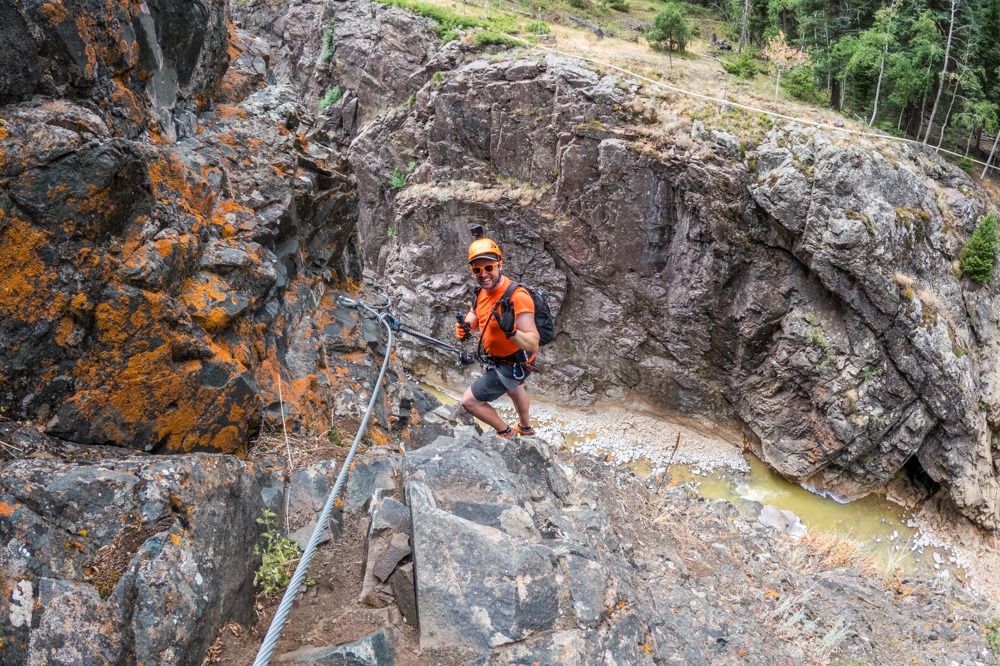
If you’re attempting this route, we assume that this is not your first rodeo. Therefore, you should already know how Via Ferrata works. That being said, here are a few tips and info that we think will help you prepare for this adventure
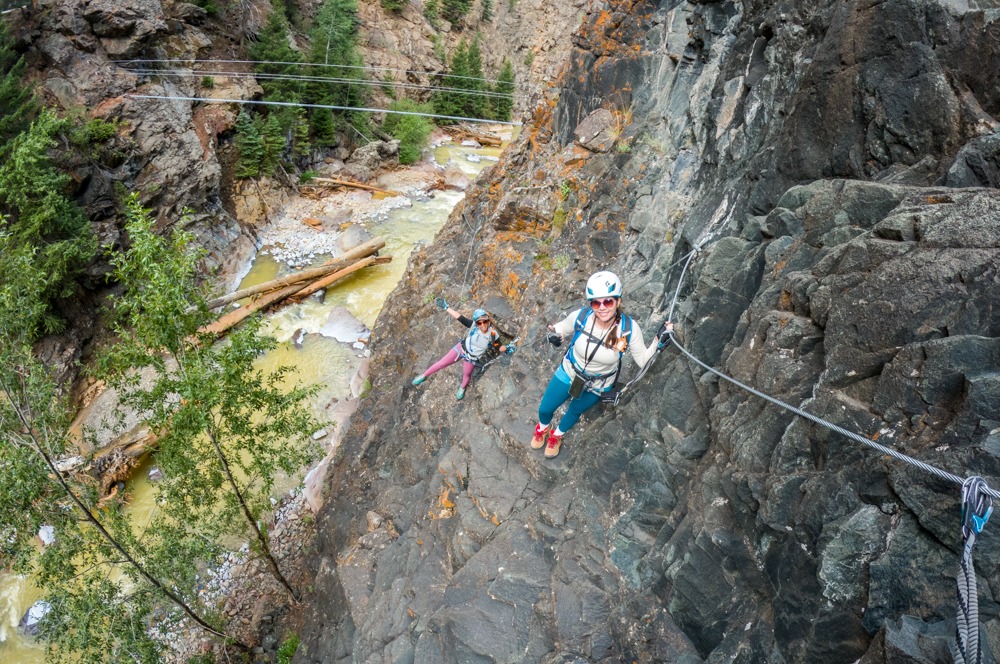
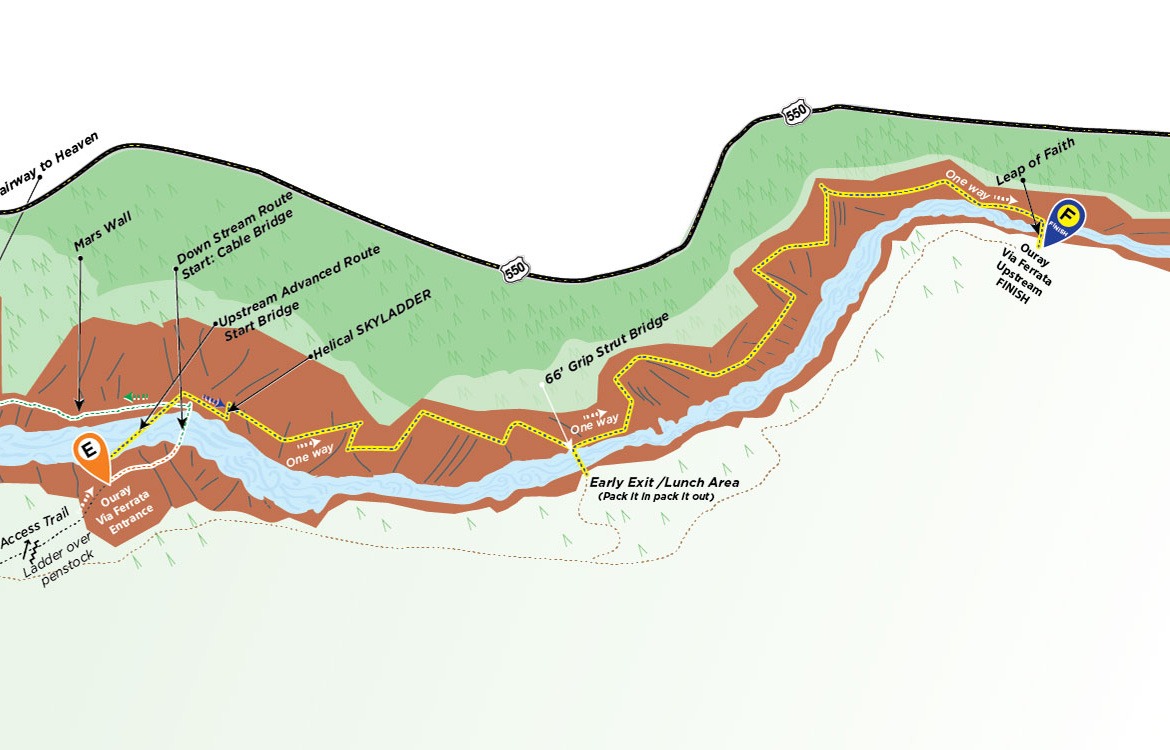
The entrance for Ouray Via Ferrata is located at the Ice Park Loop Trail. If you need more detail on parking or how to get here, check out our detailed blog for the Downstream Route. To get to the start of the actual Via Ferrata, you’ll need to do a short little hike. After parking, continue to follow the dirt road across the bridge. From this bridge, you can see most of the Downstream Route. The Upstream Route will be going the other way, up the gorge. Continue up this dirt road following the yellow “Via Ferrata” signs. This will soon take you to a left turn onto a small Ice Park trail. From here, it is a short hike until we reach the start of Ouray Via Ferrata.
Both Upstream and Downstream Route start at the same place. The Upstream Route’s entrance will be on the left-hand side. After the ranger made sure that we had prior experiences and knew what we were getting ourselves into, they checked our gear and went over the protocols. Then, the rangers opened the gate and we were ready for our adventures. This was our friend Megan’s first Via Ferrata ever so she was a bit nervous. However, she’s an experienced and strong rock climber so we were sure she would be okay.
Right off the bat, we were greeted with the cable bridge. This cable bridge is suspended about 100ft above the bottom of the gorge. If you haven’t done anything like this before or in a while, this first obstacle can be a bit daunting. The closer we get toward the middle, the more this bridge swings. Also, the cables for your hands on this bridge are a lot higher than the ones on the cable bridge on the Downstream Route. For shorter people like Vy, it felt a bit sketchy having to extend your arms a lot higher. A trick we learned from Logan when we did the Gold Mountain Via Ferrata is to look straight ahead instead of down. It worked like a charm.
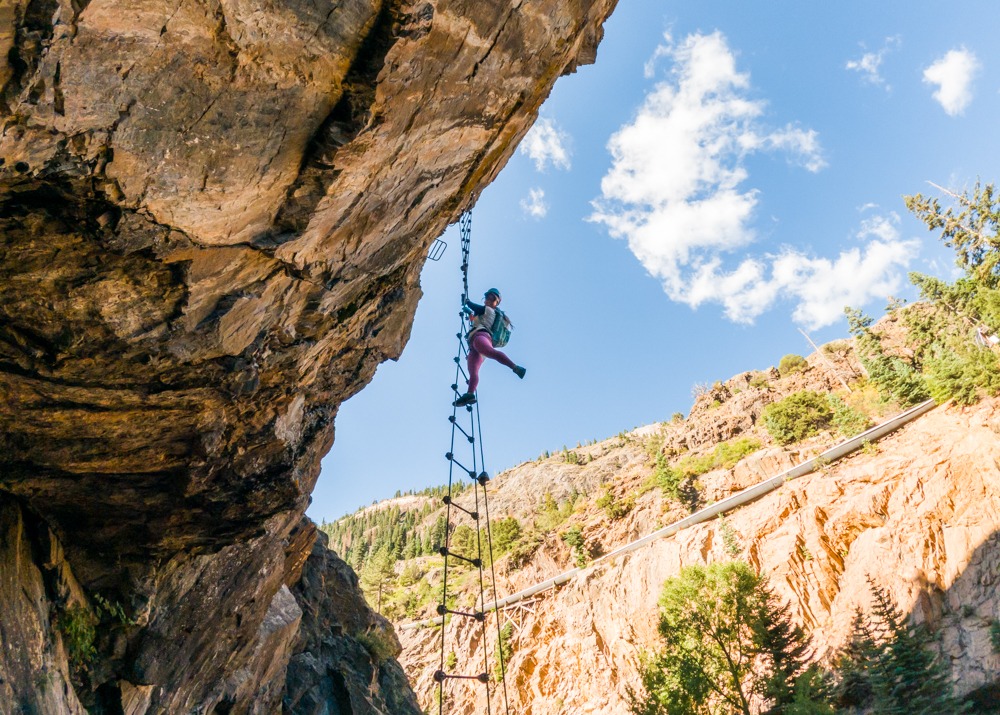
After the swinging cable bridge, it was a short section of traversing and a small downclimb before we reached one of our favorite parts, the Helix ladder. As mentioned above, it helps to loop your arm under the lanyard as you climb up. We promise you will thank us! This Helix ladder is about 60 ft in height, yet it felt like it went on forever. Just like the cable bridge, the ladder swung more the higher we went up. It was interesting trying to balance while climbing at the same time.
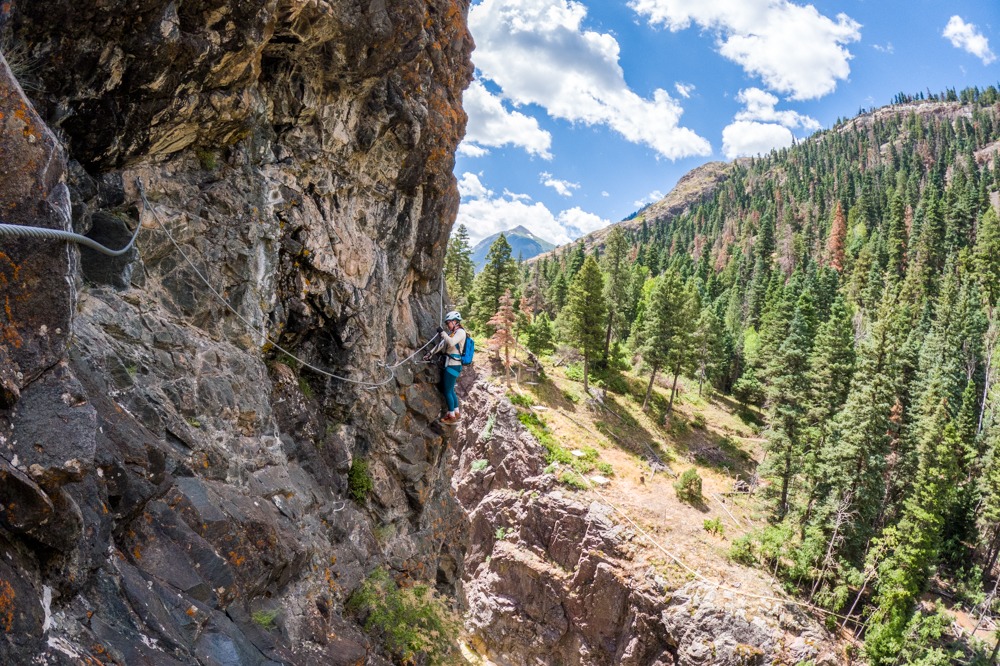
Once we climbed on top of the Helix ladder, it was a nice break as we traverse across a slab section. Then, it was a small down climb before we started another traverse where we had to work around aretes. By the way, if you don’t know, an arete is a sharp rock corner, forms where two flat expanses of rock come together, forming a crisp, defining edge. This is a rock climbing term. Along this way, you will have to use natural rock features as your hand and footholds as the rung are quite sparse.
After a short distance, we encountered our first very tall vertical climb, followed by a long downclimb where we had to stem our way down. Then the route continued to traverse upward for a bit. Here, we came across a passing zone. There are 3 of these passing zones along the way. If you need a break or to let a faster group pass, you can do so here. After this passing zone, we had another decent downclimb before reaching the suspension bridge. By the way, this section seems to go on forever, and it’s barely ⅓ of the way!
The suspension bridge is about ⅓ of the way through the Ouray Via Ferrata Upstream Route. This is the only bail-out point on this route. So if what you’ve experienced so far is too much for you, you can exit here. Keep in mind that the rest of the route will be a lot harder. At this point, even though we were tired, we were still good for adventure so we went under the bridge to continue our way. Watch out for the cactus troll under the bridge!! This big pile of cactus grows right next to the cable so it will sneak on you if you’re not paying attention.
After the suspension bridge, we followed the trail to traverse upward before reaching a steep vertical climb. This climb is no joke. It is steep and slightly inverted so you’ll have to use a lot of arm strength. After huffing and puffing through this vertical climb, we encountered another traverse section. This section was interesting because the cable here was loser than the other sections. So, we had to take that into account when using the cable as our hand holds. After this short traverse section, we came to a long downclimb.
This downclimb is known as the Stem Box Downclimb. It is a chimney, where you’ll have the rungs placed on both sides. So, you’ll have to stem your way down. The issue here is that if you have short legs like Vy or Megan, you’ll have to do a split because the rungs are quite far apart. Vy ended up staying on one side and used the rock features along with the rungs to make her way down. This is also where the 2nd passing zone is located. After this tricky downclimb, we were back to more traversing as the trail winding its way downward toward a small little beach.
Once we got down near the beach, we unclipped and headed down to enjoy the shade and the cool breeze for a bit before heading back to finish the Ouray Via Ferrata Upstream route. The beach is a nice little spot for a quick break and snack. It is about ⅔ of the way.
When we were done resting, Megan was ready to clip herself back onto the cable. Our fearless leader was ready to finish the route. The trail started out as an upward traverse before we had to work our way around aretes again. Then, it was a downclimb before we reached a small break shelf. Here, we could see the Leap of Faith, which is near the end of the Ouray Via Ferrata Upstream route.
After the shelf, we were back to traversing for quite a while. There was some overhang along the traverse section too! For some reason, it didn’t feel as bad. I guess because we were used to the steep vertical climbs. Eventually, we reached another downclimb. This downclimb leads to the Leap of Faith.
This Leap of Faith is a jump over the narrowest section of the gorge. You’ll have to work your way down to the gap. And then, hold on to the cable for dear life and make that big jump over. Even though it’s a bit more difficult for height-challenging people, honestly, the jump isn’t as bad as it sounds. It’s a lot smaller than we thought. Right after the jump was a short vertical climb before we reached a very steep vertical climb to climb out of the canyon. This is the end of Ouray Via Ferrata Upstream Route! We were so happy that we finished it.
After the end of the route, it was a short walk back to the main trail before we passed by the start of the Ouray Via Ferrata again. If you’re still up for adventure and have enough time left, you can run the Downstream Route. It is nowhere as strenuous as what you’ve been through! If you haven’t, we highly recommend doing both. If you’re looking for more Via Ferrata in the area, check out Gold Mountain. It is a guided tour but Basecamp Ouray did a great job building it. They also added more fun routes so you’ll have many options to choose from. Also, don’t forget about Telluride Via Ferrata. That one has more hiking than technical part but the main event is awesome! Another Via Ferrata that we love is the one of its kind, inside the slot canyon in Page, AZ. We highly recommend that one!
Happy Adventuring. Don’t forget to check out the related posts below for more inspiration on your upcoming adventures. While at it, follow us on Instagram and subscribe to our YouTube channel! We’ll love you forever!
These are the gear that we personally use and find helpful for this particular adventure. Don’t forget to check out our Recommended Gear section as well.

This is the women's version. It has an Omega easy-to-adjust, semi-rigid headband with a pronounced notch for wearing the helmet…
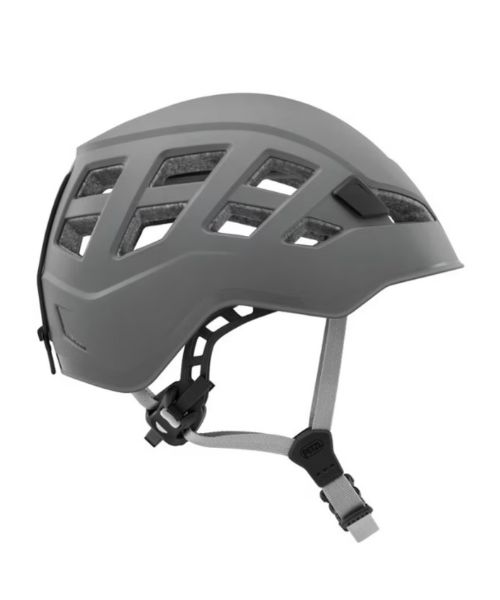
This is the Men's version. We love the adjustable lateral webbing and a fully adjustable chin strap that help keep…
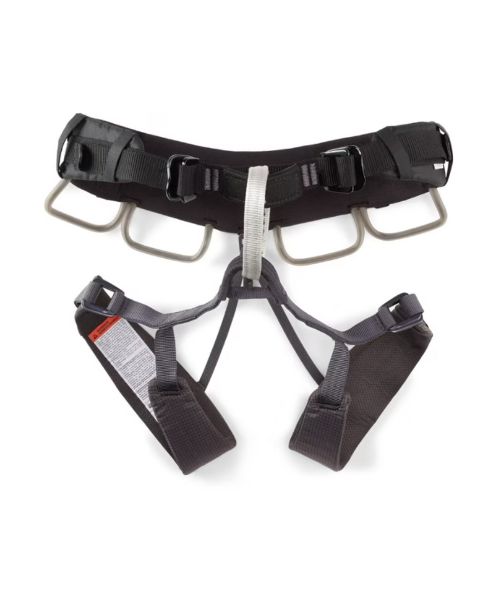
This is Dustin's harness. It's a great all-around harness, a very comfortable harness, easy to use, and extremely lightweight.
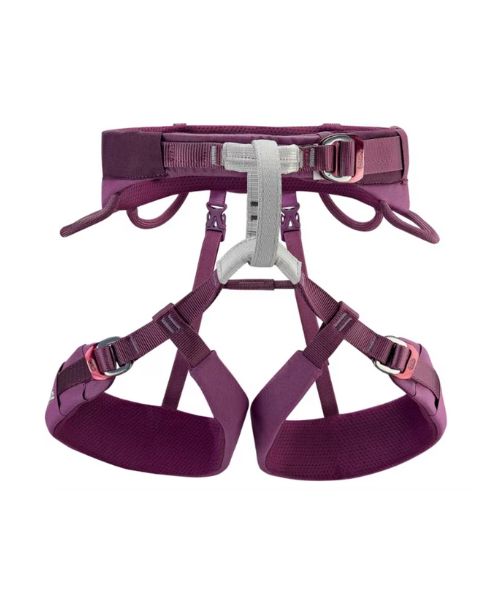
This is Vy's harness. It's a great harness for beginners, used only indoors so far, comfortable padding.
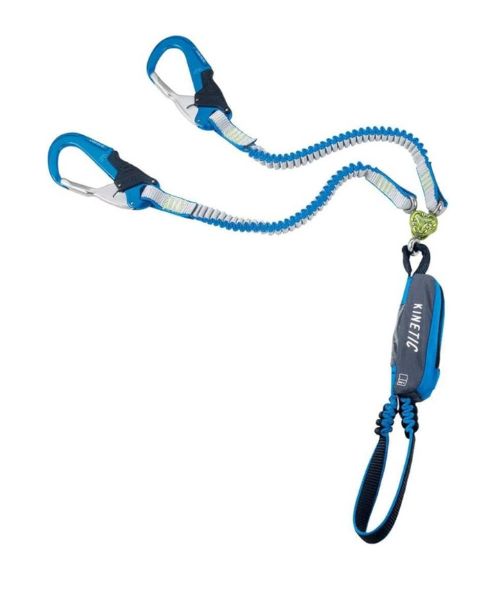
The Horai squeeze-activated carabiners and the Gyro system have three independently rotating swivels to prevent twisting and tangling is awesome!
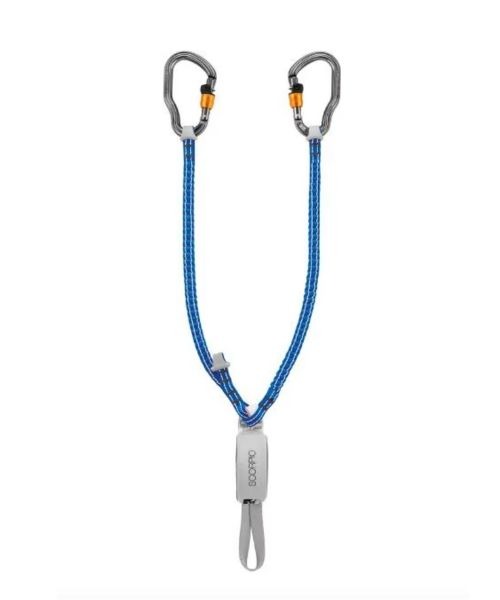
Light and compact, the Petzl Scorpio Vertigo lanyard is designed for a wide range of user weights, perfect for your…
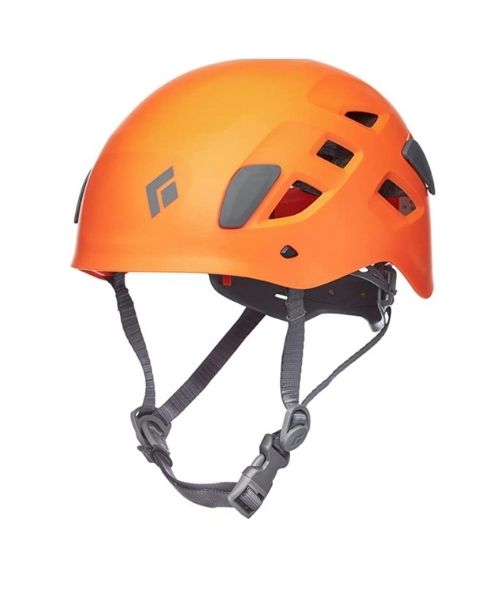
A great starter helmet, perfect for canyoneering or Via Ferrata
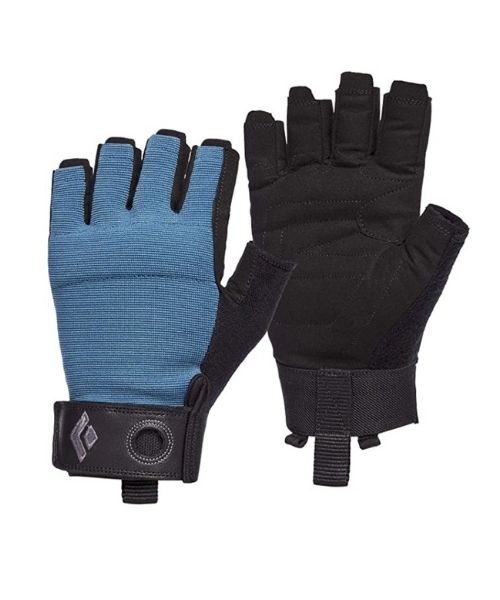
These gloves are perfect for climbing, scrambling and canyoneering

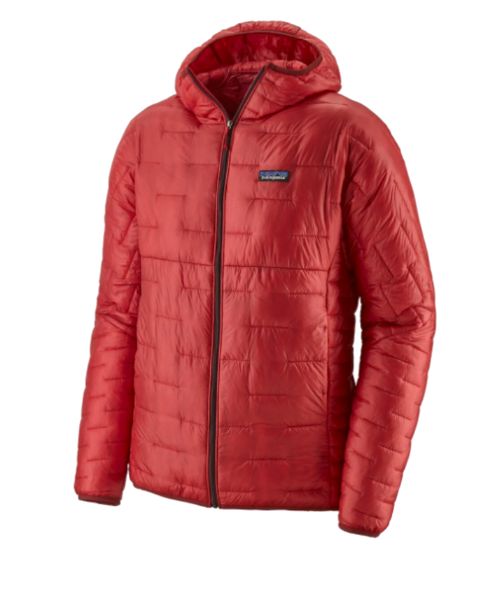
Our favorite hiking/travel jacket. It's warm and packable, perfect to bring on a hike or a road trip.
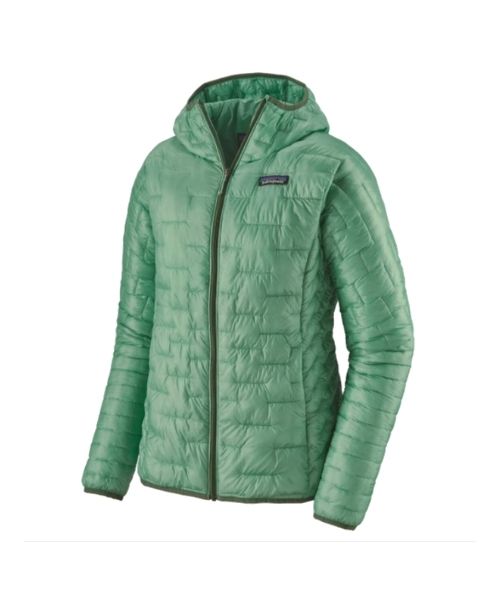
Our favorite hiking/travel jacket. It's warm and packable, perfect to bring on a hike or a road trip.
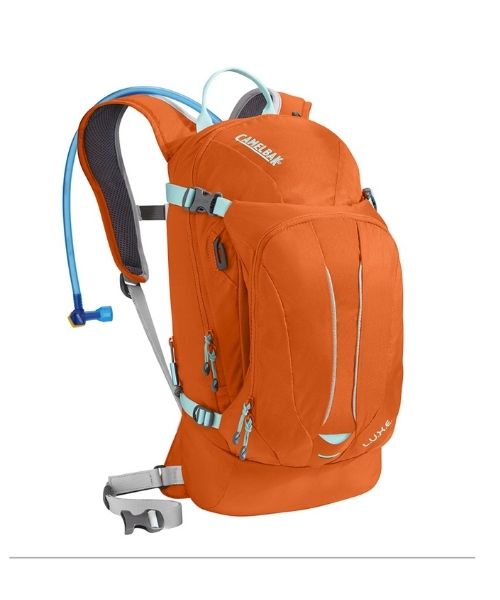
This is Vy's favorite hiking bag! It has tons of room for snacks and water!


Our favorite biodegradable, eco-friendly, reef-safe sunscreen!
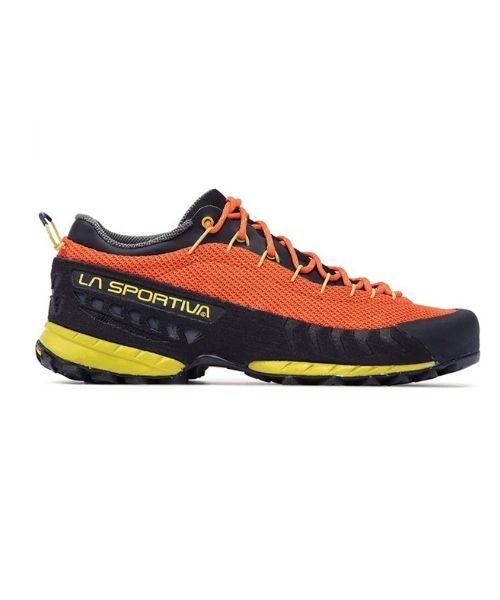
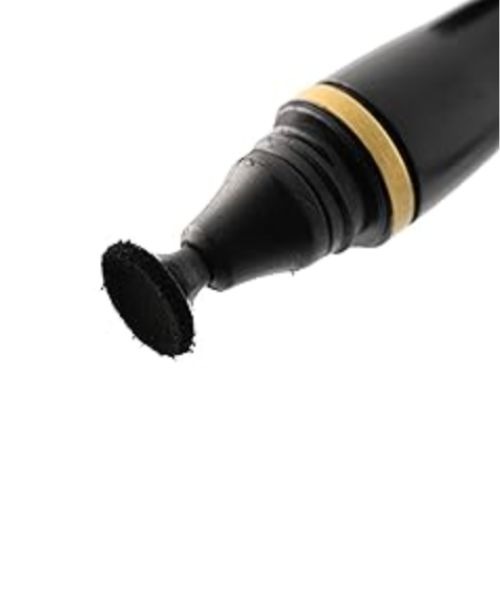

This is our go-to camera for all of our adventures. It comes with us everywhere!
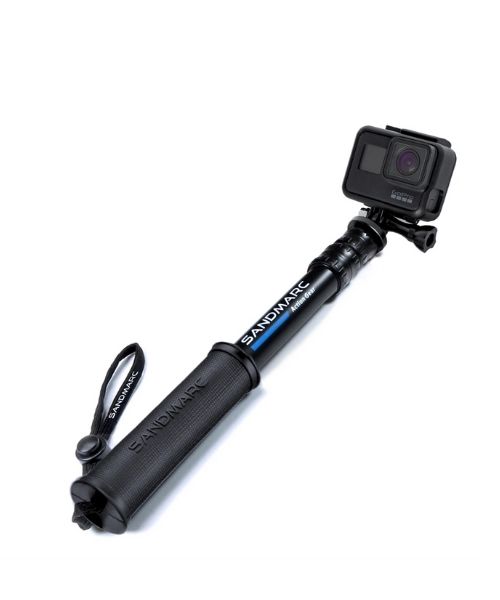
Compact GoPro pole that extends to 25", perfect to bring on your adventure.


Nice to meet you!
Hi! We are Dustin & Vy, the proud creators of Live That Adventure. We created this website because we wanted to inspire others to live their lives to the fullest. On here, you’ll find everything from hiking, canyoneering, kayaking, and snorkeling to adventure and travel tips, gear reviews, and bucket list items such as bungee jumping or wing walking. We’ll show you the ropes so you can do them too!
Subscribe
Get our best adventure tips, guides and more send to you!
Subscribe
Get our best adventure tips, guides, and more send to you!