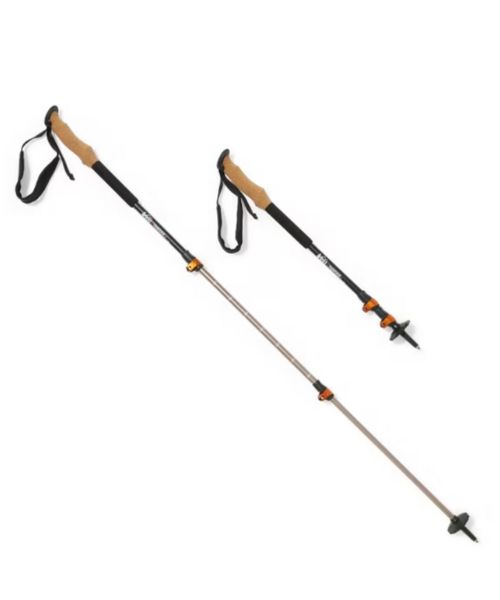
These hiking poles are sturdy, and great to help keep your balance on short or longer hikes
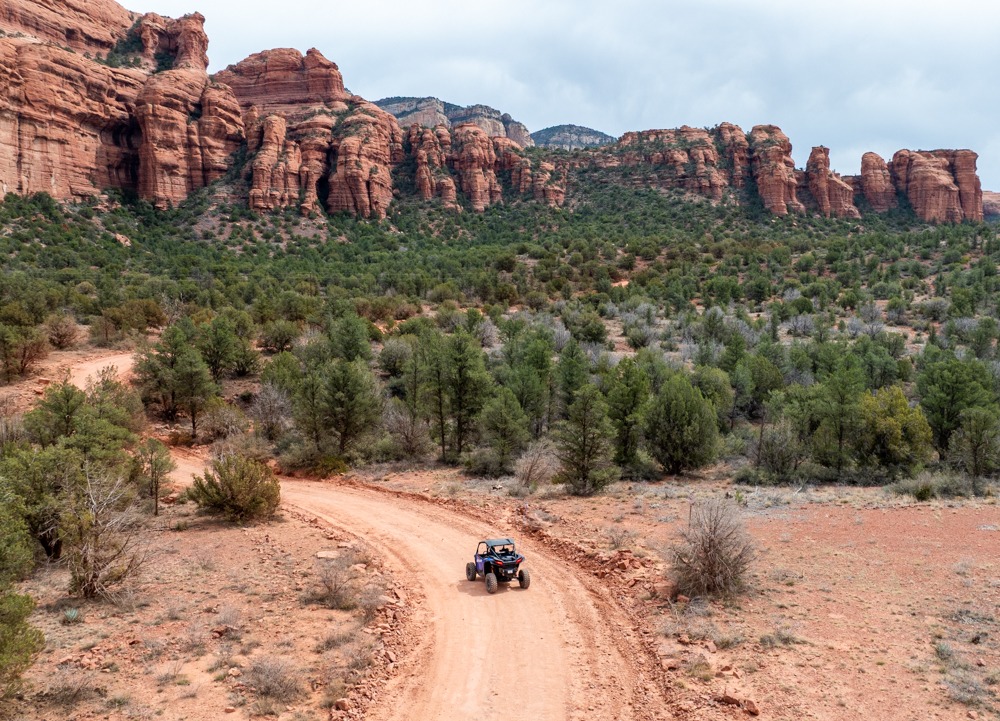
Besides its breathtaking landscapes and iconic hikes, Sedona is a haven for those who love off-roading. Sedona has 11 official off-roading routes, ranging from easy (green circle) to extremely difficult (double black diamond). You can do these trails using your own off-road vehicles or rent one when you’re in Sedona. Out of these 11 off-roading trails, the Outlaw Trail and Diamondback Gulch Trail are the most popular ones. Since these 2 trails are very close to each other, it’s normal to combine them into a big loop. The Outlaw Trail is a good warm-up trail before attempting more challenging and thrilling 4WD roads in Sedona. It has gorgeous views and a cool bonus visit to the Honanki Heritage Site. The Diamondback Gulch Trail is more difficult, with big descents, ascents, and less scenic views.
We recommend doing the Outlaw Trail first to see how you feel before attempting the Diamondback Gulch. If you’re comfortable doing both of these trails, then you’re ready for the Broken Arrow 4WD Road.

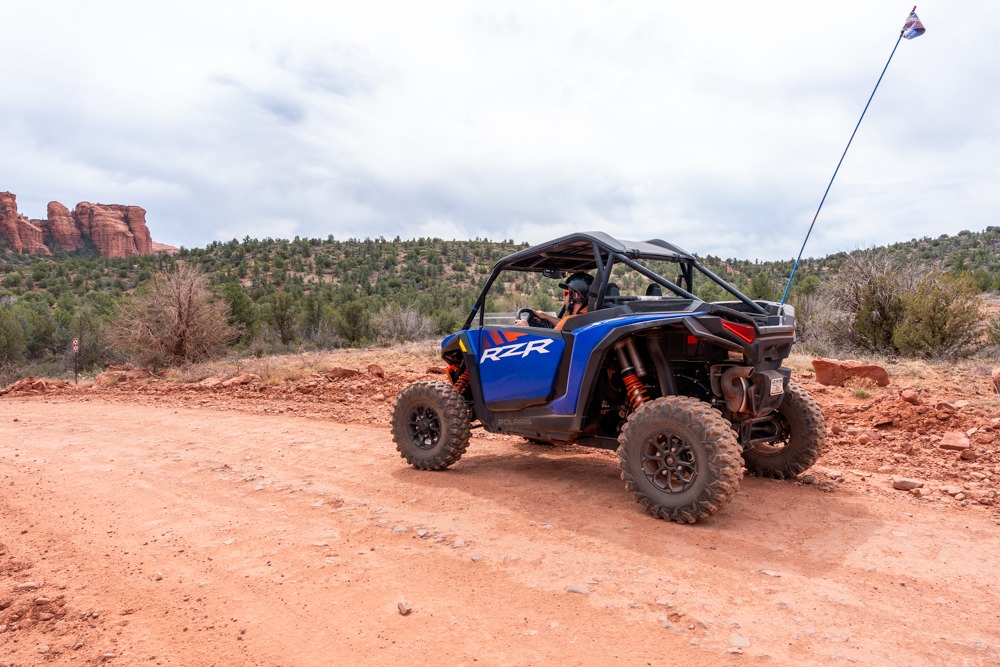
Since you’ll be exploring off-road trails, you’ll need off-road vehicles. Although you can do the easy trails on a stock 4WD vehicle, most of the offroad trails require high clearance. The most popular off-road vehicles on these 4WD roads are Jeeps and RZRs. You’ll also run into many tour companies, such as Pink Jeep, along these routes. If you’re not comfortable with your off-road driving skills, we recommend going with a tour company. However, there is something more satisfying about driving these roads yourself. Also, you can do multiple trails at one time instead of having to pick just one if you’re going with a tour company.
If you don’t have a capable off-road vehicle, Sedona has tons of rental places, from Jeep to RZRs. Even though we have our own Jeep, we actually loved renting a RZR when we’re in Sedona. On the more technical trails, such as the Diamondback Gulch or the Broken Arrow, a RZR just drives so much better than a Jeep (don’t tell our Jeep we said that…). We rented our RZR with Sedona ATV and highly recommend going with them.
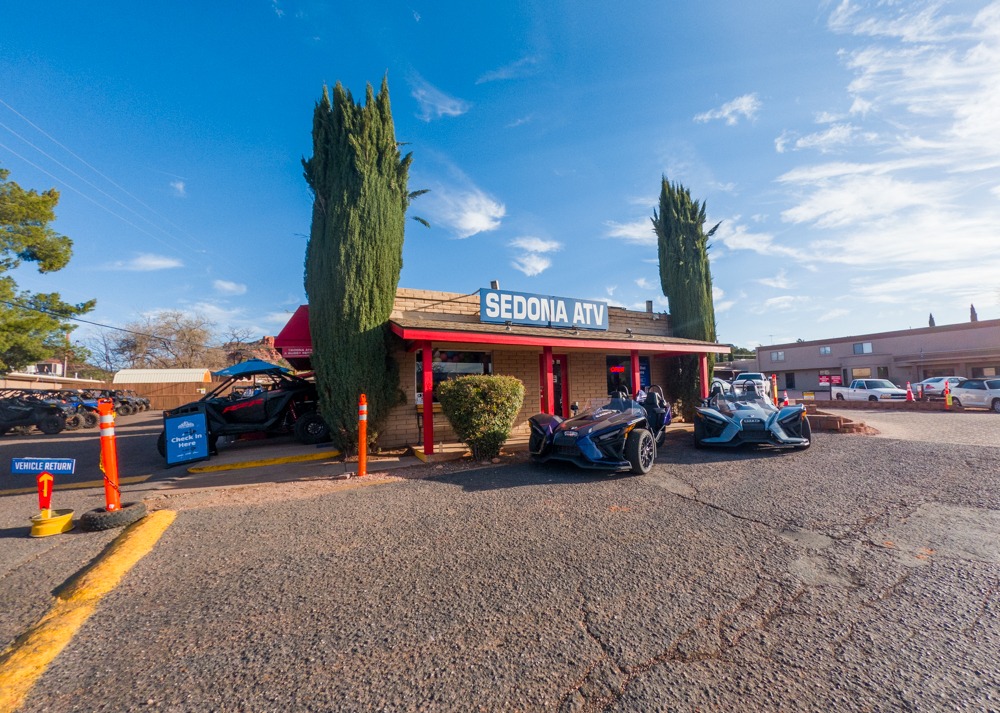
There are many off-road rentals in Sedona. However, as mentioned above, we were very happy renting with Sedona ATV. They’re located on the West Sedona side, very close to the start of the Outlaw and Diamondback Gulch Trail. Their prices are very reasonable, and everyone there was super friendly. However, the main reason we prefer Sedona ATV is that they change out their fleet once a year. Since they have a contract with Polaris, Sedona ATV gets new off-road vehicles every 6 months, ensuring that any vehicle we rent from them is the latest and greatest and always in pristine condition. We’re not sure about you, but we’d rather drive a new, good-conditioned RZR on the more sketchy trails than an older one.
Sedona ATV Rental
2740 W State Rte 89A, Sedona, AZ 86336
Phone: 928.204.0000
If you just want to do the Outlaw and Diamondback Gulch Trail, you can do both in about 4 hours. They took about 2 hours each. The Outlaw Trail is about a 10.5-mile loop, rated moderate. The Diamondback Gulch is about 6.6-mile long and rated difficult. That being said, we recommend devoting a full day to this. There is so much to see, especially if you want to stop at the Honanki Heritage Site. We did a full-day (8 hrs) rental. This gave us plenty of time to finish both Outlaw and Diamondback Gulch and still have time to do the Broken Arrow Trail and part of the Schnebly Hill Rd, the same one we did coming from Munds Park.
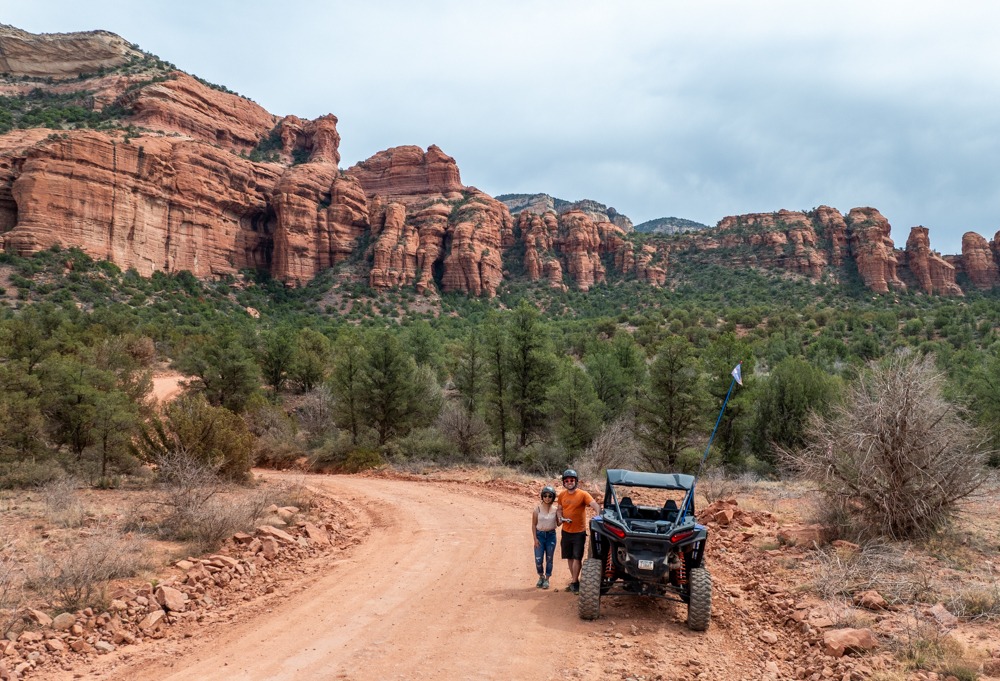
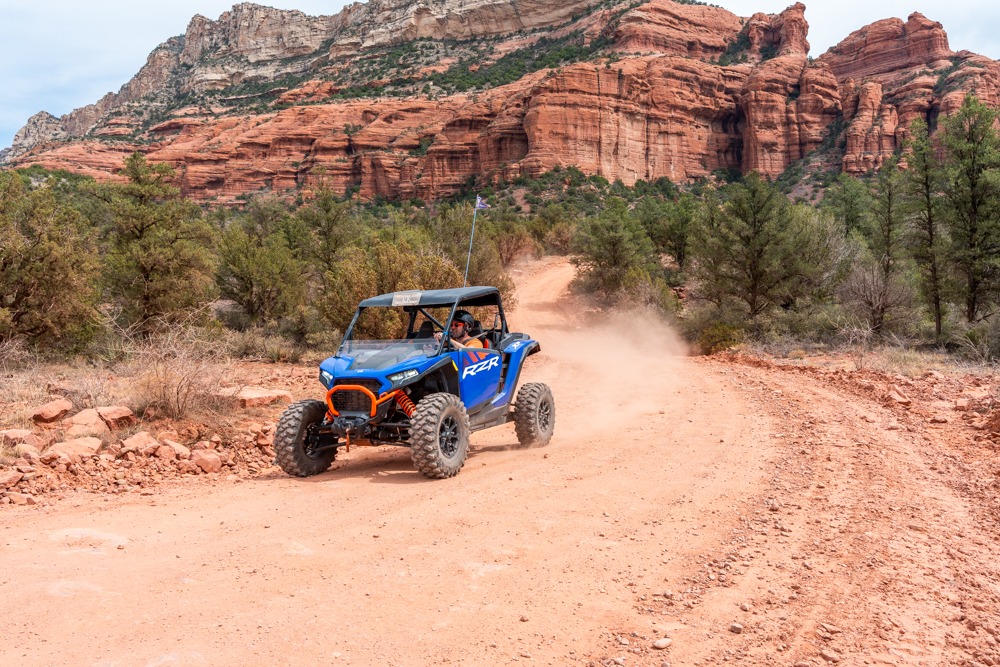
The Outlaw & Diamondback Gulch Trails can be accessed either via Loy Butte Road or Dry Creek to Boynton Pass Road from Highway 89 on the West side of Sedona. If you have a Jeep, you can access it either way. However, with our RZR rental, we went through Dry Creek Road to Boynton Pass Road instead. Since the speed limit on an RZR is only 35 mph, it is better to take the Dry Creek Road route so you won’t be driving for long on the faster Highway 89.
If you’re renting from Sedona ATV, they give you a map and detailed written instructions to follow. The RZR also has the routes loaded on the GPS device, which makes route-finding so much easier. This way, we got to enjoy the drive rather than spend time worrying about whether we got lost or not.
As mentioned above, we access the Outlaw & Diamondback Gulch Trails via Dry Creek Road. From Highway 89, turn onto Dry Creek Road. Dry Creek Road will turn into Boynton Pass Road as soon as it passes the turn to Vultee Arch 4WD Road. You can take the Vultee Arch 4WD Road to the start of the iconic Devil’s Bridge Trail for a shorter hike. Boynton Pass Road quickly reaches the first T section. There are two T sections. At both of these sections, you will need to make a left. The second T section is where the Boynton Canyon Trail trailhead is located. This is the trail to the popular Subway Cave or the Birthing Cave.
Once you make that left turn at the second T section, the Boynton Pass Road will pass by the parking lot for the Fay Canyon trailhead. After a short distance, we crossed over a cattle guard. This is where the paved road turns into a dirt road. Along this dirt road, you’ll pass the other side of the Diamondback Gulch Trail. Diamondback Gulch is a loop trail. Since we wanted to the Outlaw 4WD Trail first, we kept going. At the third T section, we turned right before reaching the sign for the start of the Outlaw Trail on the left.
10.5-Mile Loop | Moderate
The Outlaw 4WD trail consists of 3 forest roads: 9549, 9549B, and 9551. Most of the loop is easy, with a few steep, rocky sections and bedrock shelves. The trail is a single track with many blind corners. Therefore, it is a good idea to keep an eye out for oncoming traffic, especially if you’re about to attempt the steep sections. This is a very popular trail, so you’ll see a lot of traffic, including jeeps, utvs, and guided tours. There are signs along the way, especially at the intersection, so you won’t get lost.
The first section of the Outlaw Trail is bumpy, with some rocky sections. There are some bedrock shelves where you have to ascend or descend. Overall, it is not that bad. Make sure to pay attention to the cows. We ran into two herds on this section. There were some baby cows, and they were adorable!
This section of the Outlaw Trail is a very long, red dirt road with some bumps along the way. This area can be muddy if there’s recent rain. This is where you’ll get beautiful views of the red mountain range in the distance.
At the end of forest road 9549B, the road curves to the right and turns into forest road 9551. By the way, we didn’t see any signs for the road name; however, there are signs for the Outlaw Trail along the way. So, as long as you follow these signs, you’ll be fine. After the curve, the red dirt road heads toward the towering red butte. It eventually led to a small overlook where we took a short break and got some photos.
After the overlook, the road becomes a bit more technical than what you’ve been through. There are many rocky sections with short rock stairs. As long as you take your time, you should be fine. We did all this in 2WD mode on our RZR. This third section ends at the parking lot for the Honanki Heritage Site.
Honanki Heritage Site is open every day from 9:30 am to 3 pm. If you need to use the restrooms, there are vault toilets at the trailhead. You will need a Red Rock Pass to park and visit this historic site. If you have an America the Beautiful pass, you can use it instead. You can purchase the Red Rock Pass at the trailhead. There is a short trail leading to some of the largest cliff dwellings of the Red Rock country between AD 1150 and 1350. It is quite interesting. We recommend making a quick stop here if you have time. We spent about 15 minutes here.
The Honanki Heritage Site marks the end of the Outlaw 4WD Trail. From the parking lot of the heritage site, we turned right onto the Loy Butte Road. This is a wide dirt road with beautiful views. We had to stop multiple times to take in the views of the imposing mountains along the side of the road.
6-Mile Loop | Difficult
If you want to continue to the Diamondback Gulch Trail, there are two access points, one starting from the Boynton Pass Road (north section – FR-152A) and the other from Loy Butte Road (west end – FR-9513). The north section (FR-152A) can be very slick and may be impassable when it rains. The west end (FR-9513) has a steep, rocky pipeline. The Diamondback Gulch is a popular, single-track trail with traffic going in both directions. Please make sure to give right of way to vehicles going uphill. There are a few blind corners, but not as many as the Outlaw Trail. We recommend checking for oncoming traffic before making your descend or ascend steep sections.
We decided to start our drive from the west end of the Diamondback Gulch Trail. This direction gets all the technical, rocky parts out of the way first. This also allows us to descend instead of ascend some of the steepest sections on this trail. In our opinions, going down is easier than trying to climb up these steep, sandy sections. The west end of the Diamondback Gulch trail immediately became challenging as soon as we entered. There are big boulders to crawl over and tons of steep rocky stairs to climb up and down. It was challenging but quite fun.
This section of the Diamondback Gulch Trail consists of red dirt clay that gets very muddy if there’s recent rain. If there’s a lot of water, the road can get very slick and become impassable.
If you visit Sedona, we highly recommend checking out their offroad trails. We had so much fun driving through these technical sections. If you’re looking for something to do in Sedona, check out our list of 9 amazing hikes in Sedona!
Happy Adventuring. Don’t forget to check out the related posts below for more inspiration on your upcoming adventures. While at it, follow us on Instagram and subscribe to our YouTube channel! We’ll love you forever!
These are the gear that we personally use and find helpful for this particular adventure. Don’t forget to check out our Recommended Gear section as well.

These hiking poles are sturdy, and great to help keep your balance on short or longer hikes
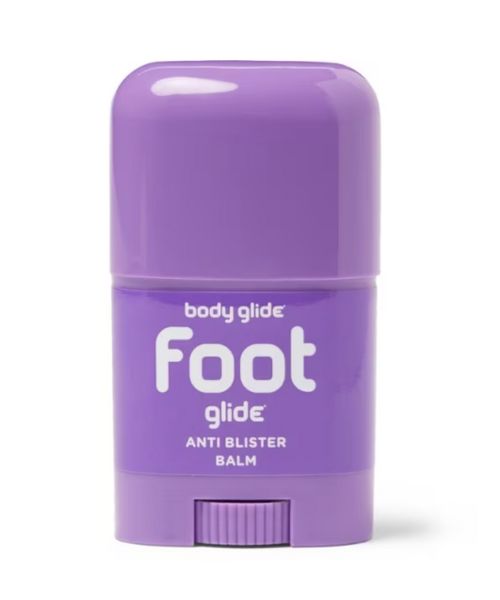
If you tend to have foot blisters on hikes, get this! We use this all the time.
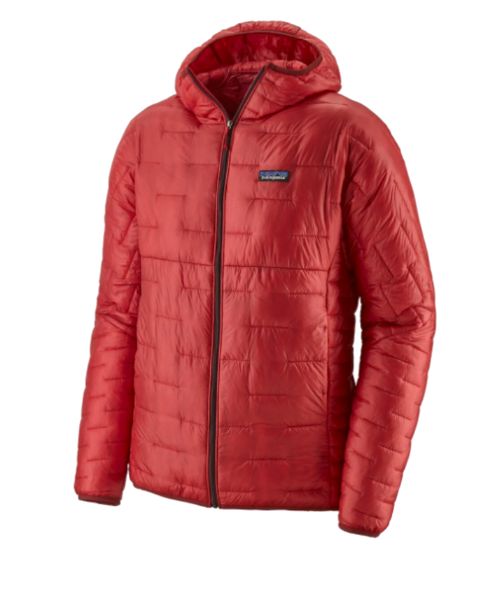
Our favorite hiking/travel jacket. It's warm and packable, perfect to bring on a hike or a road trip.
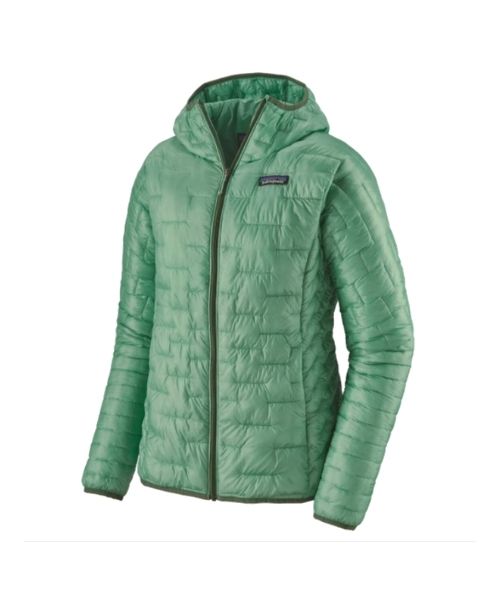
Our favorite hiking/travel jacket. It's warm and packable, perfect to bring on a hike or a road trip.
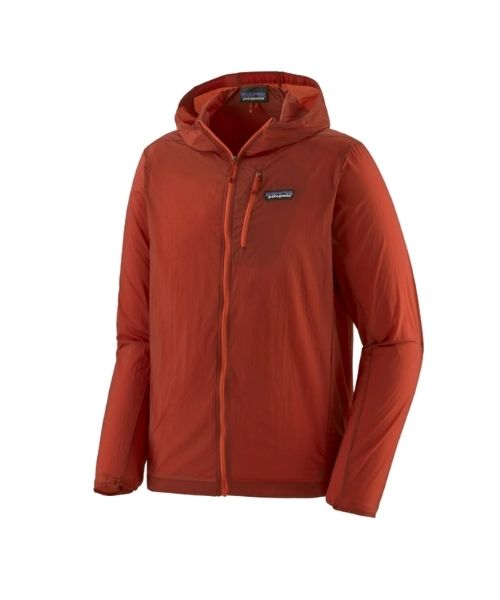
This jacket is packable into a super small and light little ball. Perfect for when you just need a little…
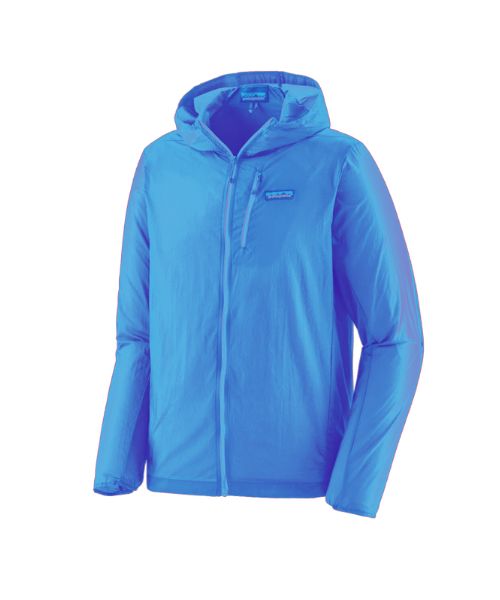
This jacket is packable into a super small and light little ball. Perfect for when you just need a little…
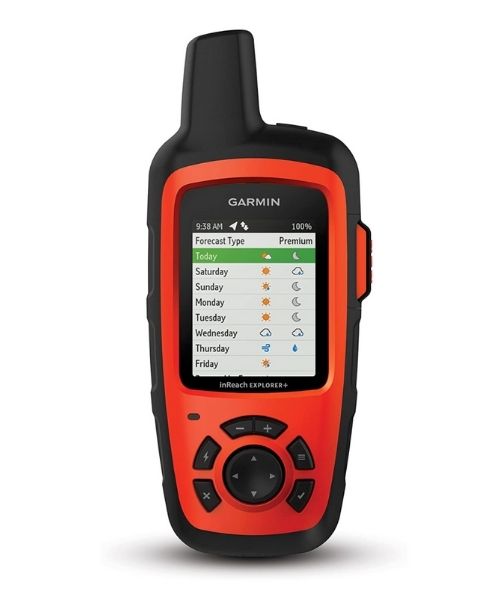
It's always good to bring a GPS tracker with you. We use the Garmin inReach.
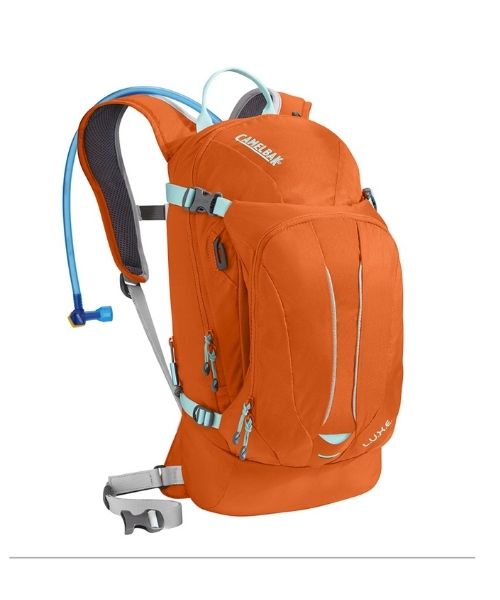
This is Vy's favorite hiking bag! It has tons of room for snacks and water!


Our favorite biodegradable, eco-friendly, reef-safe sunscreen!


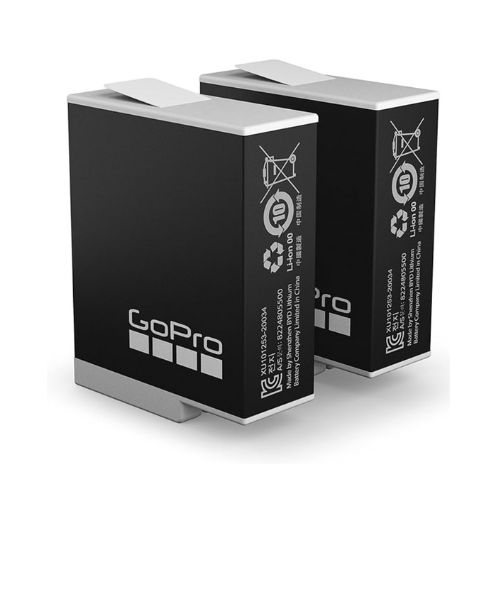
This is our go-to camera for all of our adventures. It comes with us everywhere!
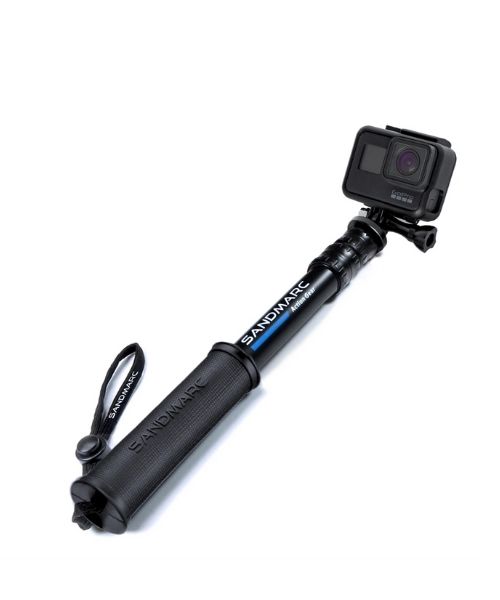
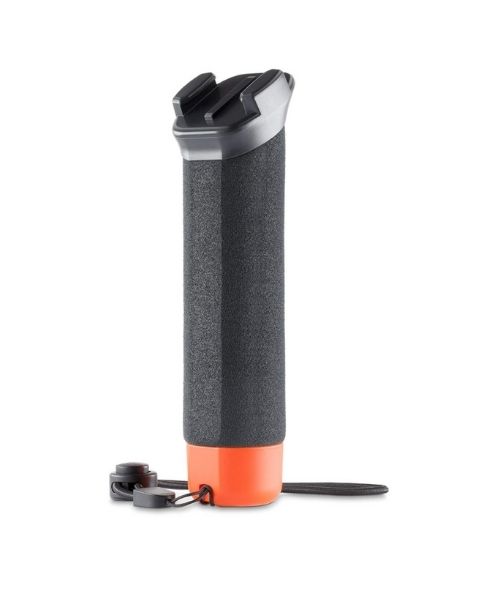
Compact GoPro pole that extends to 25", perfect to bring on your adventure.


Nice to meet you!
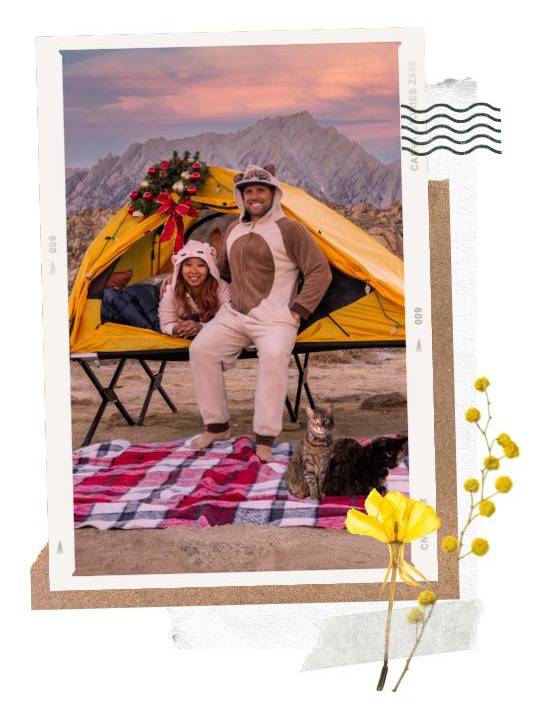
Hi! We are Dustin & Vy, the proud creators of Live That Adventure. We created this website because we wanted to inspire others to live their lives to the fullest. On here, you’ll find everything from hiking, canyoneering, kayaking, and snorkeling to adventure and travel tips, gear reviews, and bucket list items such as bungee jumping or wing walking. We’ll show you the ropes so you can do them too!
Subscribe
Get our best adventure tips, guides and more send to you!
Subscribe
Get our best adventure tips, guides, and more send to you!