
One of the most challenging hikes that Dustin and I have done to date is the Pride Rock To Pu’u Ohulehule Trail, the Southeast Ridge route, in Oahu, Hawaii. Scratch that, it was the most difficult hike we had ever done. This trail is overgrown, slippery with loose rocks, and has many technical sections that are fully exposed, with almost 3000ft drop-offs on both sides. Even after finishing other ridge hikes such as 3 Peaks and Moapa Ridge, the Pu’u Ohulehule Trail (Southeast Ridge) still takes the cake on difficulty and technical. Despite that, this hike has some of the best views of Oahu, especially at sunrise.
The hike to Pride Rock is moderate. However, going past that to the summit of Pu’u Ohulehule and back is a challenging, technical route that should be done ONLY by very experienced hikers with technical skills.

Trailhead for Pu’u Ohulehule Trail (Southeast Ridge)
48-476 Haupoa St, Kaneohe, HI 96744
21°29’45.0″N 157°51’17.3″W
Very small space in front of the trailhead. Probably fit about 2-3 cars
FREE
No restroom
Leave your pet at home. This is NOT the trail for pets!
3.8 mi R.T.
2,152 ft
Very difficult!!
At least 8+ hours out and back.
Start as early as possible. We recommend going when it’s not windy or raining. It can get dangerous on some of the steep ridge sections.
There are 2 ways to attempt this hike to the summit of Pu’u Ohulehule. The first one, which we did, is an out and back. This means you’ll start going up through Pride Rock (the Southeast Ridge) and come down the same way. This route is extra dangerous on the way down, especially on a few near-vertical sections with loose rocks. This option doesn’t require a shuttle car.
The second, easier way is to go back down via the Northwest Ridge, then either shuttle or take a bus back to your car. We haven’t done this route yet.
The trailhead for the Pride Rock to Pu’u Ohulehule Trail (Southeast Ridge) is located in a neighborhood on the east coast of Oahu, at the end of Haupoa Street. There aren’t any signs marking the hike. There is enough space for maybe 3 or 4 cars. Since it is in a neighborhood, please make sure to respect the area and lower your voice. If you’re doing an out-and-back hike like we did, this is where you’ll return to.
If you plan to return via the Northwest Ridge, you will end up at the Kahana Bay parking lot. So, you can either park a shuttle car there or take the bus back.
The one regret we had when doing this trail was not having enough time. We should have started this hike as early as possible. We didn’t realize how overgrown the Pu’u Ohulehule Trail (Southeast Ridge) was, which made it extra difficult when navigating the technical sections. It took us 9 hours, and we had to turn back at about 0.3 miles short of the summit because we ran out of sunlight. So, make sure to give yourself a lot of time and start super early!
We got to the trailhead around 10:30 am. This time, Dustin and I were able to talk my cousin Anh into this crazy hike with us. After parking, we realized that the GPS marker for the trailhead on the Alltrails app was off. The trail started past the concrete barrier at the end of the paved road. About 30 steps after passing the barrier, we turned right and went up the hill to start our adventure.
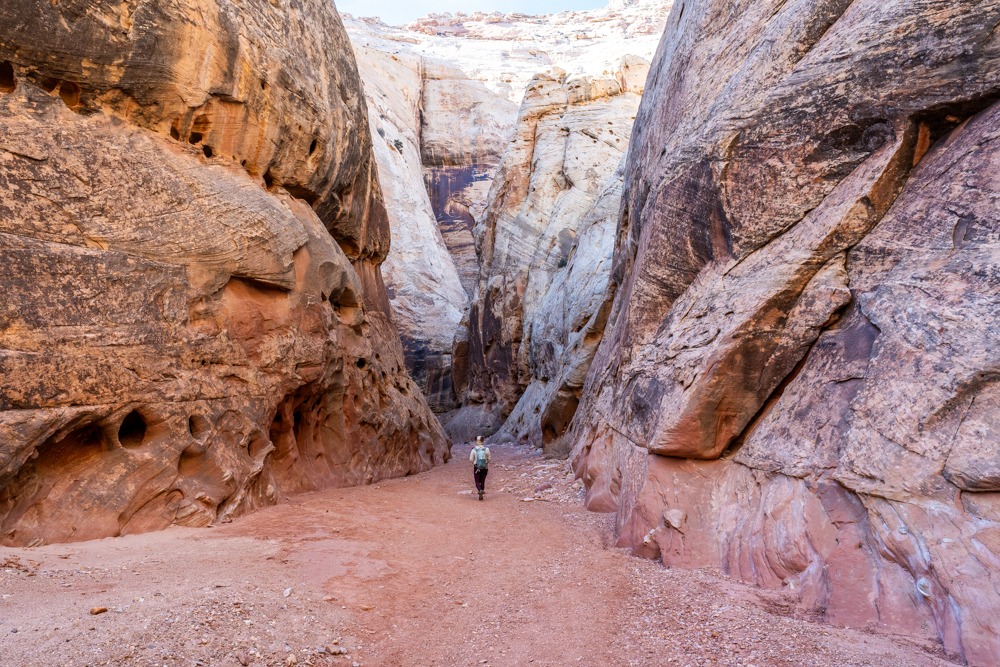
The trail immediately gains elevation as it weaves through dense tree cover. The beginning section of the Pu’u Ohulehule Trail (Southeast Ridge) can become very muddy and slippery if it rains. Along the way, there are several ropes for the steep, slick sections. There are also pink ribbons tied to tree branches to mark the trail. We found them very helpful.
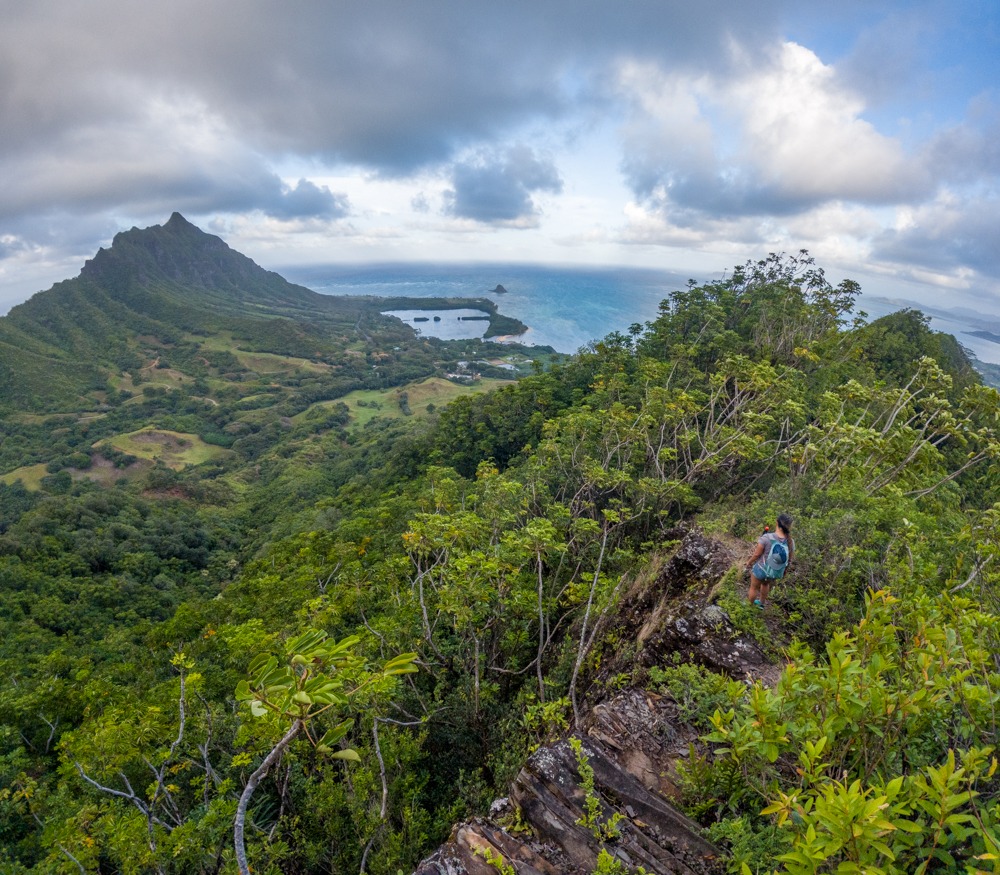
When the trail reached the crest of the ridgeline, we went left to follow along the Southeast ridge toward the summit of Puʻu ʻŌhulehule and Pride Rock. The view also opens up to the teal water of Kaneohe Bay and Mokoliʻi. As the trail climbed higher, we encountered more ropes and more scrambling. Even though this section is nowhere as difficult as what you will come across after Pride Rock, it still has tons of loose rocks and tree roots that could trip you. So make sure to watch your step.
As we got closer to Pride Rock, we came across the first significant technical section. It is a short class ⅔ scramble. When we did this trail, there were 2 ropes there. The blue rope is more obvious, toward the front of the rock face. You can use this rope. However, there is a better rope to the left of the same rock face. We like this rope better because it’s not as exposed, and there are many step-like footholds and handholds to use. Even though it looks intimidating, this short climb here looks worse than it really is.
Once on top of the climb, the rock that sticks out toward Kualoa Ranch and Mokoliʻi is Pride Rock. Since we wanted to get on to our main hike, we didn’t take any photos here. However, this is a popular spot to watch the sunrise. The scenery here is spectacular. From here, most people turn back. If the climb that you have done so far scares you, you probably should turn back. It’s just going to get a lot harder. As for us, we pressed on.
After Pride Rock, the trail becomes more overgrown as it follows along a narrow ridge. In some parts, we had to squeeze through dense foliage, duck underneath overhung tree branches, and avoid the jutting tree roots. In other parts, we had to hike through the narrow, exposed ridgeline where the overgrown tall grasses were waiting to trip us. I know it sounds like a blast, right? But that view is worthit though!
Once we crossed over the overgrown ridgeline that is fully exposed on the right-hand side, we got to an interesting feature of the Pu’u Ohulehule Trail (Southeast Ridge), a skinny ridgeline made up of volcanic dyke. This feature was something that we didn’t see when we did other ridge hikes such as the Moanalua Valley Middle Ridge or Crouching Lion.
The volcanic rocks are quite grippy, so that was a nice change from all the slipping. However, we still have to watch out for tree branches and such. In some dense sections, the trail can be deceiving. Because trees and plants line the sides, it looks like the trail is quite safe. However, there are steep drop-offs on both sides, and the little plants and trees won’t be able to help much if you slip through. Not only that, there are a couple of very steep downclimb sections along the way as well.
After this volcanic dyke section on Pu’u Ohulehule Trail (Southeast Ridge), we came across a blue rope, hidden behind the dense tree cover. We weren’t sure why it was here, but climbing up this blue rope was very technical and unnecessary. Looking around, we found a pink ribbon tied to the tree branch on the left-hand side of the ridgeline. The ribbon marks the by-pass trail instead of having to climb up the rope. Soon enough, after passing the pine tree cove, we got back up to the ridgeline. Make sure to pay attention here. If you start straying down the left side of the ridgeline after passing the pine cove, you’re going the wrong way. You’ll need to find your way back up to the ridgeline.
Once back up the ridgeline, the trail got even more overgrown. It was hard to find the trail sometimes because the vegetation was so dense. There are also many up-and-down climbs. From up here, we could see the Kualoa Ranch below, along with their tour trucks.
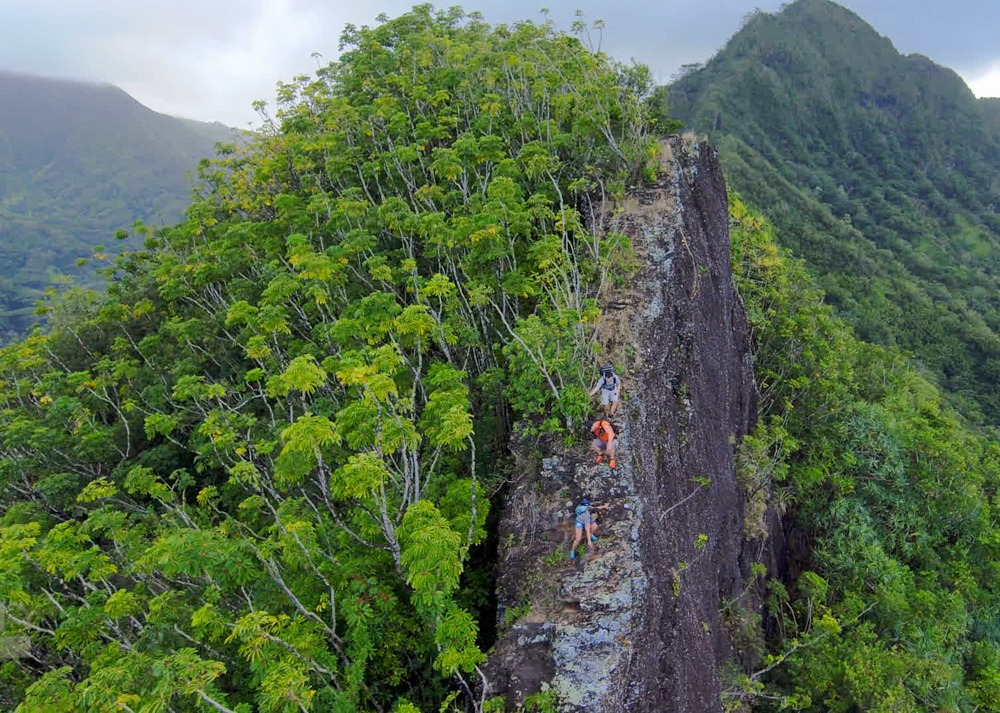
Eventually, we reached another sketchy section on Pu’u Ohulehule. It was an almost vertical climb up a skinny volcanic dyke. It is full exposure, with steep drop-offs on both sides. At this point, it was very windy as well, making this climb a little more heart-pumping. That being said, it wasn’t as bad as it looked. Since it is a volcanic dyke, there are tons of foot and handholds that resemble steps. So, it wasn’t that technical. It’s just the sheer cliff on one side that makes it dangerous if you fall.
Once we climbed up to the top of the steep volcanic dyke, the trail detoured around to the left. Although sparingly, we found pink ribbons marking the way. After a short distance, we were back to the top of the ridgeline again. Then, the trail once again dipped back down to the left.
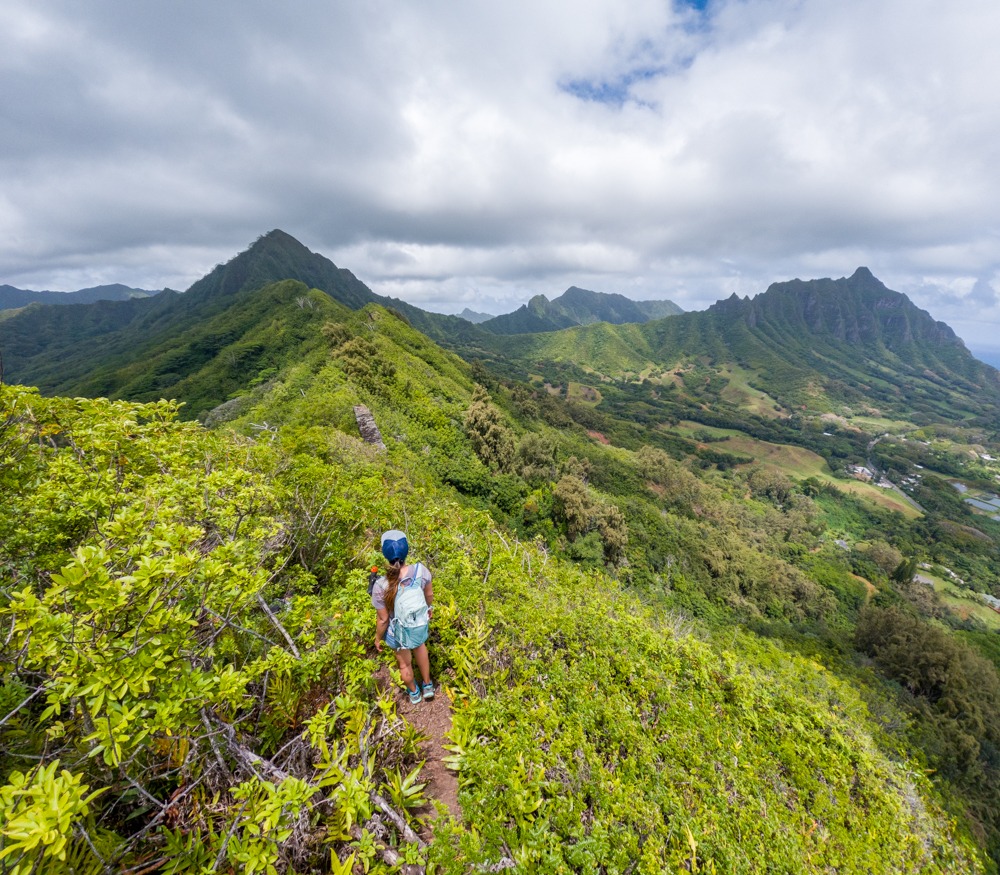
The Pu’u Ohulehule Trail (Southeast Ridge) is a combination of hiking along the volcanic dyke ridge with wonderful views and big exposure and fighting through thick undergrowth. Despite being a short hike, this trail takes forever. This is due to the overgrown trail, steep incline, technical terrain, and dense forest. We kept looking at the summit of Pu’u Ohulehule as we hiked along. It looked so close but yet so far.
After another series of upclimbs and down-climbs, battling dense bushes along the treacherous ridgeline, we came to a steep 90-degree vertical cliff. There was a rope here, but it didn’t look like it could help much. This section looked very sketchy, and it was. We debated whether we should turn back or not. But we decided to keep going.
This vertical section on Pu’u Ohulehule is technical. It requires some climbing skills because you’ll need to know how to use the hand and foot holds to your advantage. There are trees on both sides of the cliff, so it looks like the cliff is not fully exposed. However, that is deceiving,g as there are straight drop-offs on both sides. So if you fall, you’ll get hurt, if not worse. So, if you’re not sure, please turn back. We have the skills to do this safely, but not everyone does.
The ascent seemed to last forever. This was the longest climb that we encountered on this hike. Once we got to the top of the climb, the view opened up so we could see the valley and ocean below. We could also see how far away the Pu’u Ohulehule’s summit was. At this point, we realized that we were probably about 0.3 miles away from the summit, yet it would take another hour or so to get there. Since we started our hike late, we only had a couple of hours of sunlight left. So, we decided to turn back so we didn’t have to climb down the sketchy sections of this hike in the dark.
If you’re doing this trail, we don’t recommend doing this as an out-and-back. The way back through the Southeast Ridge is one heck of a heart-pumping experience. If you can, go back through the Northwest Ridge, as we mentioned above.
Downclimbing the steep, vertical sections is so much harder than climbing up them. The most dangerous section, in our opinion, is this vertical cliff that has loose topsoil. This part is one of the reasons this hike is the most dangerous in Oahu. The sketchy section is not too far from the longest climb. It also has a sheer drop-off on one side. Its surface is full of loose soil and rocks with not much to use for traction. I ended up scooting down slowly on my butt. We had to be extra careful. One wrong move, and this is it.
Another challenge that we had on the way back was finding the trail. It was so much more confusing finding the right trail because of so many detours. The one time we got lost was after the 90 degrees vertical volcanic dyke section. We came up to what looked like a worn trail leading down to the right. Once going down, the trail runs along a wall full of hanging tree roots. If you’re here, you’re going the wrong way. Instead of following the worn trail down, you’ll need to climb up the rocks. It doesn’t look like a trail, but once you climb past the tree, you’ll be on top of the ridgeline, at the right trail.
We were rushing at this point because we were running out of daylight. Luckily, we brought headlights. We made it down all the super sketchy sections before we were plunged into the darkness. Even so, we still had a bit to go. It was an experience, climbing down the ridgeline and finding the overgrown trail in the dark. However, Anh was on his game. Relying on his spider senses, we made it to the car safely.
The Pu’u Ohulehule Trail (Southeast Ridge) was one heck of an experience. We had a lot of adrenaline-pumping moments, yet it was incredible. Even though we didn’t summit, we were so close. We can’t wait to go back and try this again. This time, maybe exit through the Northwest ridge instead! If you ridge climb, check out 3 Peaks, Moanalua Valley Middle Ridge, and the easy one, Crouching Lion. We also love Moapa Peak in Nevada. If you’re looking for things to do in Hawaii, check out our Hawaii page!
Happy Adventuring. Don’t forget to check out the related posts below for more inspiration on your upcoming adventures. While at it, follow us on Instagram and subscribe to our YouTube channel! We’ll love you forever!
These are the gear that we personally use and find helpful for this particular adventure. Don’t forget to check out our Recommended Gear section as well.


Our favorite biodegradable, eco-friendly, reef-safe sunscreen!

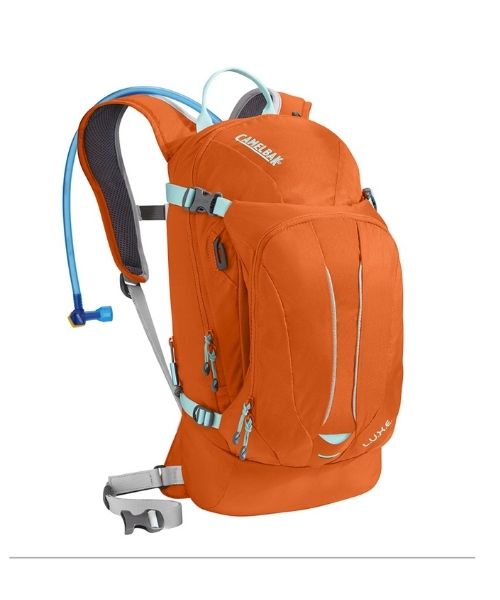
This is Vy's favorite hiking bag! It has tons of room for snacks and water!
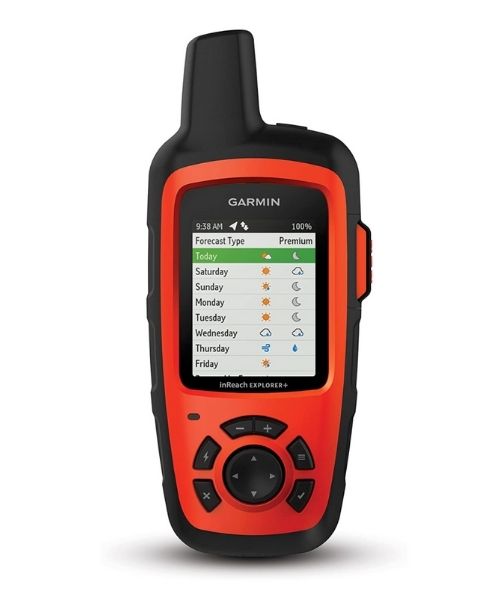
It's always good to bring a GPS tracker with you. We use the Garmin inReach.
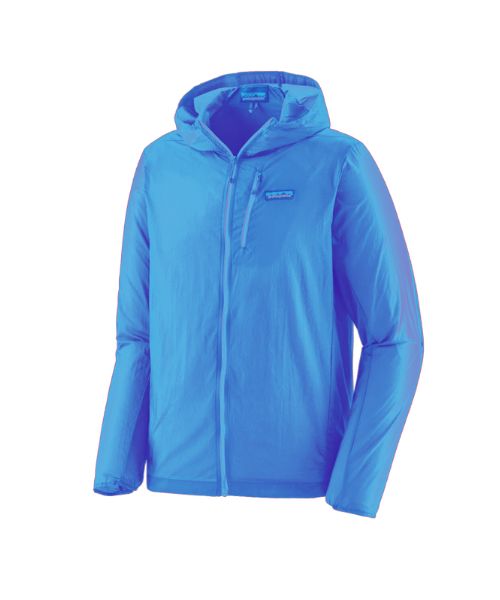
This jacket is packable into a super small and light little ball. Perfect for when you just need a little…

This jacket is packable into a super small and light little ball. Perfect for when you just need a little…

Our favorite hiking/travel jacket. It's warm and packable, perfect to bring on a hike or a road trip.

Our favorite hiking/travel jacket. It's warm and packable, perfect to bring on a hike or a road trip.

If you tend to have foot blisters on hikes, get this! We use this all the time.

These hiking poles are sturdy, and great to help keep your balance on short or longer hikes


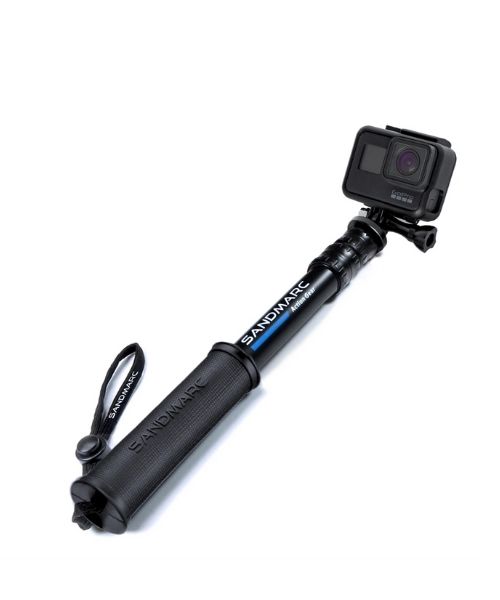
Compact GoPro pole that extends to 25", perfect to bring on your adventure.

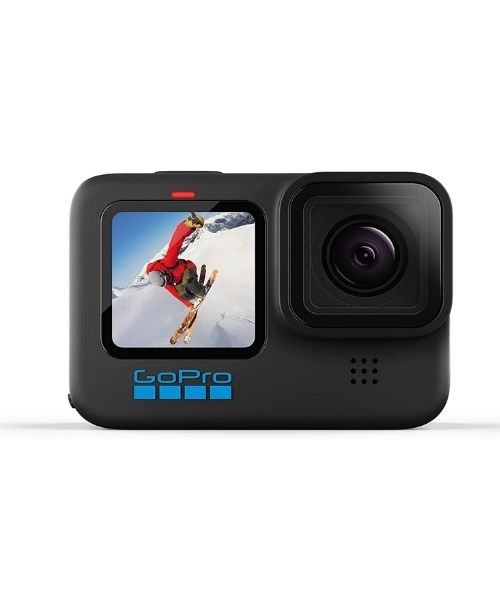
This is our go-to camera for all of our adventures. It comes with us everywhere!
Nice to meet you!
Hi! We are Dustin & Vy, the proud creators of Live That Adventure. We created this website because we wanted to inspire others to live their lives to the fullest. On here, you’ll find everything from hiking, canyoneering, kayaking, and snorkeling to adventure and travel tips, gear reviews, and bucket list items such as bungee jumping or wing walking. We’ll show you the ropes so you can do them too!
Subscribe
Get our best adventure tips, guides and more send to you!
Recent Post