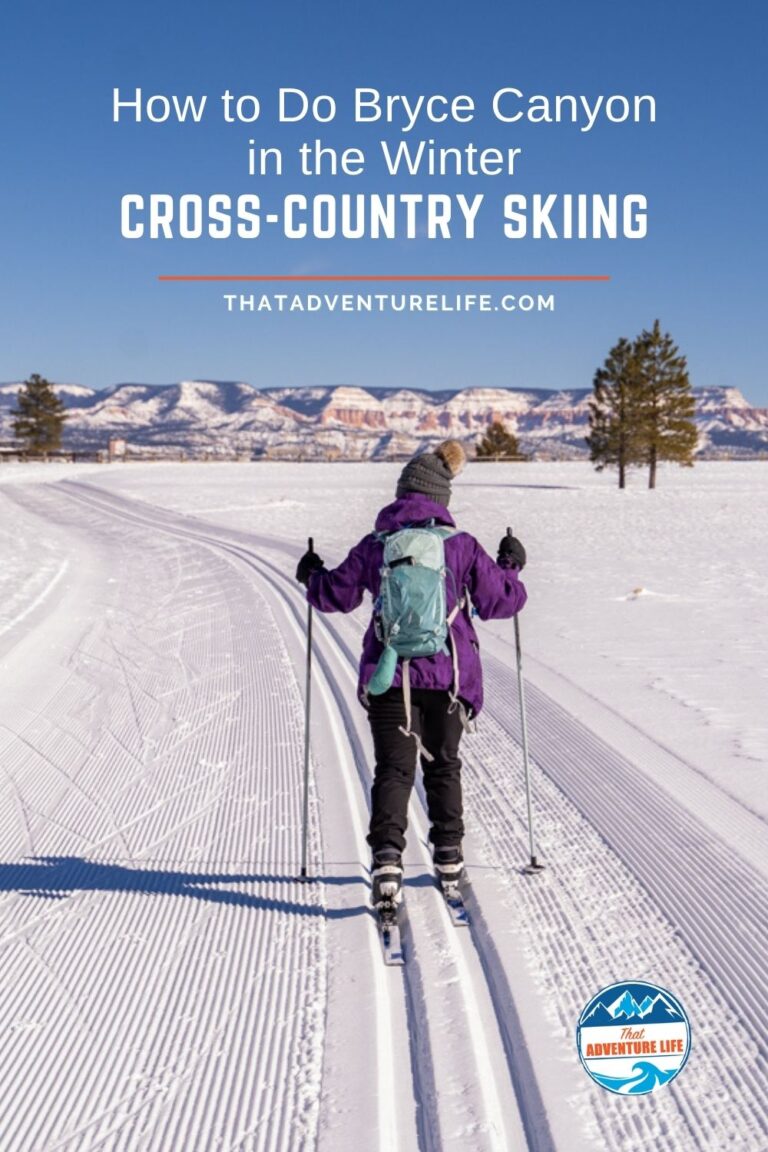
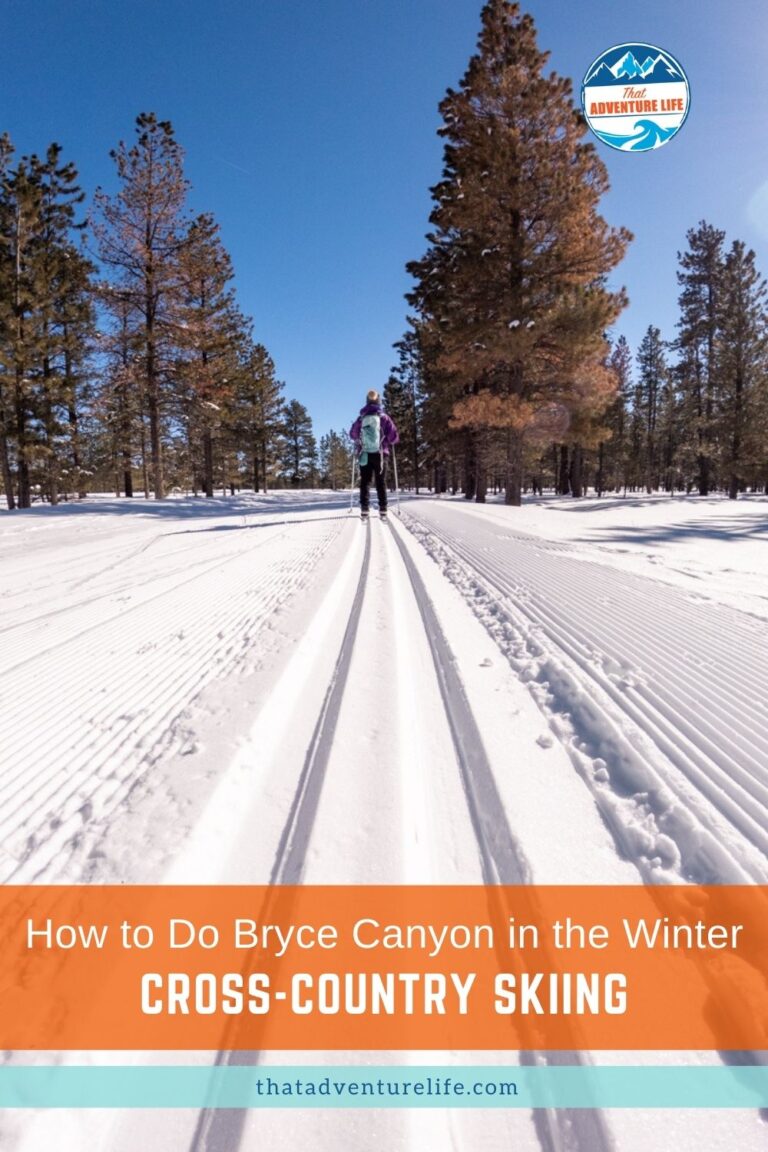
Winter in Bryce Canyon is a magical time. The already beautiful landscapes transform to be even more breathtaking. Although, if you want to go hiking, your options get a bit limited. Many trails in Bryce Canyon National Park will be either closed or buried deep under feet of snow. That was what happened to us. We wanted to hike the Peek-a-boo trail and Fairyland Loop. Unfortunately, because of the big snowstorm, both of these trails became non-existent. Luckily, Dustin found out that the Winter Adventure Center, right outside the park entrance, offers very reasonable cross-country skiing rentals. There are also over 18 miles of groomed trail available, free to use regardless if you rent or not. So, we decided to go cross-country skiing for the first time ever at Bryce Canyon.
Stats
Where
Ruby’s Inn Winter Adventure Center
110 Center St, Bryce Canyon City, UT 84764
1.435.834.8032
Parking
There are tons of parking in front of the Winter Adventure Center
Restroom
There are restrooms inside the rental place
Fee & Cost
The trails are free to use. If you need to rent, it is $15 per rental, $10 after 1p.m. This might change depending on Ruby’s Inn Winter Adventure Center for up to date pricing and info.
Hours
The trails open 24-7. However, the rental place opens daily 8:00 a.m. to 8:00 p.m. They might close early if there is a snow storm.
Distance
The beginner Rim Trail is about 2.1 miles. There are over 18 miles worth of groom trails that you can also choose from.
Level
Beginner – Moderate depending on which trail you choose
Time:
2+ depending on what trail you take.
Pet-friendly
You can bring your pet, but they have to be on leashed. Also, please clean up after them.
Ideal Time
Weekdays are way less busy. If you prefer to have most of the trail to yourself, go on a weekday.
Weather
Video
About the Cross Country Skiing Trails in Bryce Canyon
There are 18 miles of trails spread out in Bryce Canyon. They are groomed by Ruby’s Inn and are free to use. The trails are groomed for both track (classic) and skate skiing. We did track skiing, which is perfect for beginners. This beginner trail starts right outside the parking lot of the Winter Adventure Center. It takes you along the Rim Trail and loops back to the Winter Adventure Center through Old Bryce Town Loop. This loop is about 2 miles in distance. You can go further and/or ski other trails if you are capable. Please make sure to check with the Winter Adventure Center to make sure that the trails you wanted to go on have been groomed. You can either give them a call or check this website.
Bryce Canyon Cross Country Skiing Trail Etiquette
To make this adventure fun and safe for everyone, including yourself, please make sure to obey these trail etiquette
- If the trail is too soft, don’t use it. It is recommended that you don’t use the groomed trail if you leave tracks deeper than 1 inch.
- If you’re hiking, snowshoeing, or on bikes, stay off the groomed trail
- Downhill skiers have the right of way. So, make sure to let them go first.
- Make sure to stay in control and always yield to slower-moving recreationists
- When passing, please slow down and make sure to call out “On your left”
- Please be respectful of wildlife, private property, and the area in general
- You can bring dogs but they have to be leashed. Also, please clean up after them.
- Pack out what you brought in.
The Adventure
The Rental Process
Since we didn’t own any skis, we had to rent them at the Winter Adventure Center. It is the closest place near Bryce Canyon National Park that rent skis and snowshoes. The price is quite reasonable. At the time of this article, it was $15 per person for cross-country skiing. If you rent after 1 pm, it is $10 instead. Everyone at the rental counter couldn’t be nicer, especially Lynette. She patiently answered our million of questions since we had never done this before. Lynette showed us how to put on our skis, how to walk, and how to keep our balance going up and downhill. She also showed us the beginner route that we could do. After everything was set, both of us were eager to get out on the fresh-groom trail.
The Beginning of the Trail
The beginner route that we chose was about 2 miles with minimal elevation gain. It follows the Rim Trail which took us to the edge of the beautiful amphitheater below Bryce Canyon. The trail was very easy to follow. It starts at the parking lot of the Winter Adventure Center. There is a small sign on a tree that says “Rim.” The trail meanders through forests of Ponderosa pine covered in brilliant fields of snow. There were some minor hills but nothing was significant enough to be a bother for us beginners. Both of us actually did pretty well considering.
The Scenic Overlook
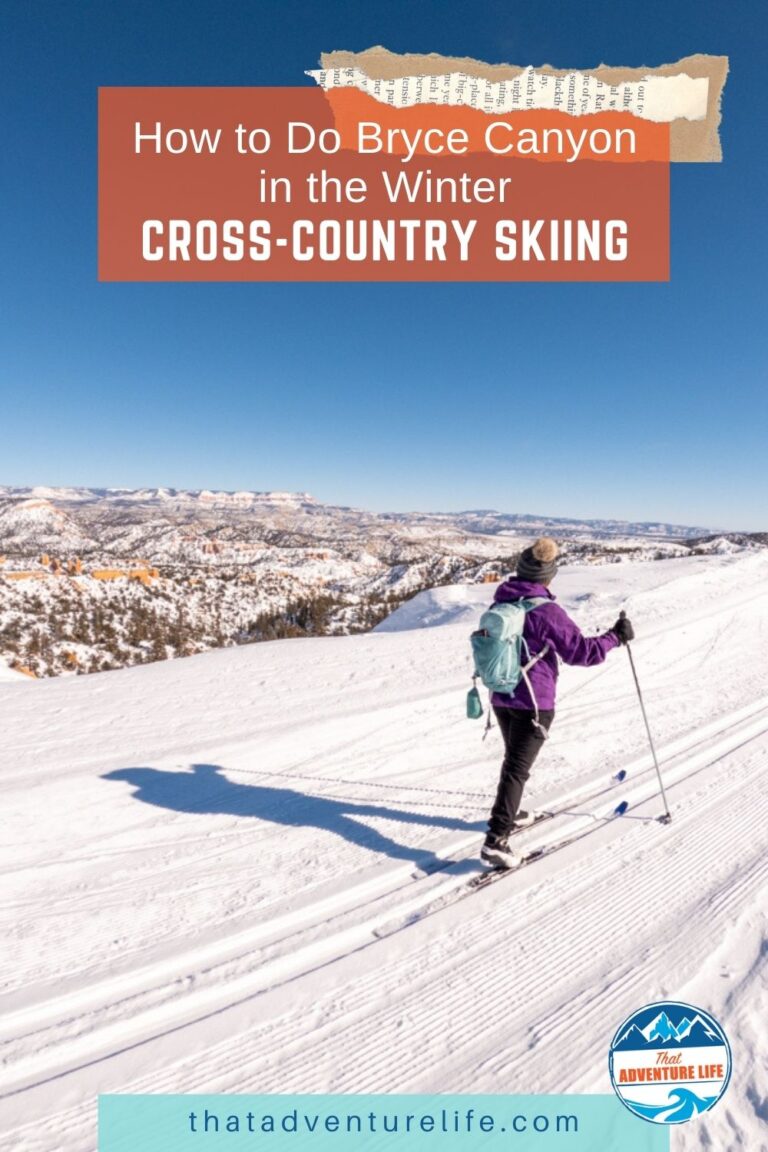
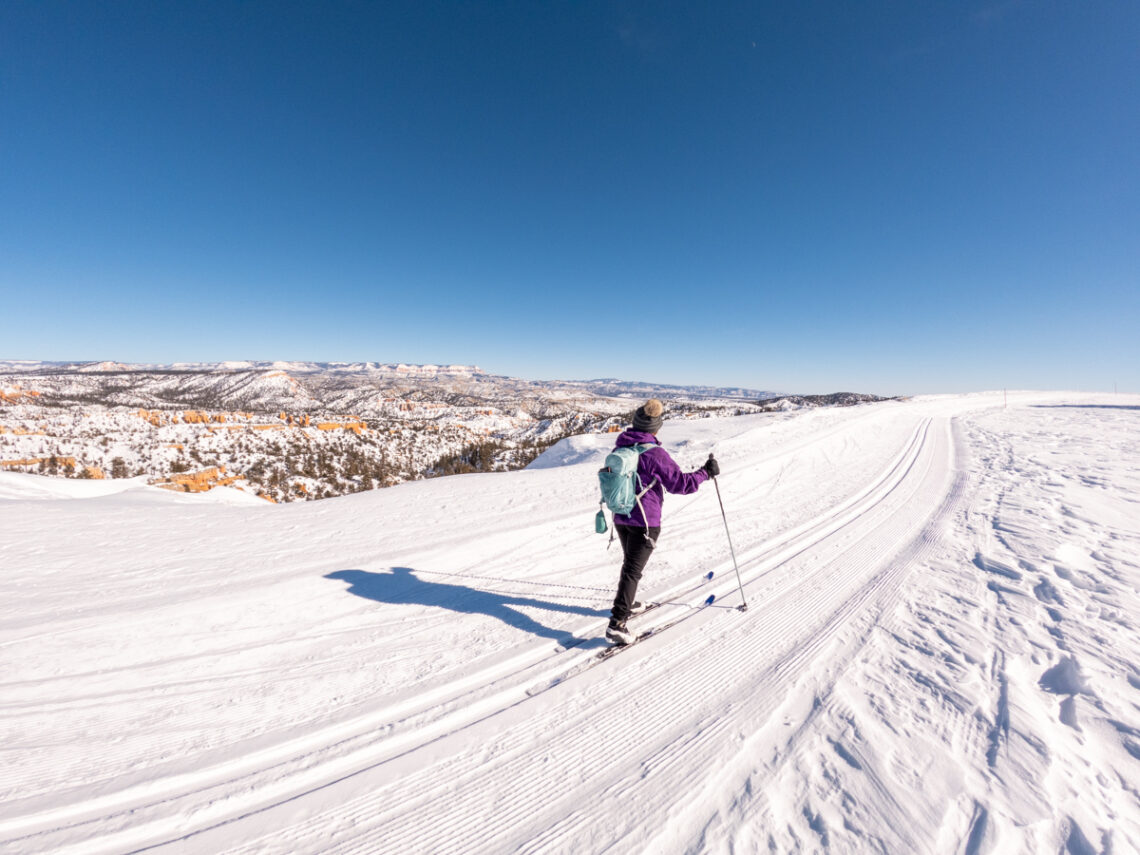
At about 0.8 miles, the trail curves around to showcase the viewpoint, overlooking the majestic hoodoos below the amphitheater. From the viewpoint, you can see the historic Tropic Ditch below. There is an informational sign here so you can learn about this place. At this point, the cross-country skiing trail follows along the edge of the rim and heads back into the pine forest. We have to say, cross-country skiing is a lot more tiring than we thought. Since you have to use both your hands and feet.
The Rest of the Loop
About 0.7 miles from the last intersection in the trail, you’ll come to another fork. You should see a sign on the left-hand side pointing right for “Ruby.” This means going right will take you back to Ruby’s Inn Winter Adventure Center. Once we turned right, we started to encounter some small hills. Normally, if we were hiking, we wouldn’t even notice them. However, on the skis, the small hills become challenging. At times, we even picked up some decent speed. Dustin did well, however, I had trouble balancing as I picked up speed. I was never good at skates and such, so I fell down a lot. I even applied Lynette’s tips of squatting down for more stability. Unfortunately, it didn’t work very well for me, so I guess i’ll need more practice.
Finally, after multiple times falling down, we made it to the end of the trail, which is the parking lot of the Winter Adventure Center. Overall, it was such a fun adventure. I guess you could call us experts at cross-country skiing now… or not… Either way, we definitely would do this again! Stay tune for more adventure in Bryce Canyon. If you haven’t yet, check out our adventures in Zion National Park such as Angels Landing, Watchman Trail, Emerald Pools, Kayenta Trail or the 4 unofficial yet beautiful hikes in Zion.
These are the gear that we personally use and find them helpful for this particular adventure. Don’t forget to check out our Recommended Gear section as well.
adventure gear
- Sunscreen: even in the winter, the sun can be brutal. Make sure to use your sunscreen. We use eco-friendly, reef-safe sunscreen, Stream2Sea SPF 30, and tinted, organic All Good Organic Sunscreen Butter.
- Traction device: if you’re hiking in the winter, the trails and even the parking lot can be icy. Make sure to bring micro-spikes or crampons for added traction. You don’t need anything fancy. Just the simple one like this one would work. If you forget to bring yours, you can either purchase them at the Visitor Center or rent them at the Ruby’s Inn Winter Adventure Center.
- Neck gaiter – depending on the weather, it can be very cold, especially if there’s wind. We love these Smartwool Neck gaiter.
- A warm jacket that is waterproof. It would be good if it has a hood. Vy actually use this jacket from R.E.I and she loves it. It’s lightweight, waterproof, and perfect for layering.
- Layering your clothes! This way, you can take them off or put them on as the temperature changes. We love our Smartwool baselayer. For pants, this is Vy’s version, and this is Dustin’s version. For the top, here’s Vy’s, and here’s Dustin’s.
- Snow pants or waterproof pants – This helps you stay dry and warm when walking in the snow.
- Snow gloves or waterproof gloves – Make sure they are waterproof. There is nothing like wet gloves in the icy cold weather.
- Beanies to keep your head warm.
- Wool socks – Cotton socks don’t keep warm, so your feet will get cold fast. Wool socks, even though they are more expensive, last longer and will keep your feet warmer.
- Waterproof Hiking Shoes – You’ll want to keep the snow off those little toes. When the shoes get wet, you’ll be more prone to frostbite.
- Hydration pack – if you’re hiking, make sure to bring enough water. Although you don’t feel like drinking water, it is good to stay hydrated. We use the Camelback L.U.X.E.
- Sun-glasses – that white snow will reflect the sunlight. It can get very bright.
- Snow chain – the weather can get very predictable up here, make sure to bring chains for your car so you don’t get stuck
- Food and Snacks. Always good to bring some snacks with you. For healthy and easy snacks, check out some of our recipes.
camera gear
Related Posts
Save your pins:
