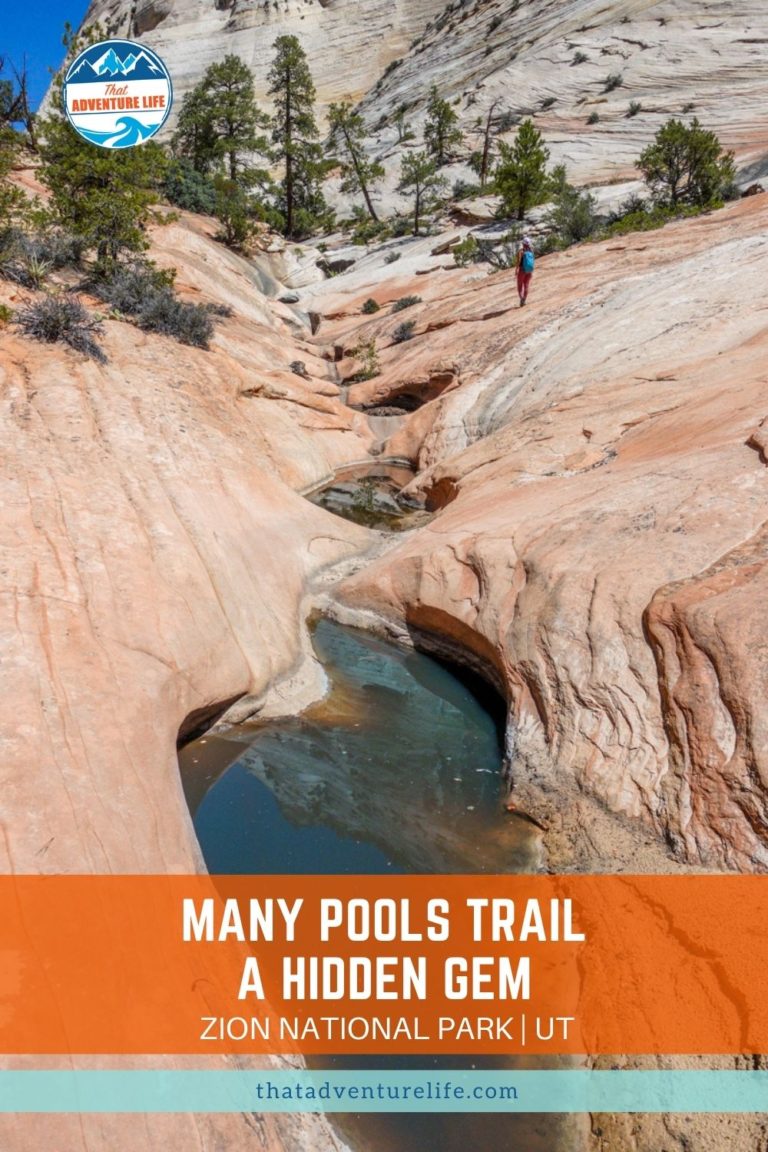
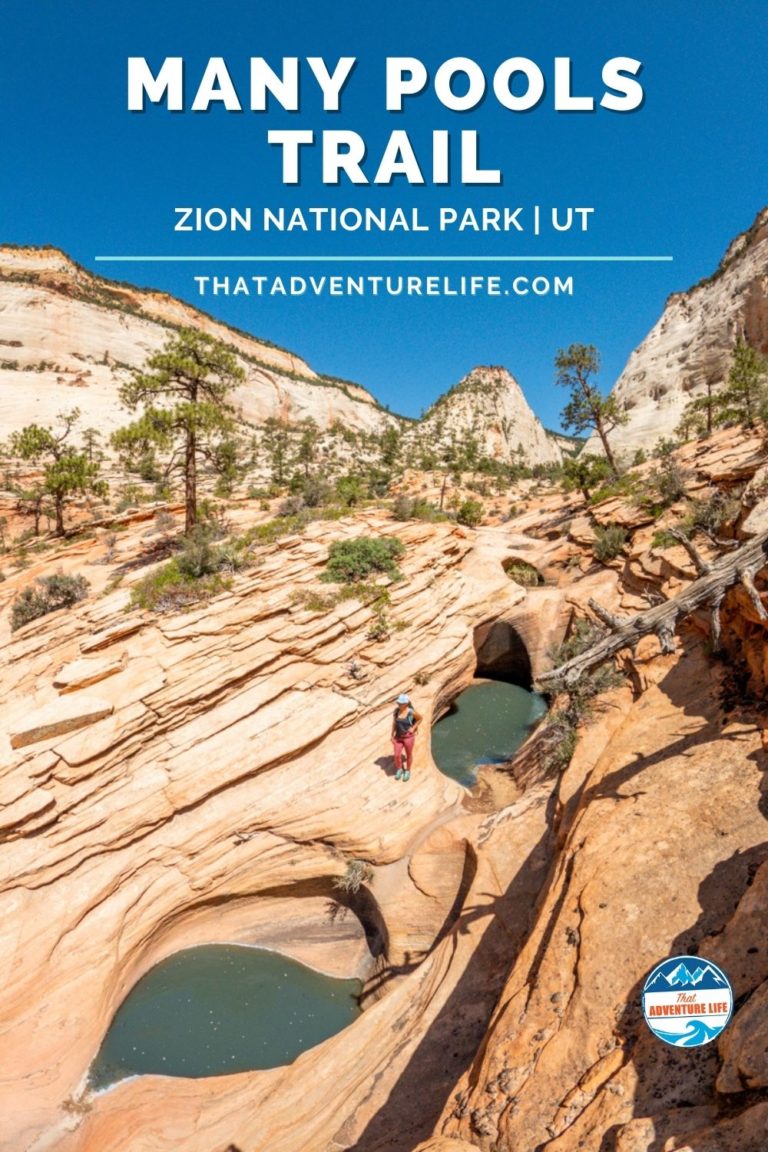
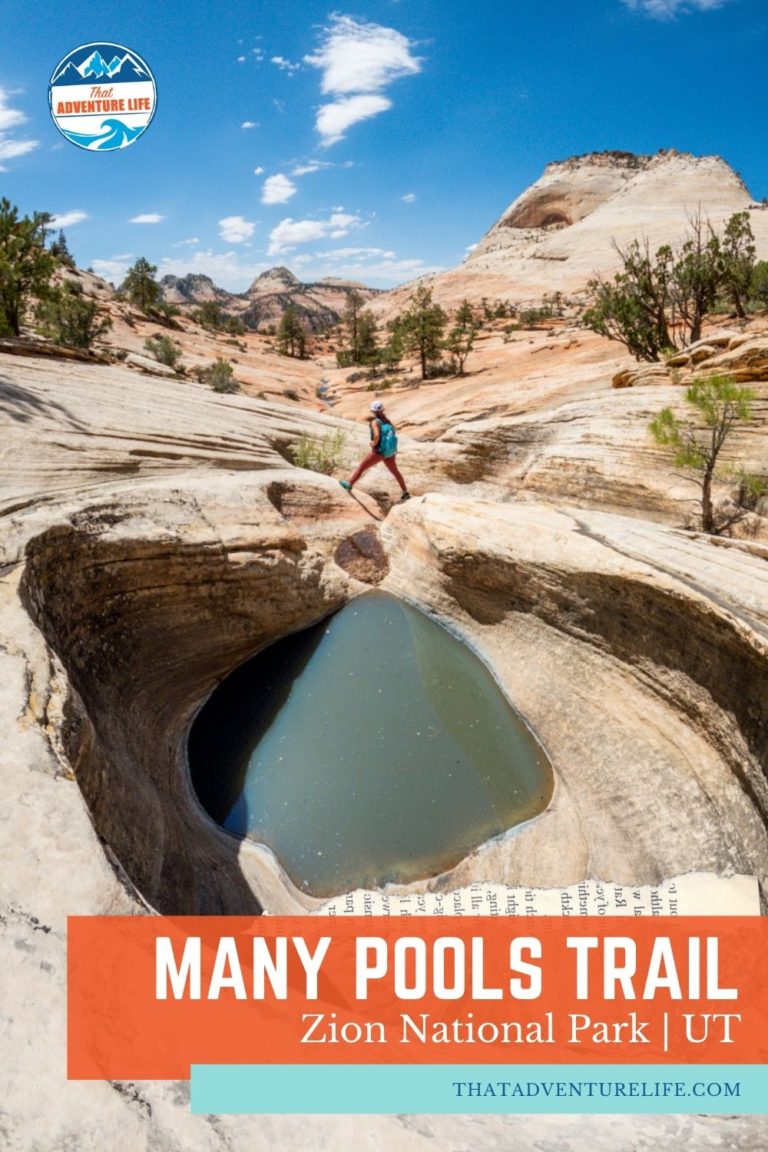
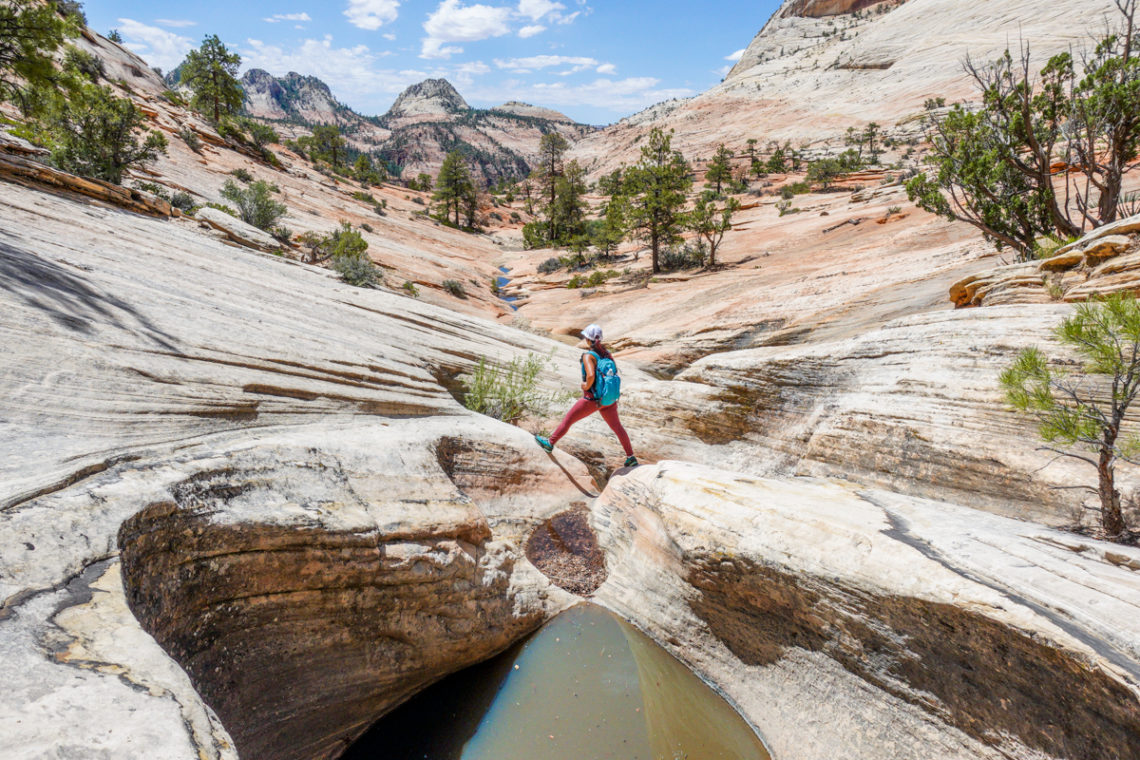
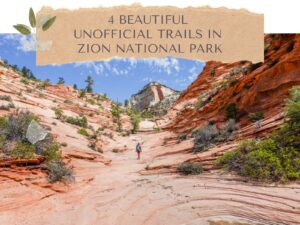
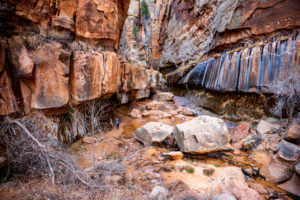
With many people flocking to the official trails of Zion National Park, we opted to find off-the-beaten-path, secret places. One of these hidden gems is the Many Pools Trail. Many Pools Trail, located East of Zion National Park, is a wonderful find. This unofficial trail is also known as The Route Canals or the Twins because of how it looks on the topographic map. Since there is no actual trail, you’ll need to know where you going. However, you’ll be rewarded with breathtaking landscape, gorgeous sandstone formations, interesting sculpted tub-sized potholes, majestic big horn sheep, and that much-needed solitude. This place is extra spectacular in the spring, during runoff, or after a rainstorm.
Note: Please make sure to respect this beautiful place and the surrounding areas. Always practice LEAVE NO TRACE. This means no loud music, no graffiti, no taking artifacts or fossilized items, and pack out what you pack in! Please help us protect this place for generations to come!
Stats
Where
Many Pools Trail Parking
37°13’18.6″N 112°54’53.8″W
Many Pools Trail Trailhead
37°13’22.4″N 112°54’52.7″W
Parking
There is a small paved turn-out along the side of the road for parking.
Restroom
There is pit toilets at the turn-out
Fee
There is a fee to enter the Zion National Park. Please check the park’s website for updated infos. You can also use your annual pass such as America the Beautiful Pass here.
Important Things
Since the hike is in a canyon, please do not attempt this hike if there’s a chance of flash flood.
Distance
About 2.3 miles R.T.
Elevation Gain
544 ft
Level
Moderate
Time:
1-2 hours
Pet-friendly
Dogs aren’t allowed on this trail.
Ideal Time
You can do this hike anytime. However, the best time to go is AFTER a rain storm, in the winter or during a spring run-off. This is when the pools will be the fullest, making the trail more beautiful.
Weather
Video
Getting There
Getting to the Parking Lot
Since the trailhead for Many Pools Trail is located toward the east side of Zion National Park, you’ll need a car to get there. There are no shuttles! The trailhead for Many Pools Trail is located along UT-9 East/Zion Park Blvd. To get there from the Zion National Park’s entrance in Springdale, follow Route 9/Zion Park Blvd to the Zion-Mount Carmel Tunnel. Once you’ll pass through the tunnel, it is about 2.3 miles until you see a pull-out on the right-hand side of the road. There is also a small restroom on that side of the road, where you can park to start your adventure. The parking for Many Pools Trail is also about 3.1 miles from the East Park Entrance from Orderville.
Getting to the Start of Many Pools Trail
After parking, there are 2 ways to get to the start of the Many Pools trail. The easiest way will be walking along the main road east (toward Mt. Carmel Junction, away from the Zion-Mount Carmel Tunnell). About 150 yards, you’ll come to where the asphalt curb comes to an end. From here, cross over Highway 9 to find a worn trail that leads down into the gully. Please make sure to watch out for traffic on both sides before crossing the road.
If you don’t feel like walking along the main road and crossing over, you can follow the worn trails to drop down into the creek bed of Pine Creek. Pine Creek is on the same side of the parking lot. Once down to the bottom of the creek bed, follow it east, toward Mt. Carmel Junction, away from the Zion-Mount Carmel Tunnel. After a short distance, go left at the split (37°13’18.4″N 112°54’49.8″W) to follow along the canyon wall. Following this will lead you to a small tunnel that goes under Highway 9. This tunnel will take you to the other side of the road. Please note, depending on the time, there might be water here.
Please note: There are no signages to mark the trail. Please make sure to bring some sort of GPS or tracking device with you to find your way.
The Adventure
The Start of Many Pools Trail
Since it was our first time hiking this trail, we didn’t know about the tunnel under the road. Therefore, we opted for the easier way of walking along the main road to drop into the gully. Once we got to the bottom of the gully, we noticed the tunnel that leads back to the other side of the road. So, we decided to explore that way on the way back. At the bottom of the gully, we were greeted with a large slab of slick rock. Quickly, we worked ourselves up the slick rock area, following the signs of the dried waterfalls.
The “trail” alternate between slick rocks and sandy washes. We put trail inside the quotation marks because there are no actual trails here. As long as you stay in the canyon and follow along with either the sandy washes or the pools, you won’t get lost. However, always make sure to bring a tracking device such as the Garmin Inreach just in case you do get lost. From here, if you look up toward the left-hand side, you can see a blind arch on the side of the hill. It was pretty cool.
The Slick Rock
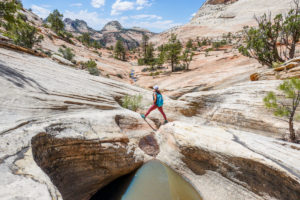
As we worked our way up the slick rock areas and further into the canyon, we started to see more pools, also known as “desert tanks”. These pools vary in size and depth. Some of them can be pretty deep with very smooth edges. This makes it difficult to get out if you fall into the water. Therefore, please be careful if you’re around them, especially if you bring kids. If you go during spring runoff or after a rainstorm, these pools can be quite full. When we went, a lot of them were dry.
When you hike along the Many Pools trail, don’t forget to keep your eyes peeled for big horn sheep. They usually hang out along the cliffs. If you’re lucky, like we were, you can actually see them up close. When we were there, a herd of 10-12 big horn sheep actually made their way down to the bottom of the canyon. They wanted to drink water out from a big pool there. It was super cool to see them closer. However, we made sure to give them plenty of space. Please make sure you do as well. Seeing the big horn sheep was definitely the highlight of our hike.
Chockstones and Alcove
After saying goodbye to the sheep, we hiked further into the canyon. Eventually, we came upon a deep crack running down the rocks. Inside the crack, there are a couple of small chockstones, wedged inside it. Once we hiked past the crack, the Many Pools Trail started to gain elevation. As we went higher, the pools also get bigger and deeper. Since it is summer, there were tons of tadpoles floating inside these pools. They were adorable!
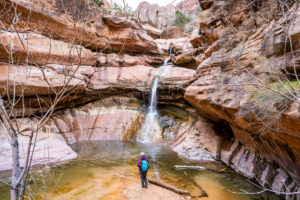
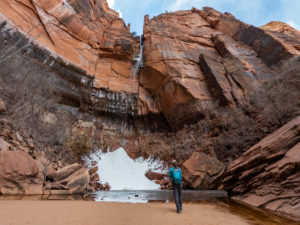
As we were admiring the beautiful sceneries unfolding behind us, we came upon an alcove. I can imagine if it was after a big rainstorm, there would be a waterfall running down here. However, when we went, it was bone dry. Most people tend to turn back at the alcove, however, we recommend going a bit further. There are a series of pools above the alcove that is worth checking out.
The Pools Above the Alcove
To get to the pools above the alcove, you’ll have to do a bit of scrambling but it’s not that bad. When you’re facing the alcove, go toward the left. This way, you should be able to find worn trails and steps to help you get up to the top. Once you’re at the top, you’ll find a series of deeper pools lining up right on top of the alcove. Even though the pools weren’t full, there was still a decent amount of water in them. You can tell that the pools are quite deep. These pools are fascinating to look at. They were created by water cutting its way down to the dry fall above the alcove. From the top of the alcove, you can hike further to get to another series of deeper pools.
The Way Back
If you continue up the Many Pools canyon, the trail will eventually connect with the Deertrap Mountain Trail. However, you’ll have to do a lot of bushwhacking. At this point, the trail is considered strenuous. So unless you are prepared for the long, strenuous hike with tons of bushwhacking, this is a good spot to turn back. We actually turn back at this point as well. To go back, follow the same way you came from.
Besides the official Many Pools trail, we actually discover another cool hike in the same area. Stay tuned to next week for directions. If you’re visiting Zion, check out Canyon Over Look or Watchman Trail. Canyon Overlook is not that far from the Many Pools trail, while Watchman Trail starts right next to the visitor center. Another off-the-beaten-path hike that we love is Lower Pine Creek falls. If you’re looking for something more challenging, do Angels Landing or the Subway! Our favorite way to get to the Subway is top-down, although, it is definitely required some skills.
These are the gear that we personally use and find them helpful for this particular adventure. Don’t forget to check out our Recommended Gear section as well.
adventure gear
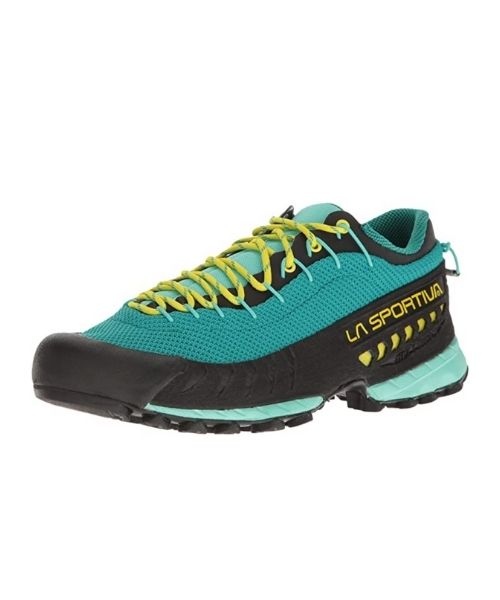
This is our favourite hiking shoes. We use them for canyoneering as well. Lots of traction. Vy’s version.
Dustin’s version for La Sportiva shoes
Make sure to use lots of sunscreens! We use eco-friendly, reef-safe sunscreen, Stream2Sea SPF 30.
Face sunscreen is also important. We love these tinted, organic All Good Organic Sunscreen Butter.
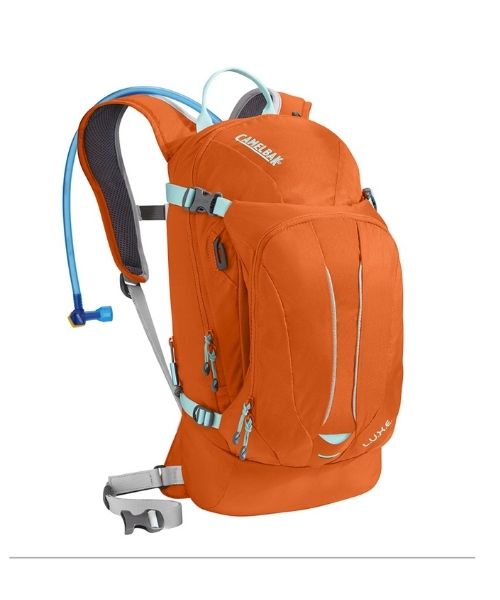
You should always bring plenty of water. Vy loves the Camelback L.U.X.E.
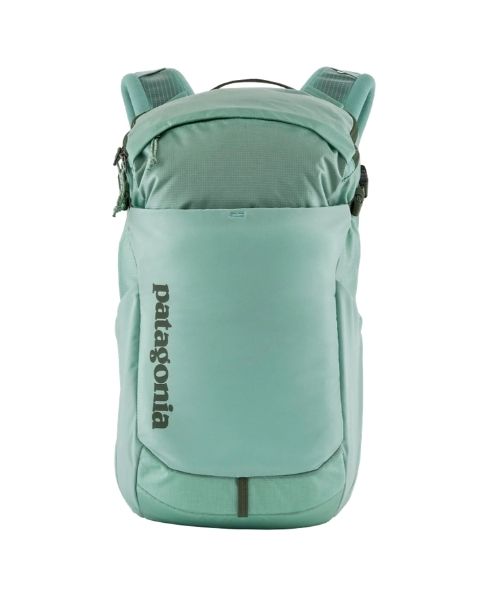
For shorter hikes, the Patagonia Women’s Nine Trails Pack 18L is perfect to hold water and your essentials.
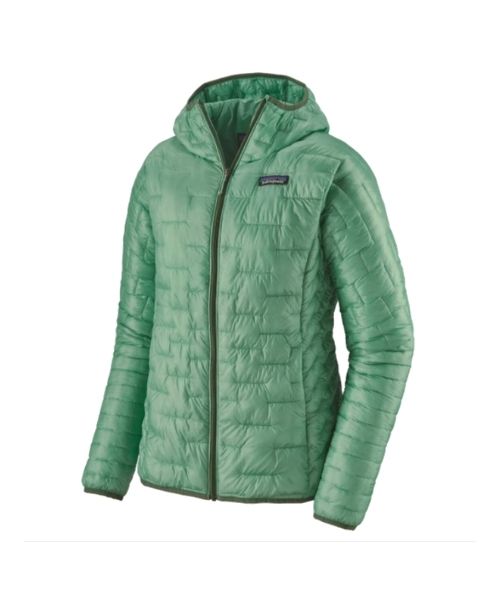
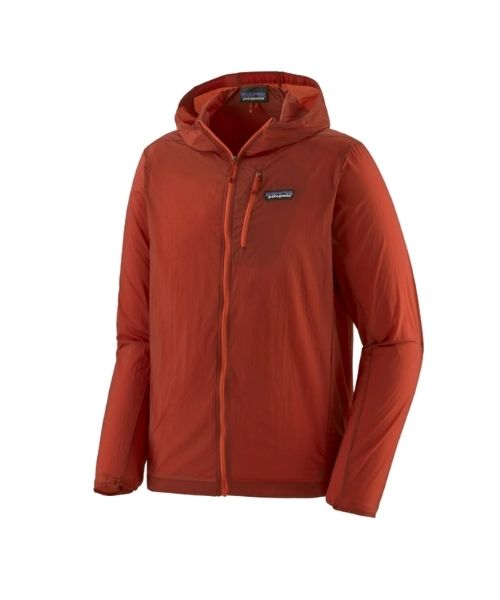
If you want something lighter, we love the packable Patagonia Women’s Houdini® Jacket and Patagonia Men’s Houdini® Jacket
other things to bring
Always good to bring some snacks with you. For healthy and easy snacks, check out some of our recipes.
camera gear
Related Posts
Save your pins:
