Moro Rock is a large granite dome, a spectacular geologic feature, located in the heart of the park, between the Giant Forest and Crescent Meadow. As you drive into Sequoia National Park, you can see Moro Rock looming thousands of feet above the highway. Although it is a short hike, it is ALL STAIRS, over 350 steps. However, you’ll be rewarded with spectacular 360° views from the foothills and San Joaquin Valley to the west, to the wilderness to the east.
STATS:
Where:
Moro Rock trailhead:
Coords: 36°32’49.0″N 118°45’56.6″W
Fee:
Sequoia National Park charges a fee to enter. Fees are $35 per vehicle or $30 per motorcycle. If you are entering on foot or bike the fee is $20 per person. You can also either purchase a park-specific annual pass for $70 or get an America the Beautiful National Parks pass for $80. For up to date fee info, click here.
Things to know:
In summer, there are free shuttles run from the Giant Forest Museum to the Moro Rock parking area. You can drive to the Moro Rock parking area using Crescent Meadow Road, but parking is limited. On weekends, the road closes to private vehicles and shuttles are the only way to reach Moro Rock and Crescent Meadow.
In the Winter, depending on the snow condition, the road will be closed and there won’t be any shuttle. The only way to go in is to hike or snowshoe in. Sometimes, the stairs might be closed due to icy or snow-covered steps. Always check the trail condition before going. You can check the park website for the current conditions or ask a ranger while you’re there.
Note: Because of COVID-19, the shuttles won’t be running. Please check the park website for more up to date info.
Parking:
There is a small parking lot in front of the trailhead.
Restrooms:
There are restrooms at the parking lot
Distance:
0.5 miles up and down the stairs. If you’re attempting this hike in the Winter, you will need to hike the full Moro Rock trail, from the Giant Forest Museum. This will be at least 3.6 miles R.T.
Elevation Gain:
200 ft
Level:
Easy to moderate due to the higher elevation and the stairs. Although it’s not wheelchair or stroller accessible and can be difficult for people with knee problems.
Estimated Completion Time:
1 hour
Ideal Weather:
You can do this trail year-round. The views are magnificent any day. If you decide to do this in the winter, you will have to hike in from the main road, where the Giant Forest Museum is. The snow will also make the stairs very slippery. Please avoid this hike during thunderstorms or any conditions that will cause lightning. It is very dangerous to be on this hike during this time.
Ideal Time:
If you go during the Summer, go early. It can get crowded and warm. For winter hikes, I would go in the morning still, which will give you enough sunlight to find your way back.
Pet-friendly:
Pet are not allowed on ALL trails in the Sequoia National Park.
Weather:
Note: This trail is not wheelchair or stroller accessible.
VIDEO:
GETTING THERE:
To get to the trailhead, you can either drive to the small parking lot there, take the free shuttle or hike in from the Giant Forest Museum. In the summer, you can drive in on weekdays. On weekends, the road closes to private vehicles so shuttles are the only way to reach Moro Rock and Crescent Meadow. In the Winter, depends on the snow condition, the road will be closed and there won’t be any shuttle. The only way to go in is to hike or snowshoe in.
If you want to take the shuttle or hike in, you can park at the big parking lot across from the Giant Forest Museum. If you want to drive in, from Three Rivers, follow CA-198 and make a right onto Crescent Meadow Road. Follow the signage on this road to get to Moro Rock. The trail starts at the bottom of this giant granite dome.
THE ADVENTURE:
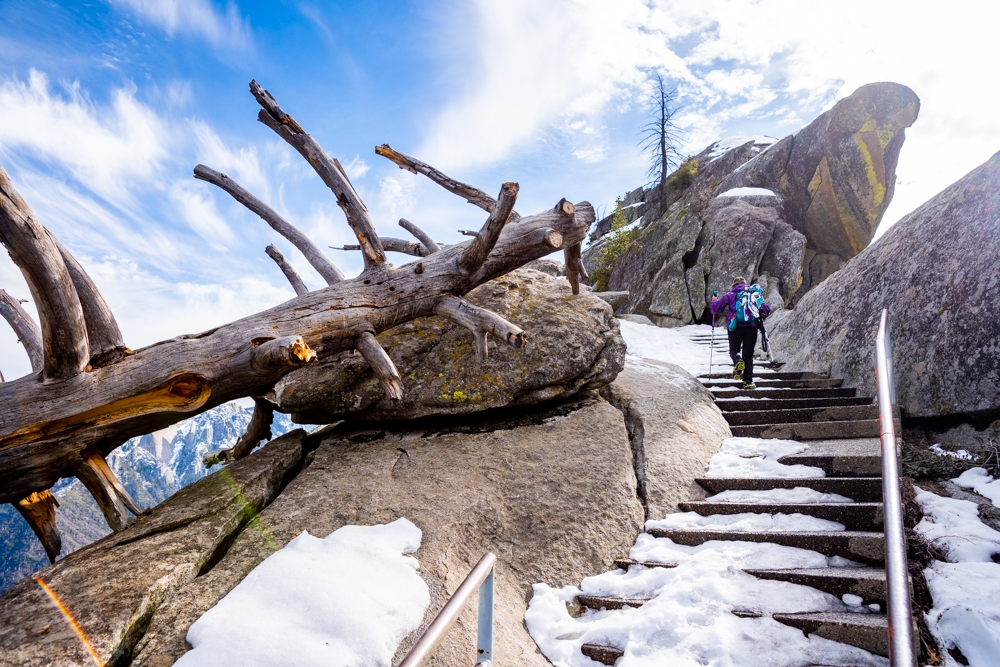
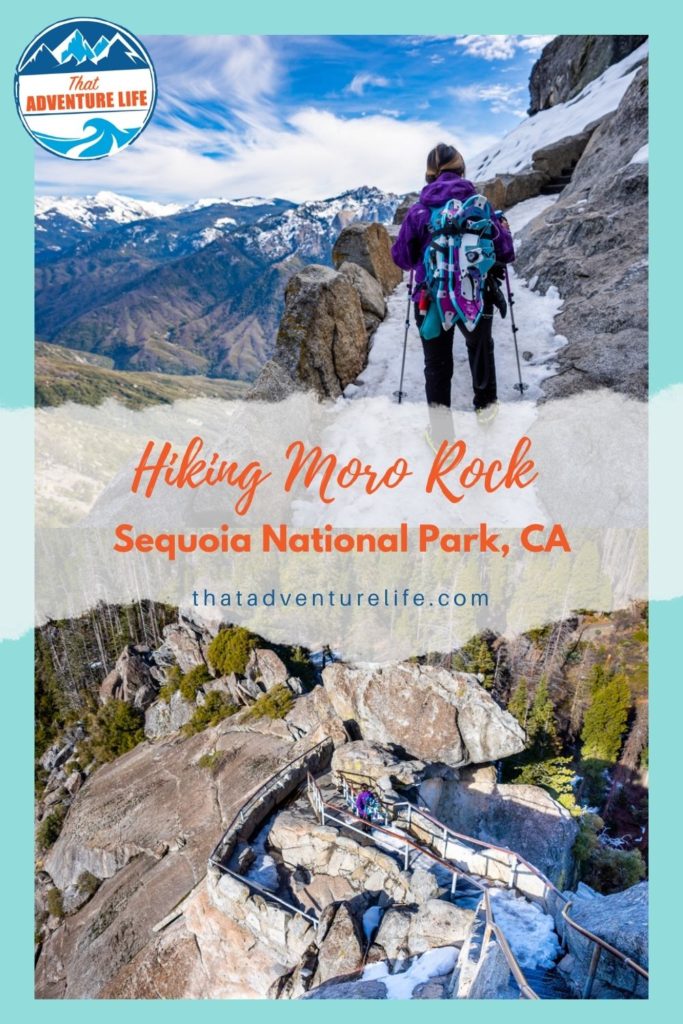
We recently visit Sequoia National Park after a big snowfall. Therefore, the access road was closed so we had to hike in from the Giant Forest Museum. Before we hiked in, we checked with the ranger to make sure the trail was opened. If you go in the winter, please make sure to check for trail conditions before hiking. At soon as we got to the bottom of the stairs, we realized many of the staircases were covered in hard-packed, icy snow. At least the snow melted enough to give us enough wiggle room to hike up. The last time we were here was during the fall, the scenery looked completely different.
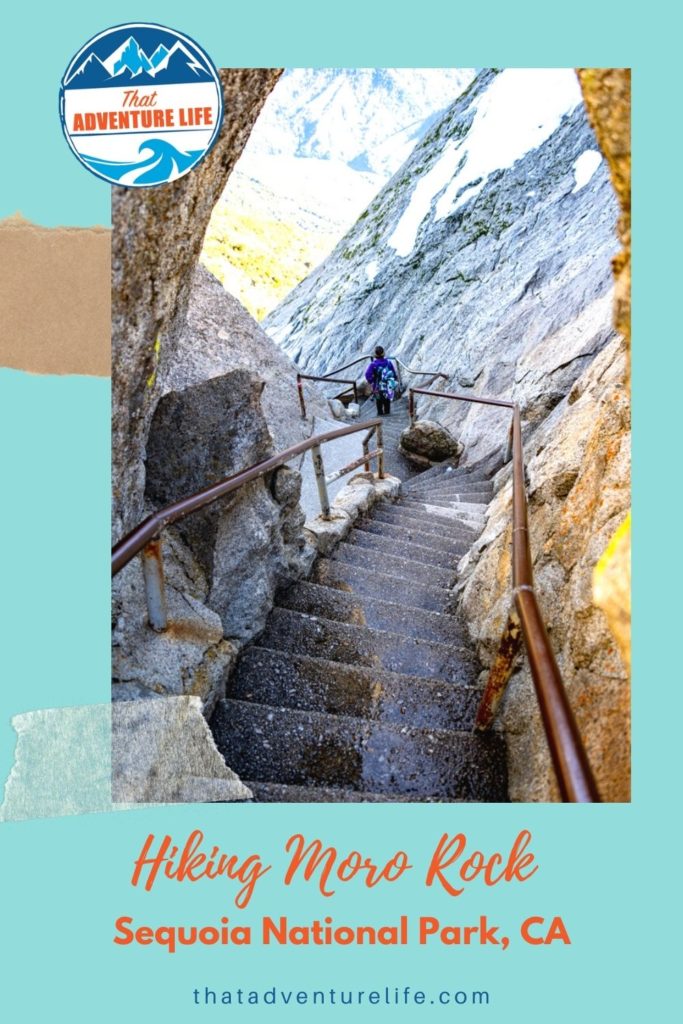
It was quite easy in the summer and fall to hike up this concrete and stone stairway with over 350 steps. There are handrails along the way so it is quite safe, as long as you stay inside the railing. However, winter brought in a whole new challenge. We brought our crampons with us so they worked wonders for the icy sections. The problem was, it switches from icy to completely dry. So during the dry, concrete parts, it wasn’t fun to walk with crampons. But I guess it was a good problem to have, rather than slide down the steep drop off.
Just a short distance up the stairs, the beautiful view of the forest’s canopy and the Great Western Divide’s peeks quickly become visible. The stairs wind through crevices, rock tunnels and eventually take you on the saddle with spectacular views from both sides. The stairs are narrow in several places with enough room for only one person to go through. There are a few viewing areas along the way so you can take in the views and catch your breath. Once you get to the top of the staircase, there is a short walk out to a long viewing platform. Since Moro Rock rises 6,725 ft above sea level, you’ll have panoramic views of the Sequoia National Park below.
The views up here are spectacular. They change throughout the seasons. Through the autumns, you’ll get the changing leaves against the snowy mountains in the background. In the Spring, you might get to see wildflowers. In the winter, the snow-covered landscapes are unbeatable. If you’re lucky, you might even see the bears moving around in the forest below.
If you want to make this into a longer hike or if you’re visiting in the winter and have to hike in, stay tuned for our next article on the full Moro Hike with some extra surprises along the way. Meanwhile, don’t forget to check out Congress Trail. It is our favorite trail in Sequoia National Park.
Happy Adventuring. Don’t forget to follow us on Instagram, subscribe to our Youtube channel, and sign up for our newsletter!
RECOMMEND GEAR:
These are the gear that we personally use and find helpful for this particular adventure. Don’t forget to check out our Recommended Gear section as well.
The majority of these links are through our affiliate links so if you buy something, it is at no extra cost for you but it helps us support the site. That being said, don’t buy something just to support us, buy something if you think it will enhance your travels and adventures.
• Hiking shoes
If you go in the warmer season, sneakers should fine. Winter can make the stairs slippery. We always recommend shoes with traction. Vy’s shoes are Merrell Women’s Moab 2 Mid Waterproof Hiking Boot. Dustin’s shoes are TARGHEE III WATERPROOF.
• Snacks/Lunch
Always bring snacks with you! This trail has some beautiful areas for a quick lunch too!
• Sunscreen
Bring sunscreen! We use eco-friendly, reef-safe sunscreen, All Good Organic Sunscreen Butter – Zinc Oxide – Coral Reef Safe, and All Good Sport Sunscreen Lotion – Coral Reef Safe (3 oz)(2-Pack) or Stream2Sea SPF 30 Reef Safe Sport Tinted Sunscreen.
• Water
Doesn’t matter when you go, always make sure to bring plenty of water. Especially if you go in the afternoon. Bring extra because you have to hike in to start this trail. Vy uses the Camelback L.U.X.E. Dustin uses the Clik Small pack (sadly Clik is no longer around). Patagonia Women’s Nine Trails Pack 18L is also a great backpack for a shorter hike like this.
• Jacket
Depends on when you’re going, you’ll need a jacket. For colder winter days, I use my snowboarding jacket. Dustin doesn’t get cold so he uses his packable Patagonia Puff Jacket. You can get the female version here. For warmer days, we love the packable Patagonia Women’s Houdini® Jacket and Patagonia Men’s Houdini® Jacket
• Headlights
Bring headlights with you to do this hike in the winter. The weather condition can change rapidly. We use Black Diamond Cosmo.
• Snowshoes and/or microspikes
If you attempting this hike in the winter, you will need snowshoes to get there and/or microspikes to climb up the stairs, depending on the trail condition. If it has fresh snow, you will need your snowshoes. Microspikes are best when the trail is more packed down. We ended up using both the last time we were there.
• Layered clothing
This is for hiking in the winter. You will need warm clothes. We recommend layering. Dustin uses Patagonia Men’s Capilene® Thermal Weight Zip-Neck Hoody and Patagonia Men’s Capilene® Thermal Weight Zip-Neck Hoody. Vy uses Patagonia Women’s Capilene® Thermal Weight Crew and Patagonia Women’s Capilene® Thermal Weight Bottoms as base layers.
CAMERA GEAR:
• Camera:
Sony a7 III
Gopro Hero 7 Black
• Lenses:
Sony 24 -70mm f/2.8 Carl Zeiss Vario Sonnar T Zoom Lens
• Accessories:
GoPro The Handler Floating Hand Grip – Official GoPro Mount
Aluminum GoPro protection frame
SandMarc Extended GoPro Pole
Hybrid Pro Filters – DSLR / Mirrorless
Cinema CPL Filter – HERO 9

