The Big Horn Mine trail has been our long-time favorite because of its beauty, historic structures, mine shafts, and proximity to our house. The trail is not very challenging, but the altitude will probably have you breathing a little bit heavier on some of the hills. Located just outside Wrightwood, CA, it is a fairly short drive for most Southern Californians. It is also nice and close to several mountain towns, so there are plenty of options if you want to make another stop after the trail.

Vincent Gulch Divide (the trailhead starts here)
Coordinates: 34.373385, -117.752033
Decent-sized paved lot in front of the trailhead.
An Adventure Pass is required to park.
Vault toilet at the trailhead.
Pet are allowed, but they need to be on a leash.
Beware of loose rocks and snakes during the summer months.
Big Horn Mine trail might not be for people with extreme fears of heights, the dark, and claustrophobia (only if you are going into the mines).
4.2 miles R.T.
674 ft
Moderate
Takes an average of 2-3 hours, more if you want to explore the mine shafts.
Big Horn Mine trail can be accessed year-round, even though it is less pleasant in the snow or the heat. There is minimal shade. Get there early, this trailhead can get very busy.
The trailhead is located along the CA-2, Angeles Crest Scenic Byway at the Vincent Gulch Divide. The coordinates above will take you directly in front of the parking lot for the trailhead. It is about 15 minutes from Wrightwood, CA. If you’re coming from Wrightwood, the parking lot will be on your left-hand side.
*Quick rant: It has been five years since the last time we hiked here. I can’t believe the amount of trash, graffiti, and people carving their names on rocks and trees on the Big Horn Mine trail. If you are going to do this hike or any hikes for that matter, please respect the land and nature. If you pack it in, please pack it out. Save it for the next generation!*
To start the Big Horn Mine trail, head over toward the bathrooms. There you will find several trailheads. You want to go through the big white gate. Luckily, this trail is very straightforward. There are only a couple of forks on this trail. Around 0.1 of a mile, you will come to the first fork. There is a sign that will point you in the right direction. Just in case it is graffitied over, go right.
About 1 mile in, the trail starts to switch back and forth from a nice wide trail into a single-track trail with a decent-sized drop-off on the left side. Watch your step here. There are a lot of areas that vary from medium-sized gravel to baseball-sized rocks. We both slipped a couple of times. It would be really easy to roll your ankle if you weren’t careful. Once you get to the narrow trails, it seems like the view gets even more beautiful! There are quite a few hand-painted arrows on the trail, don’t follow them. As you can see in the pictures below, some of them are pointed to dead ends, straight down to the valley floor. Just follow the trail and you’ll be fine.
Around the 1.35-mile on the Big Horn Mine trail, you will see the first mine shaft. This one has always been sealed shut. It is also usually full of water, so we have never made the effort to explore it. The good thing about seeing this first mine is knowing that you are less than a mile from the big mine! The challenge is that it is mostly uphill for the rest of the way. But keep going! The payoff is well worth it!
When you reach the top of the hill, you will see the last fork in the road. Once again, go right. If you go left, you will just go to an opening that has a couple of concrete slabs, nothing too exciting. The great news is that you’re done with all the inclines! Now, it is just a short 0.2-mile walk to the amazing remains of the Big Horn Mine. After you go under the fallen tree, you’ll soon catch a glimpse of the awesome, abandoned wooden structure in the distance.
Once you get closer to the structure, you’ll come to a few openings in the mines. These mines are another fun part of the Big Horn Mine trail. These openings were cut open the last time we were here. However, they were sealed shut this time around. The way down to the abandoned wooden structure is to your left. This spot is a little tricky. There is an almost dried-up little 7-foot waterfall that you need to make your way down. Just follow the worn-out path and take your time, you’ll be fine.
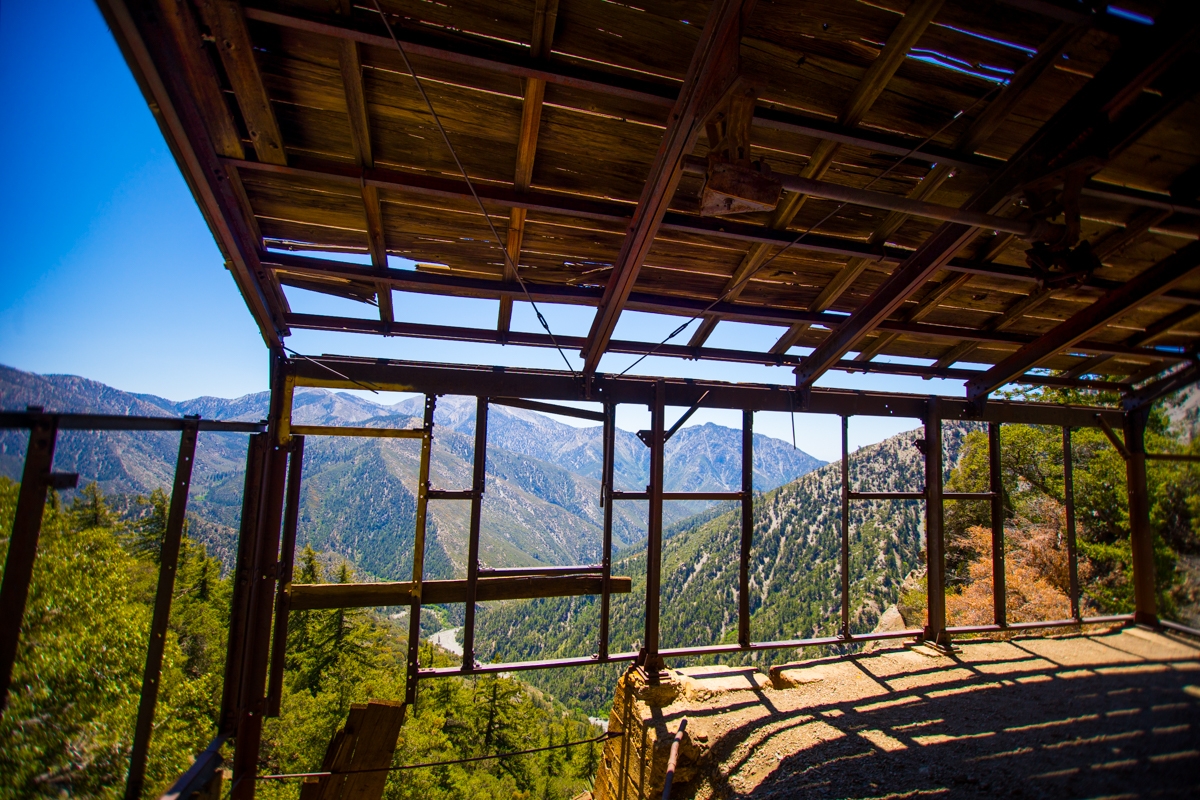
After getting inside the wooden mill, the view is incredible. This is the best spot to take a break and eat your lunch. Make sure to pack your trash back out with you! Be careful when you’re exploring. This is a very old wooden structure. It might collapse at any time. From here, you can make your way back or explore the mine further at your own risk.
From time to time the mine shafts are sealed up on Big Horn Mine trail. But it never fails, some random adventurer comes along and re-opens the mine shafts. This time, the upper shaft was the only one that was accessible. Explore at your own risk! To access this shaft, make your way up to the hill behind the stamp mill. There is a crumbling wooden structure that most likely used to be for the mining carts, that you can use to climb your way up to the opening of the mine.
There was only one piece of the metal gate missing, so, it was a tight squeeze to get in. Since I was tiny, it wasn’t a problem for me. However, Dustin was struggling a little to be able to squeeze himself through it. Watch your head once you enter. The ceiling is quite jagged and low for the first 90 yards or so. This may not be an adventure for the faint of heart. If you know someone who has been to the mines before, I highly recommend going with them. There are a lot of twists and turns inside the mines and it would be easy to get lost.
Luckily, the last time we went, we found strings tied to the beginning of the mine to lead the way. You can always follow that back out to the exit. There are also arrows painted on the walls. These proved to be very helpful. A headlight or flashlight is an absolute must! Also, make sure to bring a jacket. The temperature drops significantly once you’re inside. You will be in complete darkness if you decide to venture in far enough.
There are lots of cool things to see inside the mine shafts. There are tracks for mining carts, very old support structures, and 3 levels of mines. Be sure to watch your step. There are several deep vertical shafts in there. If you fall into these vertical shafts, you might not be able to get back. I haven’t had any problems with oxygen in there before, but it probably can’t hurt to bring some matches to check in case you feel a little strange. Again, please be careful and pay attention to where you’re going. DON’T GET LOST!!!
The way back is super easy on the Big Horn Mine trail. You simply follow the same way you came. And as a bonus, it is mostly downhill! Once again, watch out for snakes. The last time we went, the group of hikers in front of us spotted a rattlesnake scrambling into a pile of rocks, just before the first mine shaft. Stay aware and if you see them give them room.
If you love caves, mines, or tunnels, check out our hike to the Goat Trestle, the cool Cave Trail at Craters of the Moon in Idaho, or Geronimo’s Cave in New Mexico. We also have videos of us rappeling down mineshafts on our YouTube channel!
Happy Adventuring. Don’t forget to check out the related posts below for more inspiration on your upcoming adventures. While at it, follow us on Instagram and subscribe to our YouTube channel! We’ll love you forever!
These are the gear that we personally use and find helpful for this particular adventure. Don’t forget to check out our Recommended Gear section as well.

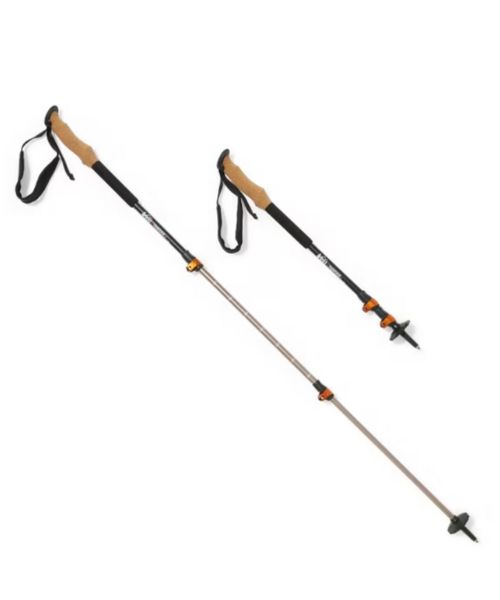
These hiking poles are sturdy, and great to help keep your balance on short or longer hikes
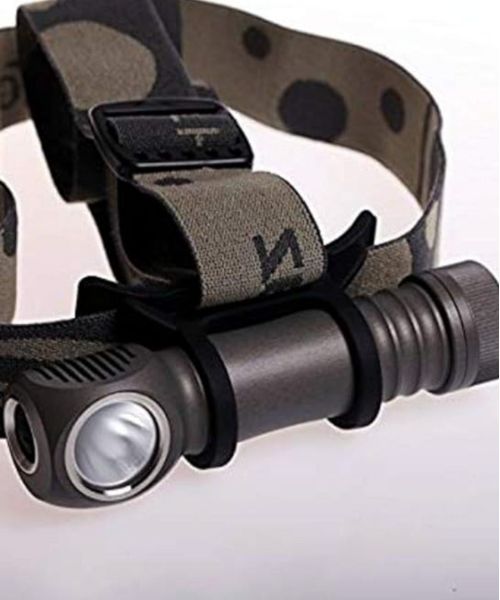
Our favorite head light! It's super bright and long-lasting. We bring this on hikes, caving, and more.
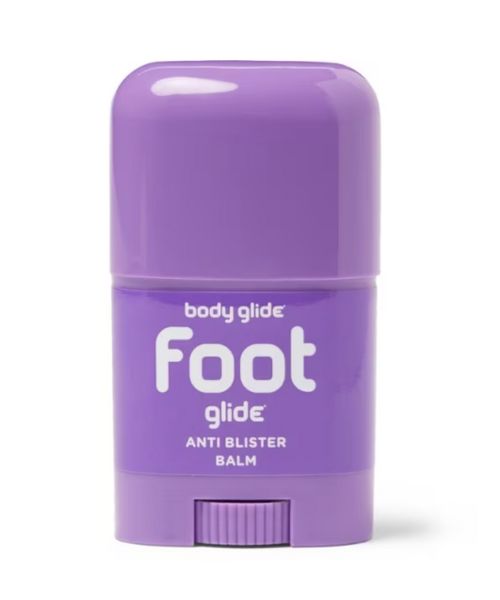
If you tend to have foot blisters on hikes, get this! We use this all the time.
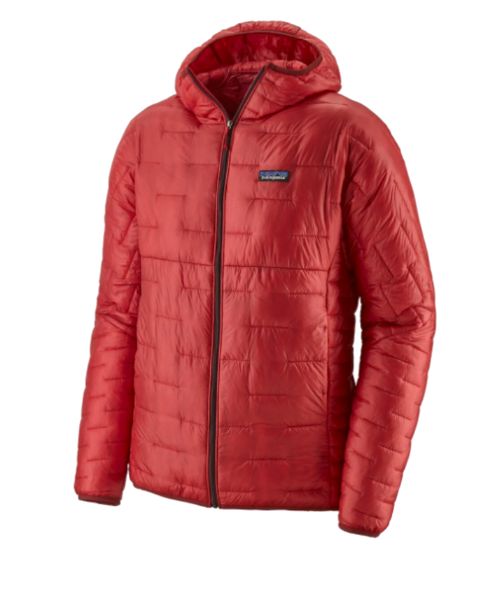
Our favorite hiking/travel jacket. It's warm and packable, perfect to bring on a hike or a road trip.
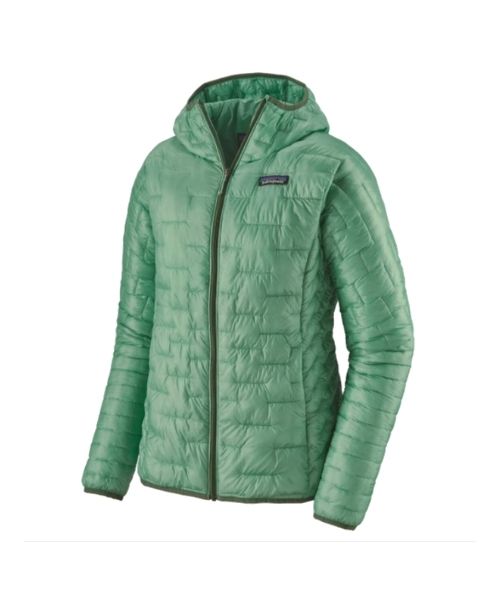
Our favorite hiking/travel jacket. It's warm and packable, perfect to bring on a hike or a road trip.
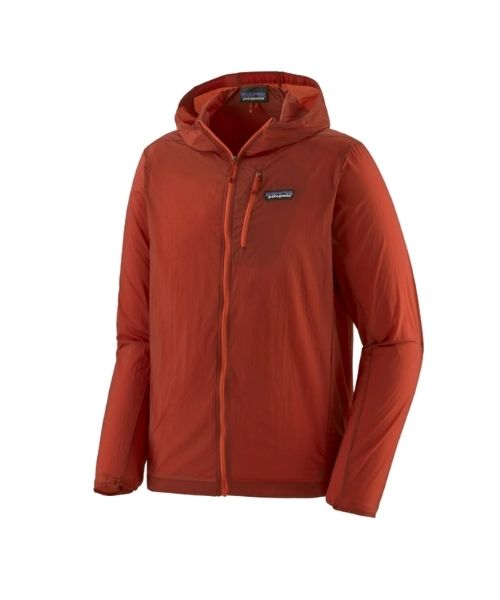
This jacket is packable into a super small and light little ball. Perfect for when you just need a little…
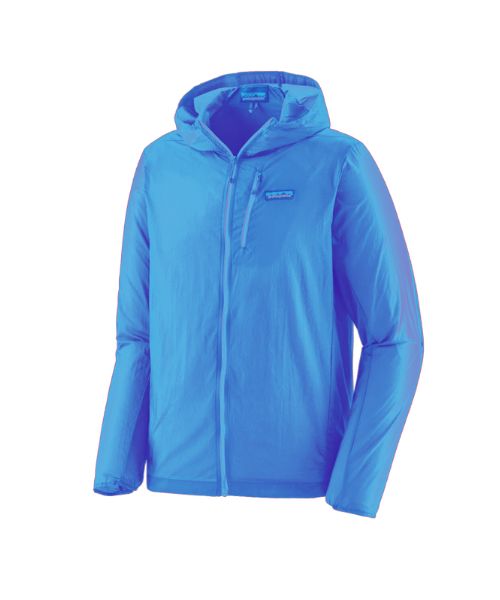
This jacket is packable into a super small and light little ball. Perfect for when you just need a little…
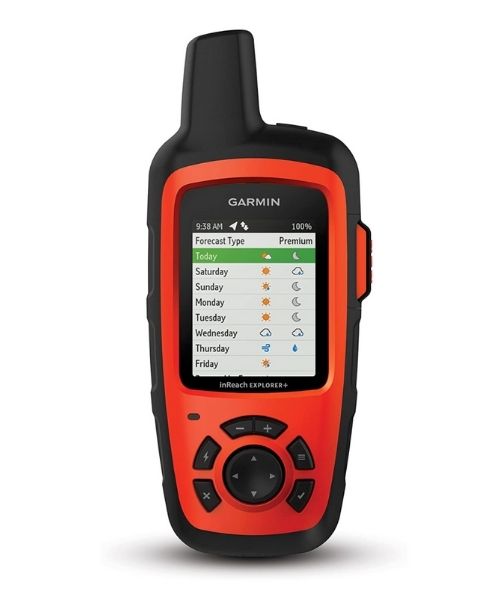
It's always good to bring a GPS tracker with you. We use the Garmin inReach.
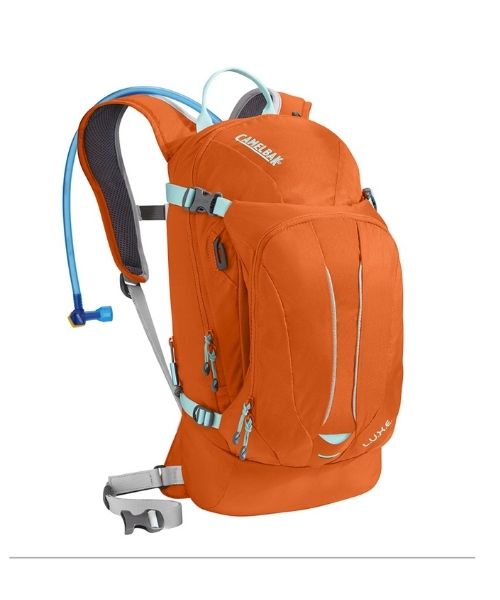
This is Vy's favorite hiking bag! It has tons of room for snacks and water!


Our favorite biodegradable, eco-friendly, reef-safe sunscreen!

This is our go-to camera for all of our adventures. It comes with us everywhere!
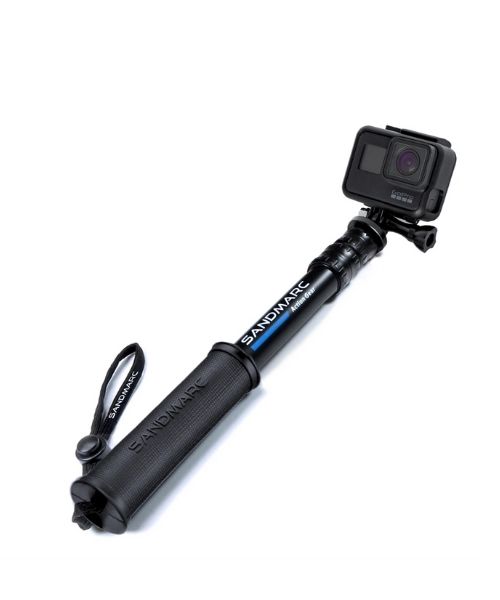
Compact GoPro pole that extends to 25", perfect to bring on your adventure.



Nice to meet you!
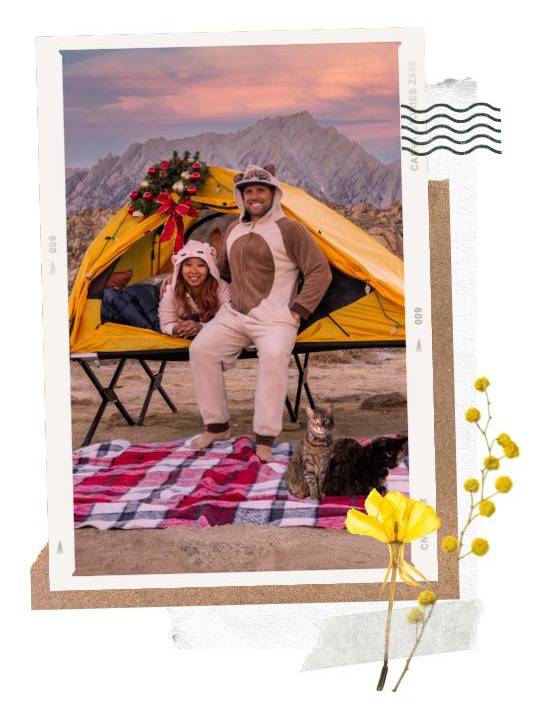
Hi! We are Dustin & Vy, the proud creators of Live That Adventure. We created this website because we wanted to inspire others to live their lives to the fullest. On here, you’ll find everything from hiking, canyoneering, kayaking, and snorkeling to adventure and travel tips, gear reviews, and bucket list items such as bungee jumping or wing walking. We’ll show you the ropes so you can do them too!
Subscribe
Get our best adventure tips, guides and more send to you!
Subscribe
Get our best adventure tips, guides, and more send to you!